Communicationis everyone’s panacea for everything.
—Tom Peters
After learning about the powers of device capabilities with many examples, it’s time to get back to our SmartHouse application. So far, you have been populating your app locally with some dummy data, but no application can survive without communicating with a server. This chapter covers how to interact with network APIs. You will explore the following topics:
XMLHttpRequest
WebSocket
Fetch
Getting data from a server
Posting data to a server
Earlier you were getting all the data from a dummy data object, which was static within your application. It’s rare that any production application will work entirely with static data. Fortunately, React Native provides many ways to interact with network APIs. The following sections cover the ways the network stack is supported in React Native.
XMLHttpRequest
XMLHttpRequest is an API that provides the ability to transfer data between a client and a server. It provides an easy way to retrieve data from a URL without having to do a full-page refresh. In React Native, the XMLHttpRequest API is applied on top of the iOS networking APIs. This is the code snippet to use XMLHttpRequest.
Using XMLHttpRequest is quite tedious. However, because it is compatible with the browser API, it lets you use third-party libraries directly from npm (e.g., Parse). For more information on this API, please refer to its documentation at https://developer.mozilla.org/en-US/docs/Web/API/XMLHttpRequest.
WebSocket
WebSocket is a protocol that provides full-duplex communication channels over a single Transmission Control Protocol (TCP) connection. With the WebSocket API it is possible to open two-way interactive communication. With this API, you can send messages to a server and receive event-driven responses without having to poll the server again and again for a reply. This is how the code looks for a WebSocket:
var ws = new WebSocket('ws://example.com/path');
ws.on('open', function() {
// connection opened
ws.send('example data');
});
ws.on('message', function(e) {
// a message received
console.log(e.data);
});
ws.on('error', function(e) {
// an error occurred
console.log(e.message);
});
ws.on('close', function(e) {
// connection closed
console.log(e.code, e.reason);
});
Fetch
Fetch is a popular networking API. It was created by a standard committee and has well-defined requests, responses, and the process to bind them. The following is an example of a post request with fetch:
fetch('https://example.com/endpoint/', {
method: 'POST',
headers: {
'Accept': 'application/json',
'Content-Type': 'application/json',
},
body: JSON.stringify({
firstParam: 'yourValue',
secondParam: 'otherValue',
})
})
Fetch returns a promise because networking is an async operation, which means it will not wait for execution, so we can resolve using a then and catch block. We can get a response and error like this:
fetch('https:// example.com/endpoint')
.then((response) => response.text())
.then((responseText) => {
console.log(responseText);
})
.catch((error) => {
console.warn(error);
});
Now that you know how to interact with network APIs, let’s use one of the options, fetch, to get and post data to a server. To keep things simple, we have hosted a simple back-end server with restful APIs that you can consume for your application.
We will be using following the URLs to get and post data to a back-end server. For a quick test, you can use curl to see the response you get from making a request to these URLs.
Use this code to get an initial seed list of properties:
To get the list of properties that the users have saved, run
$curl 'http://www.akshatpaul.com/list-properties'
You might see few results here that are created by other readers of this book.
To post data to the server to save a property we use the following API:
url: 'http://www.akshatpaul.com/properties'
Getting Data from a Server
First, let’s get get some data from our back-end server that we use to populate the list of properties we have already added in our back-end server. So far this is getting populated from the JavaScript Object Notation (JSON) we have stored on our client application itself. Insert the following code into the HomeListScreen.js component:
import React from 'react';
import { FlatList } from 'react-native';
import HouseItem from '../components/HouseItem';
export default class HomeListScreen extends React.Component {
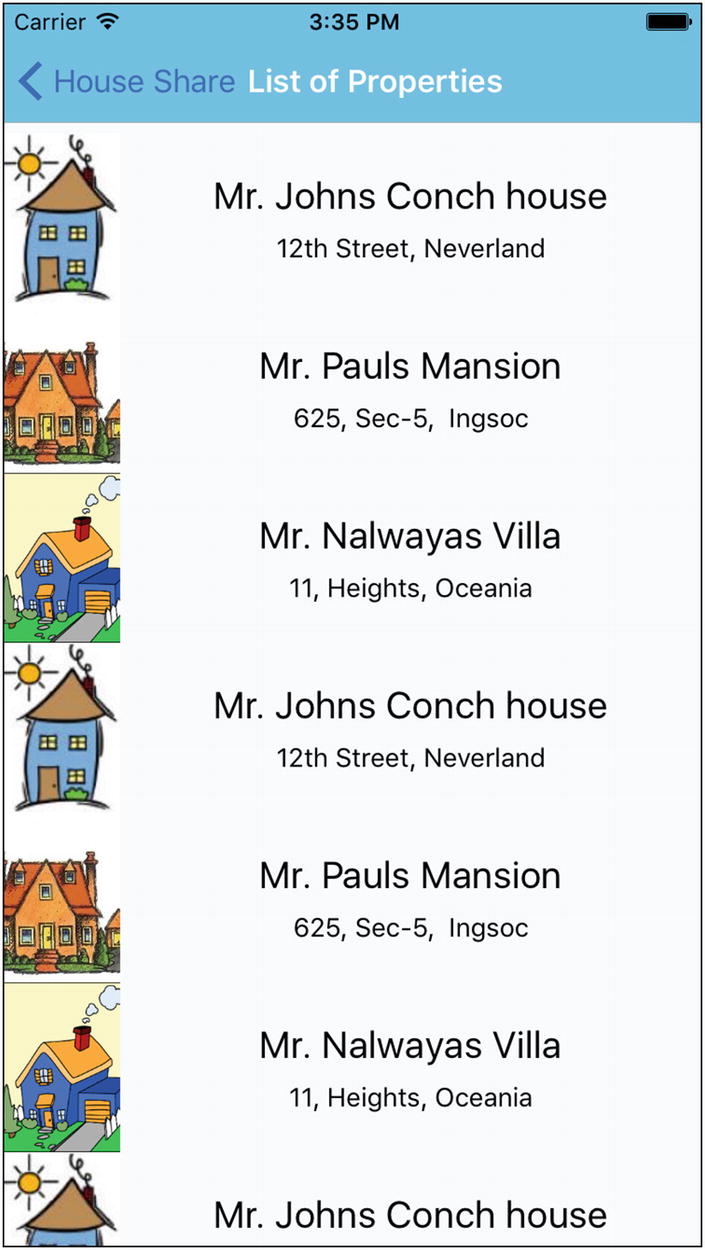
Now, build or refresh the application and navigate to the of list of all the properties. Figure 6-1 shows it loaded on an iOS simulator.
Figure 6-1.
Populating the app with static data fetched from a server
All these data are coming from a back-end server. Let’s walk through this code. Here, we first removed the MOCK_DATA, which is no longer required. We then modified the component type:
export default HomeListScreen = () => {
...
}
To
export default class HomeListScreen extends React.Component {
...
}
Earlier we had created a stateless component, but because we would like to use life cycle methods and maintain state, we have modified our stateless component to a state component.
Next, we added the following code in our HomeListScreen state component:
Here, we have created a constructor that sets the initial state for the dataSource property as null. This is the property that will store the data we will pull from a back-end server.
Next, we use a life cycle method componentDidMount(). We are making use of this life cycle method because we assume we would only be required to make a get call to the back-end API to get the list of properties once.
The structure of this request is straightforward: We use fetch to make a call that returns a promise. This promise is then resolved and we pass the response JSON to dataSource using the setState object.
Finally we have the placed catch() method to log any error. To load the data received from the back-end server, we are not making any changes in the earlier component except replacing MOCK_DATA with this.state.dataSource.
render(){
return (
<FlatList
data={this.state.dataSource}
renderItem={({item}) => <HouseItem {...item}/>}
keyExtractor={(item, index) => index.toString()}
/>
);
}
Saving Data to a Server
In your housing application, so far you are able to get data from a back-end server. This section shows you how to save data to a back-end API. For this we will create a component to add new properties and make request to a back-end API to save the data. For this purpose, we already have a back-end API ready to be consumed:
URL : http://www.akshatpaul.com/properties
Let’s first add a button to HomeScreen that will navigate us to the Addproperty page. Add the following code along with styling:
import React from 'react';
import { StyleSheet, Text, View, Image, TouchableHighlight } from 'react-native';
export default class HomeScreen extends React.Component {
<Text style={styles.buttonText}>Add New Property</Text>
</TouchableHighlight>
<View style={styles.bottomBox} />
</View>
);
}
}
const styles = StyleSheet.create({
container: {
flex: 1,
flexDirection: 'column'
},
topBox: {
flex: 1,
backgroundColor: '#C0C0C0'
},
bottomBox: {
flex: 2,
backgroundColor: '#fff'
},
homeBanner: {
bottom:0,
flex: 1,
alignSelf: 'stretch',
width: undefined,
height: undefined,
},
button: {
flex: 1,
backgroundColor: '#48BBEC',
borderColor: '#48BBEC',
borderWidth: 1,
borderRadius: 8,
alignSelf: 'stretch',
justifyContent: 'center',
margin: 10
},
buttonText: {
fontSize: 18,
color: 'white',
alignSelf: 'center'
}
});
Here, we have added a new button using the following code along with its styling:
<TouchableHighlight style={styles.button}
onPress={()=> navigate('AddNewProperty')}
underlayColor='#99d9f4'>
<Text style={styles.buttonText}>Add New Property</Text>
</TouchableHighlight>
button: {
flex: 1,
backgroundColor: '#48BBEC',
borderColor: '#48BBEC',
borderWidth: 1,
borderRadius: 8,
alignSelf: 'stretch',
justifyContent: 'center',
margin: 10
},
buttonText: {
fontSize: 18,
color: 'white',
alignSelf: 'center'
}
We must also add a corresponding navigation route in App.js createStackNavigator:
const AppNavigator = createStackNavigator({
.
.
.
AddNewProperty: {
screen: AddNewProperty
}
.
.
};
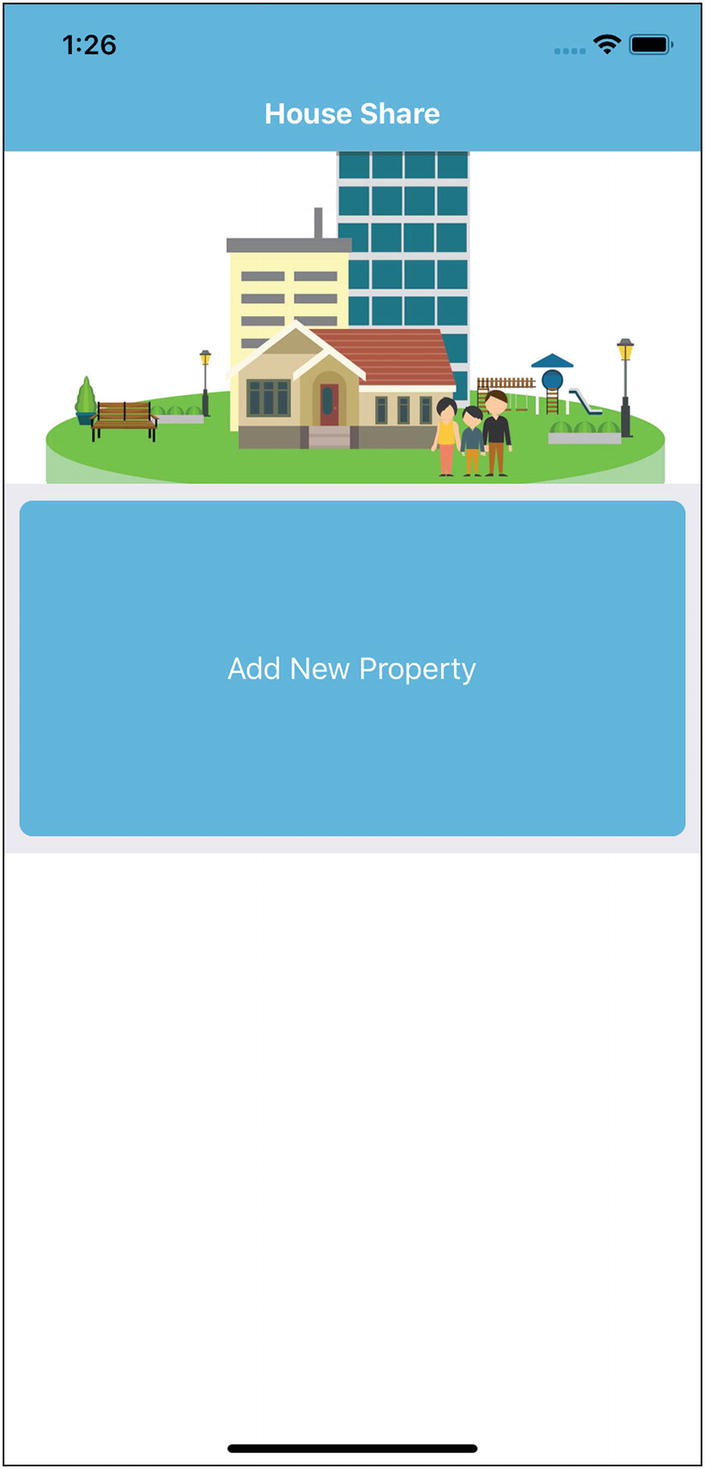
Let’s refresh to see the changes on the home screen (Figure 6-2).
Figure 6-2.
Showing the Add New Property button on the home page
If we click Add New Property it will take us to a new screen that will be empty. Let’s create a new file in the screens folder, AddNewProperty.js, and add the following code in it:
Let’s step through this piece of code in detail. We created a new component, AddNewProperty, and added a constructor with two properties, name and address instantiated with an empty string:
This is a simple form having two input fields, name and address, along with styling, which we added at the end. Just as in constructor, the state for these two properties was set to an empty string. We update the state with setState once the user fills in the form and pass it to the function onPressButtonPost.
You should notice we added a bind in render here. Because we are using ES6 while declaring React components, React no longer autobinds. Therefore we must resolve this by explicitly calling bind in render.
Note
There are other binding patterns to handle this. Here are a few popular ones in React:
1. Binding in render (the one we have used in our application)
onChange={this.handleChange.bind(this)}
2. Using an arrow function in render
onPress={e => this.handleChange(e)}
3. Binding in constructor itself
constructor(props) {
super(props);
this.handleChange = this.handleChange.bind(this);
}
4. Using an arrow function in call property
handleChange = () => {
// call this function from render
// and this.whatever in here works fine.
};
Next, we created a method onPressButtonPost where the post request is made to a back-end post API.
onPressButtonPOST() {
fetch('https://www.akshatpaul.com/properties', {
method: 'POST',
headers: {
Accept: 'application/json',
'Content-Type': 'application/json',
},
body: JSON.stringify({
property: {
name: this.state.name,
address: this.state.address,
}
}),
})
.then((responseData) => {
AlertIOS.alert(
"Created"
)
})
.done();
}
Here, we are using the updated values of the name and address properties and making a post request using fetch. Once our request is completed we get an alert box with a Created message.
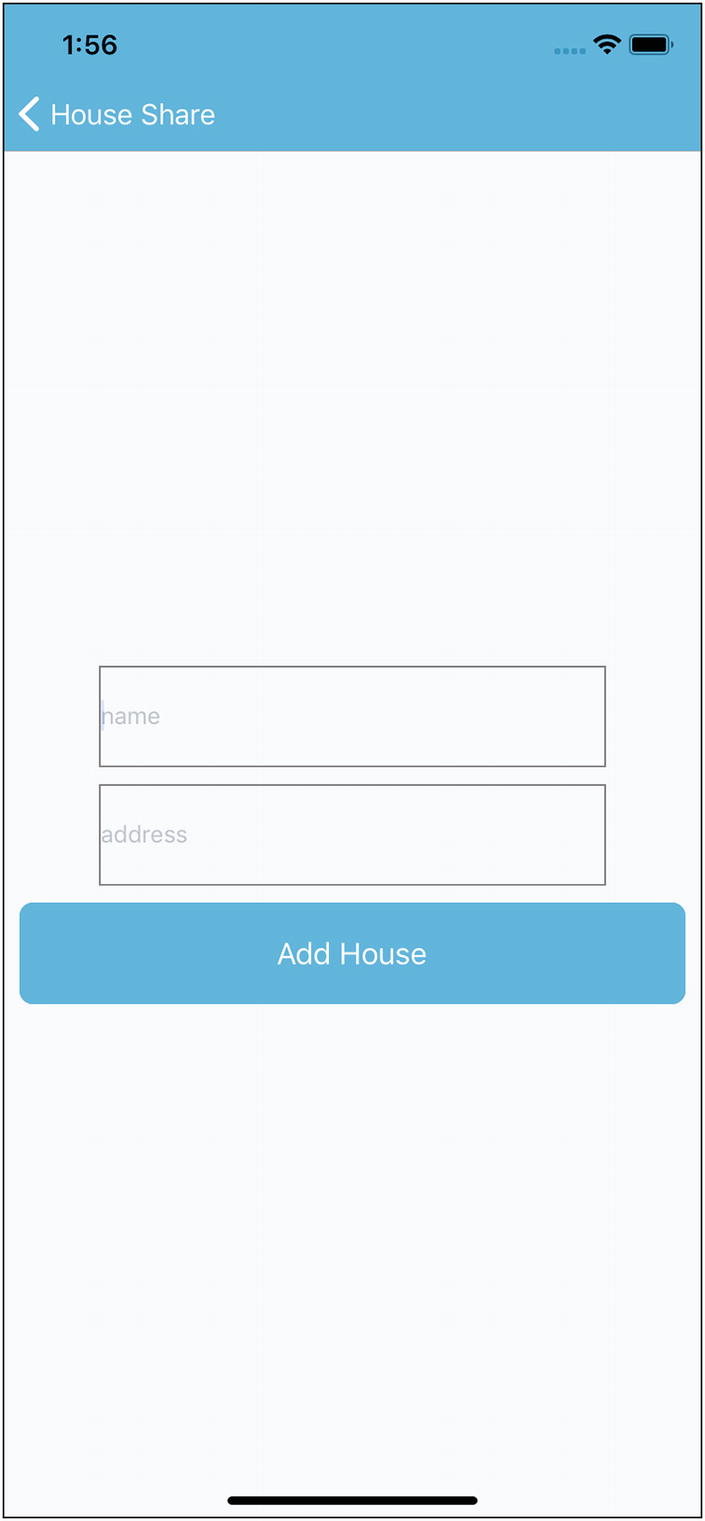
This was simple. Now let’s try our code on a simulator. Once we navigate from the home screen to the add new property screen, we get the form shown in Figure 6-3.
Figure 6-3.
Form to submit a record
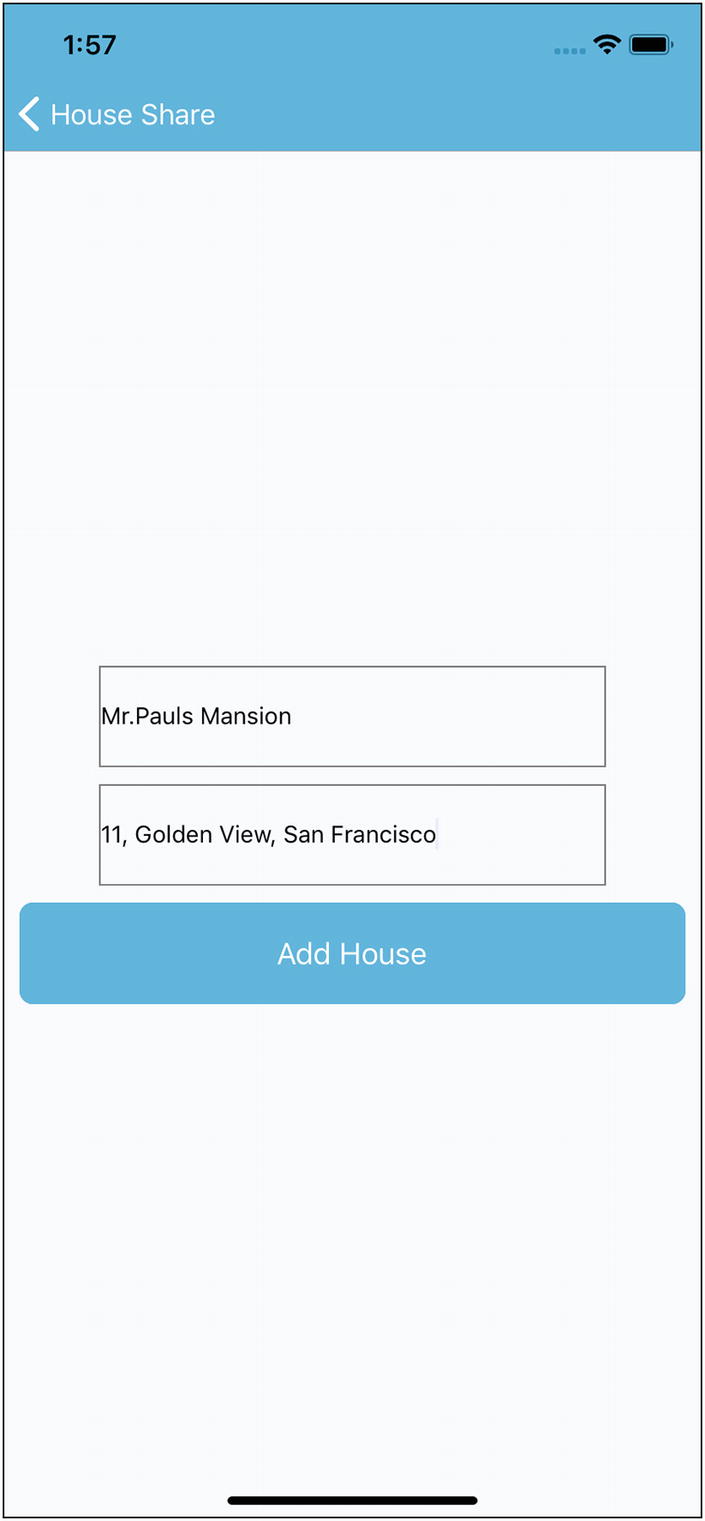
Let’s fill in some values to submit to our back-end API (Figure 6-4).
Figure 6-4.
Page to add new house
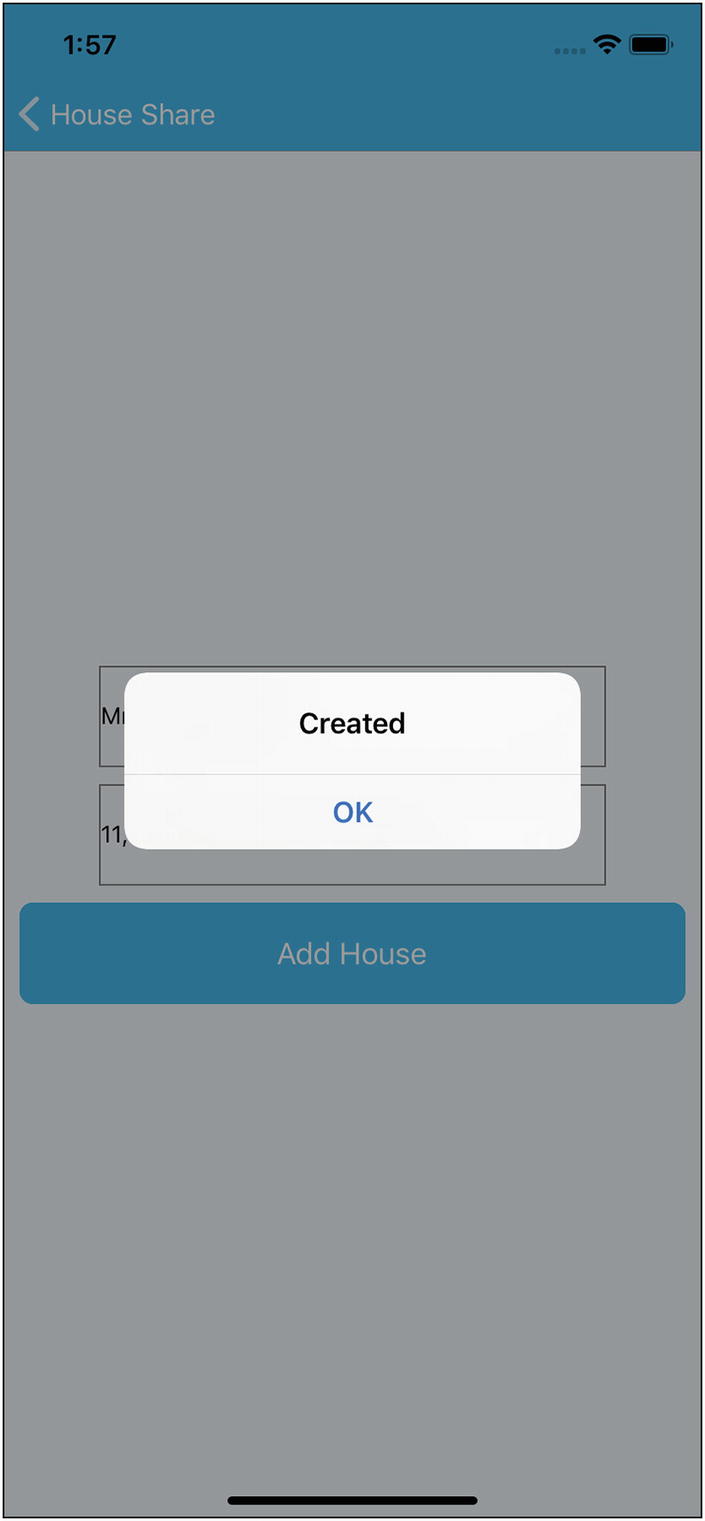
Once we submit the data to the back-end API we get the Created message in an alert box (Figure 6-5).
Figure 6-5.
Alert after successful submission
If you curl this URL, you will get something like this JSON of user-added properties:
$curl 'http://www.akshatpaul.com/list-properties'
[
{
name: "Mr. Paul's Mansion",
address: "11, Golden View, San Francisco",
images: {
thumbnail: "http://hmp.me/ol7"
}
}
]
Note
This API shows data submitted by various readers of this book. Your data set might differ.
Refresh the app and go to the List of Properties section (Figure 6-6).
Figure 6-6.
Output showing Mr. Paul’s Mansion address
Note
By default, iOS will block any request that’s not encrypted using Secure Sockets Layer (SSL). If you need to fetch from a clear text URL (one that begins with http) you will first need to add an App Transport Security (ATS) exception. If you know ahead of time what domains you will need access to, it is more secure to add exceptions just for those domains; if the domains are not known until runtime you can disable ATS completely. Note, however, that since January 2017, Apple’s App Store review requires reasonable justification for disabling ATS.
Summary
This chapter covered various network APIs that are reimplemented from the ground up by the React Native team. You also learned about various options like XMLHttpRequest, WebSocket, and Fetch. Because no application is complete without making server calls, you added this capability into your housing application and learned how to get data from a server, add new records, and save them to a server.
In Chapter 7 we explore Native Bridge for iOS and Android. By using Native Bridge we can access Native iOS or Android APIs from JavaScript.