Application security is always important—even more so when the application is delivered across a public network, such as the Internet. Salesforce.com has developed various mechanisms to secure the platform and reduce the chances of unauthorized people accessing your company's data. This chapter describes the way login attempts to the system are controlled and explores the features available to help you manage your users' access to the Salesforce CRM application.
In this chapter, we will also look at establishing your company profile within Salesforce and how core information, such as the details that are provided when your company first signs up with Salesforce.com, can be managed.
You will also be shown how to find the Salesforce Setup menu and will be introduced to the settings available for the organization-wide customization of the application's user interface along with a detailed description of the searching facilities offered by the Salesforce CRM application.
Throughout this chapter, notes and tips intended to offer further guidance within areas of functionality are provided; they have been generated from practical results and experience of the Salesforce CRM system administration.
In this chapter, we will cover:
- The Salesforce Setup menu
- User login and authorization
- Company profile
- User interface
- Search options
To start, we will look at the location and the capabilities of the Salesforce Setup menu.
Depending on your organization's user interface settings, you will access the setup menu from either the drop-down menu under your name or as a top-level Setup link, as shown in the upcoming screenshots.
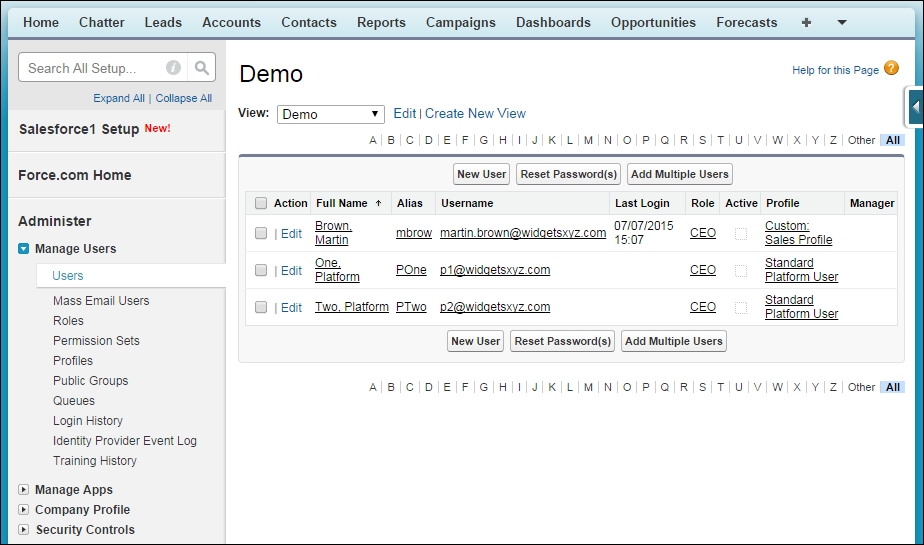
The setup menu appears on the left-hand side of the page. Clicking on the menu option text (or the [>] icon to the left of a menu option) expands the menu; you can then select the required menu item link, as shown in the following screenshot for the Manage Users | Users setup page:
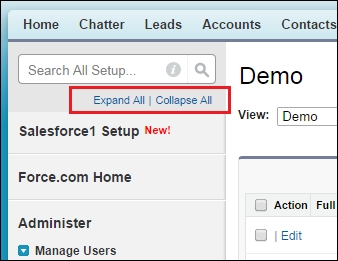
Clicking on the down arrow icon to the left of the expanded menu option collapses the menu option. You can also expand or collapse all the menu options by clicking on the Expand All or Collapse All links, as shown in the following screenshot:
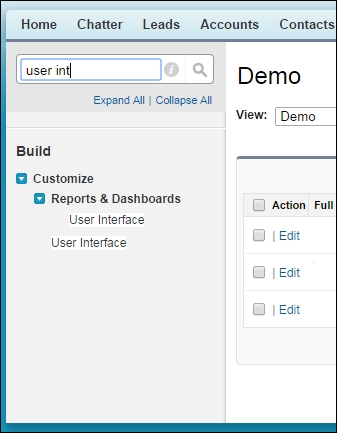
To quickly find a Setup menu item, type the first few characters of the setup name in the Quick Find search box. As you type, any options that match your search term appear in the setup menu. For example, to find the User Interface page, start to type user interface in the Quick Find box, as shown in the following screenshot:
At the top of the Salesforce page, you might see the Setup link, as shown in the following screenshot:

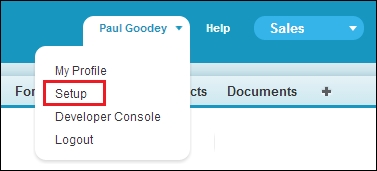
If you do not see the Setup link at the top of the Salesforce page, then click on your name and you will then see the Setup option, as shown in the following screenshot:
This setting is controlled by the Enable Improved Setup User Interface setting, which is covered later in this chapter.
Note
As a system administrator, you will use the Setup menu frequently, so it is recommended that you enable the improved setup user interface.
The improved setup user interface setting is activated for all new instances by default. Existing Salesforce instance admins should be aware that this user interface setting determines how everyone in your organization accesses the Setup menu.
When describing any setup steps within this book, we will begin the navigation path from Setup. For example, to enable the Improved Setup User Interface, we will present the navigation path as Setup | Customize | User Interface | Enable Improved Setup User Interface.
We will now look at how users' login requests are verified and authorized by the Salesforce CRM application.