
Creating Scrollable Forms
A scrollable form is a form that can display scrollbars when its contents are larger than the physical size of the form. Not only is this a cool and necessary feature, it's also trivial to implement in your own applications.
The scrolling behavior of a form is determined by the following three properties:
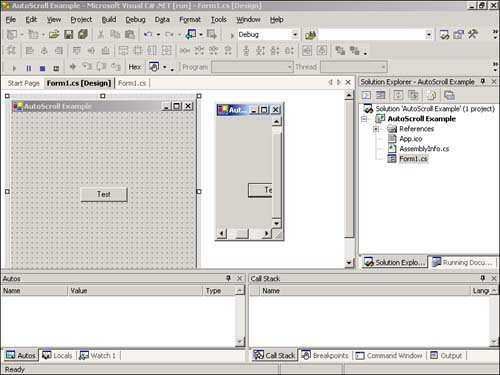
Again, it's easiest to understand this concept by doing it. Create a new Windows Application named AutoScroll Example, rename the default form to fclsAutoScroll, set the text of the form to AutoScroll Example, and update the entry point in Main().
Add a new Button control to the form by double-clicking the Button tool on the toolbox. Set the button's properties as follows:
| Property | Value |
|---|---|
| Name | btnTest |
| Location | 110,120 |
| Text | Test |
Save the project and press F5 to run it. Drag the borders of the control to make it larger and smaller. Notice that no matter how small you make the form, no scrollbars appear. This makes it possible to have controls on the form that are only partially visible or that can't be seen at all (see Figure 6.17).
Figure 6.17. Without scrollbars, it's possible to have controls that can't be seen.
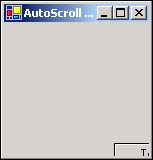
Stop the project now by choosing Stop Debugging from the Debug menu or by closing the form. Change the AutoScroll property of the form to true. At this point you still won't get scrollbars, because you need to adjust at least one of the other scroll properties. Change the AutoScrollMargin property to 50,50 and run the project once more. Make the form smaller by dragging a border or a corner, and you'll see scrollbars appear (see Figure 6.18). The AutoScrollMargin property creates a virtual margin (in pixels) around all the outermost controls on the form. If the form is sized to within the margin area of a control, scrollbars automatically appear.
Figure 6.18. Scrollbars allow the user to view all parts of the form without needing to change the form's size.
The final property that affects scrolling is the AutoScrollMinSize. Use the AutoScrollMinSize property to create a fixed-size scrolling region. If the form is ever sized such that the visible area of the form is smaller than the scrolling region defined by AutoScrollMinSize, scrollbars appear.