
Deploying ASP.NET Applications Using Copy
Just when you though DOS was dead, the XCopy utility is back in your vocabulary. The premise of .NET applications is that files used to run an application are never locked in memory. When you start an application, be it an EXE for Windows Forms or an ASP.NET application, a shadow copy of the assemblies is loaded into memory. When methods in assemblies are executed, the shadow copy verifies that it's still the current version of the application and runs as expected.
While an application is running, you can overwrite the files that are being used; they aren't locked in memory. This was a big issue before .NET. If you needed to update a COM DLL that was being used by IIS, you had to stop the IIS server (thus killing all the connections) to install a new DLL version. Not to mention the fact that only one version of a DLL could be used at the same time.
Because .NET doesn't lock assemblies in memory, you can use utilities such as DOS XCopy to simply overwrite what's already in use. At the next request for a page or method in a satellite assembly, the latest version of the assembly is just-in-time compiled (JITted) and the end user sees the most recent updates. This is the biggest reason .NET deployment is such a great move forward in ease of use for developers.
To test this, you're going to manually create a new virtual directory in IIS and deploy the WebDeploy project to it using XCopy.
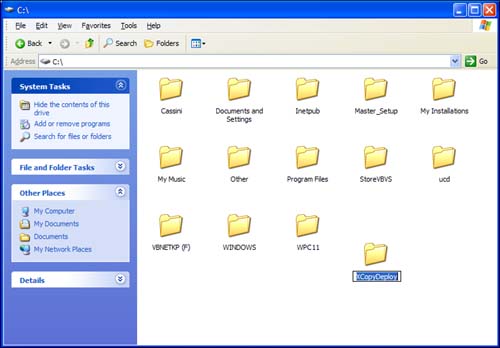
To start, open Windows Explorer and create a new folder called XCopyDeploy on your C:drive, as shown in Figure 6.8.
Figure 6.8. Creating an empty directory to prepare for XCopy deployment.
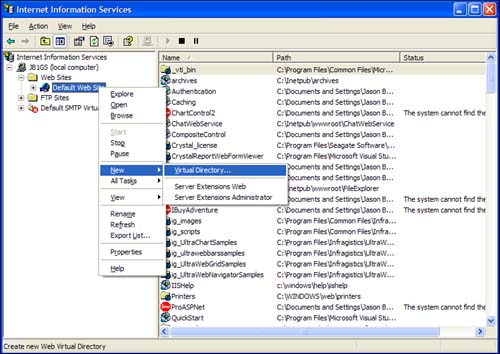
The next step is to configure IIS so it knows this directory can be browsed from the Internet. To do so, open the IIS snap-in that you used earlier. When it's open, right-click on the root node of Default Web Site, and select New, Virtual Directory from the contextual menu. Figure 6.9 shows you where this is in the Tree view.
Figure 6.9. Selecting the New Virtual Directory option.
When you create a new virtual directory, you're basically accomplishing what the Copy Project does automatically. You're setting permissions on a directory within IIS that allow it to be accessible from the browser. The New Virtual Directory menu option walks you through a wizard that sets up the directory in IIS.
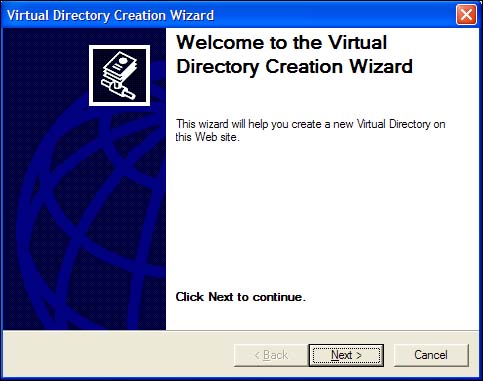
The first step in the wizard is the Welcome screen shown in Figure 6.10.
Figure 6.10. Step 1 in creating the IIS virtual directory.
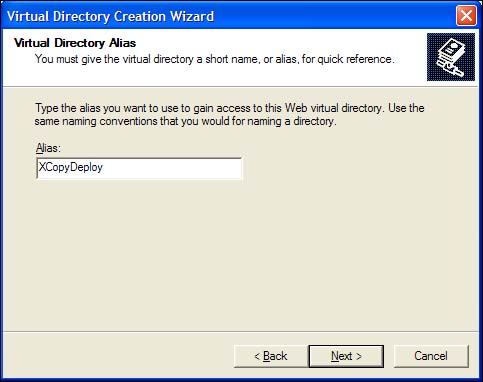
If you click Next, you're prompted for the alias of the directory. The alias is what's actually typed in the browser address box to gain access to the site. Type in XCopyDeploy as the alias for this site, as Figure 6.11 demonstrates.
Figure 6.11. Setting the alias for the virtual directory.
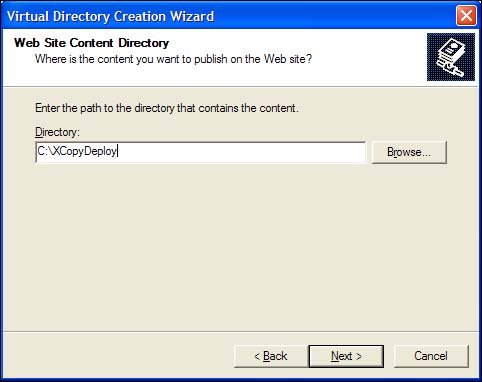
Click the Next button, and you're taken to the next step, which wants to know the physical path of the directory. You created this as C:XCopyDeploy, so enter that into the Directory text box as shown in Figure 6.12. You can also click the Browse button to navigate to the directory on your computer.
Figure 6.12. Setting the Web site content directory.
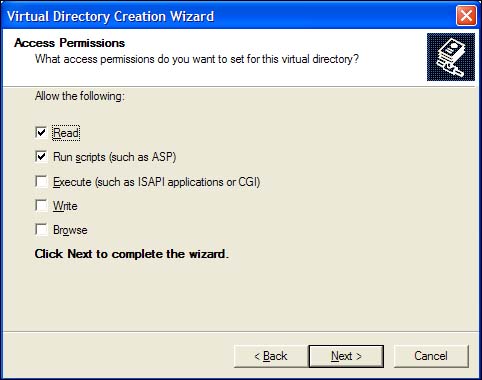
Click Next, and you can set the permissions for the site. By default, the read and script permissions are set. These are what you'll use almost all the time when creating virtual directories. If you set the write permission, hackers can gain access to your computer if they figure out the username and password that has write access. You should use caution when setting write permissions on any folder in IIS. The Browse option allows a directory listing to be automatically created when a user browses to the site. This is common for download sites where a listing of files is all that's needed, and you wouldn't have to do anything special just to list the directory.
For this exercise, leave the defaults that Figure 6.13 displays, and click the Next button.
Figure 6.13. Access permissions for the virtual directory.
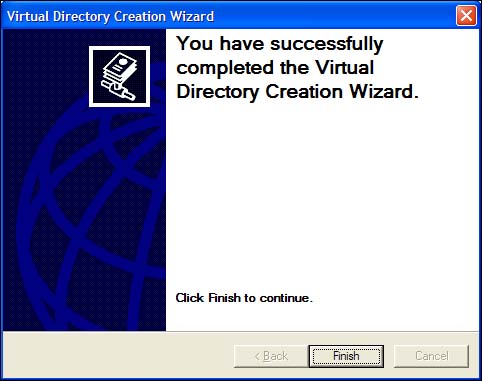
The wizard is now complete, and you should be looking at the Success step that Figure 6.14 presents. Click the Finish button to let IIS create the virtual directory with the settings you've chosen in the wizard.
Figure 6.14. Final step in the virtual directory wizard.
The virtual directory has now been created. To check out what was set, drill into the Default Web Site node and find the XCopyDeploy application in the list of available sites.
After you find the XCopyDeploy folder, right-click it and select Properties from the contextual menu. You should be looking at something exactly like Figure 6.15.
Figure 6.15. Properties dialog for the XCopyDeploy virtual directory.
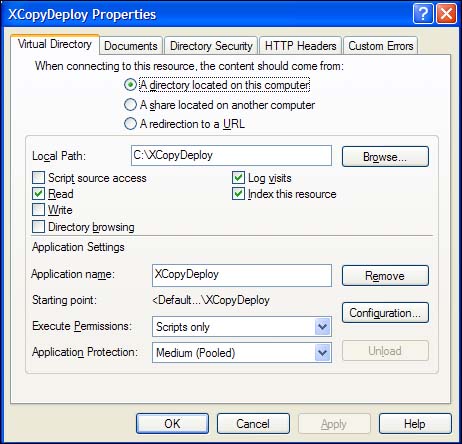
If you compare the settings for this virtual directory and the settings in Figure 6.6, you'll see that they're the same. So, using Copy Project essentially creates a virtual directory in the same manner that the New Virtual Directory Wizard does.
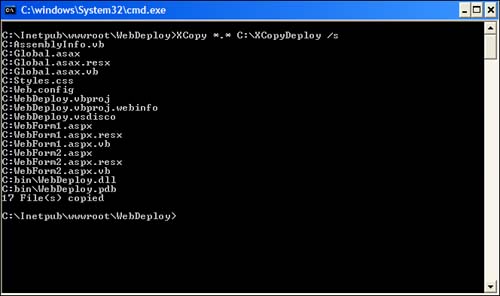
Now you need to use XCopy to copy the files in your solution from the existing InetpubwwwrootwebDeploy directory to the C:XCopyDeploy directory.
Of course, XCopy is simply copying files. So, by using Windows Explorer, you can just drag and drop the files from one directory to another. But that isn't very cool: You need to use XCopy.
To do so, open up a command prompt window and navigate to the WebDeploy directory. By default, this is at C:InetpubwwwrootWebDeploy. When you're there, type the following XCopy command:
XCopy *.* C:XCopyDeploy /s
The /s is the XCopy switch that copies all files and directories, even empty directories.
Your output in the command window should look like Figure 6.16.
Figure 6.16. Results of XCopy deployment in the command window.
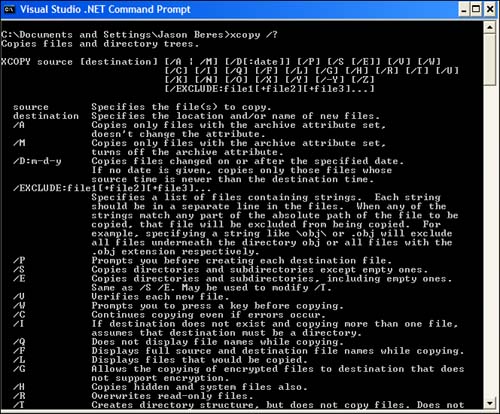
If you need a refresher on the XCopy command-line switches, type in /? after XCopy, and you'll get a help list, as Figure 6.17 demonstrates.
Figure 6.17. Help for XCopy.
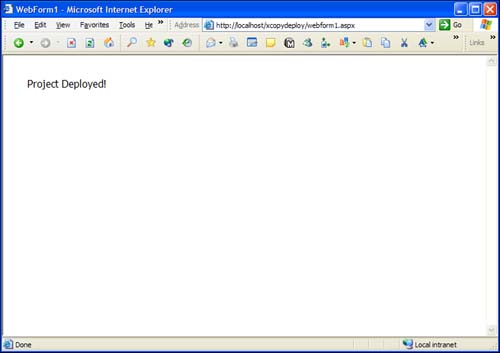
Your Web site has now been deployed using XCopy. If you navigate your browser to http://localhost/XCopyDeploy/WebForm1.aspx, you'll be looking at your Project Deployed! Message, as Figure 6.18 demonstrates.
Figure 6.18. Browsing to the XCopy deployed site.
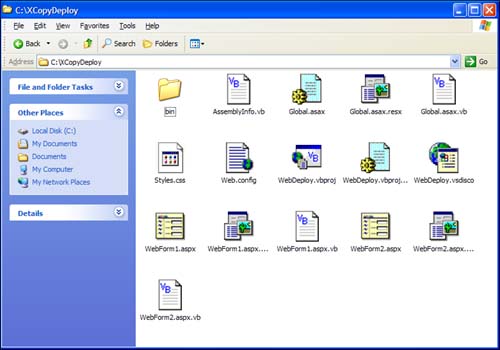
If you open up Windows Explorer and navigate to the C:XCopyDeploy directory, you'll see the files from your solution—all copied and ready to run. Figure 6.19 shows the XCopyDeploy directory.
Figure 6.19. The XCopyDeploy directory will contain all files copied to run the site.
As you can see, the XCopy deploy method is the most basic of all deployment options for a .NET application. The main point of this exercise was to give you an understanding on how to create IIS virtual directories and how, by using simple copy methods, you can deploy a complete Web site to a Web server.
To see how .NET really works, go back to the WebDeploy project in Visual Studio .NET and check the ForeColor property of Label1 to Red, and change the FontSize of Label1 to XX-Large. Then rerun the XCopy command in the command window, and simply click the Refresh button on your browser.
You'll notice the changes are made immediately, and there were no locked files in memory that caused problems when overwriting the assemblies in the Bin directory of the XCopyDeploy folder.
Using XCopy in a pure .NET solution is great, but if you have components that must be registered on the remote machine, you can't do this from the client that's calling the XCopy command.