
With the release of Xcode 6, Apple introduced a new feature, called playgrounds. A playground is lightweight compared to a traditional Xcode project and is a great tool to try out things in Swift without having to worry about setting up a complete project. We can use a playground to write our first program, which will not have any GUI.
Start off by opening up the Xcode application we installed in Chapter 2, Getting Set Up. Look for the following icon in your applications folder:
The first thing you will see in Xcode is the Welcome to Xcode window, which will give you quick access to creating new projects and opening your recent ones:
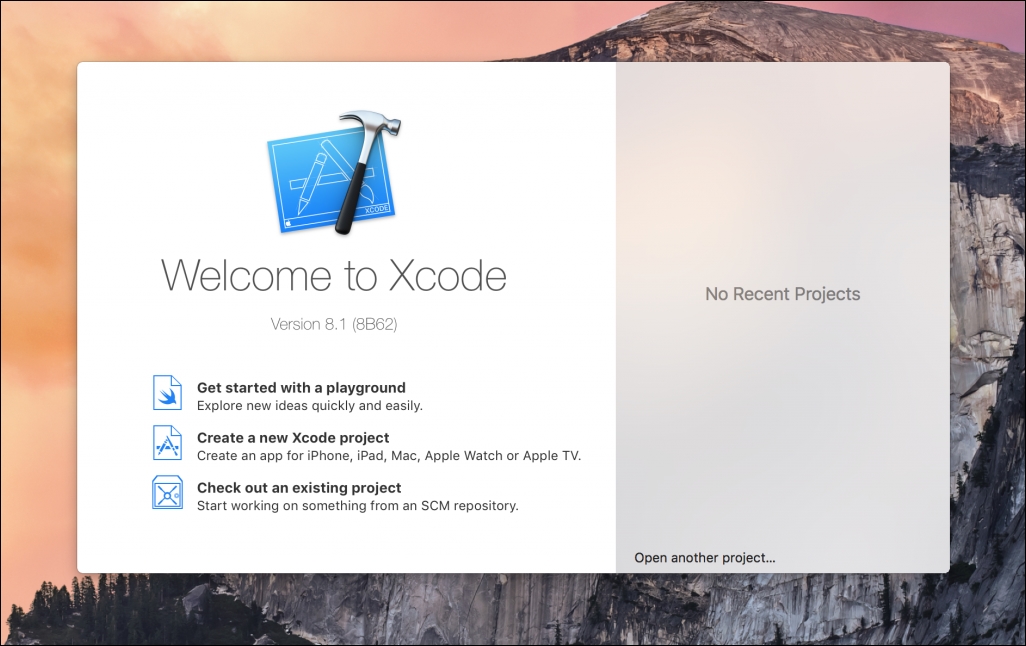
A complete application that can be installed, for example, on an iPhone, requires some project files and configuration. This is not needed now, as we just want to write our first line of Swift code, therefore, we will only focus on playgrounds. We will get back to how to set up a complete Xcode project in a later chapter.
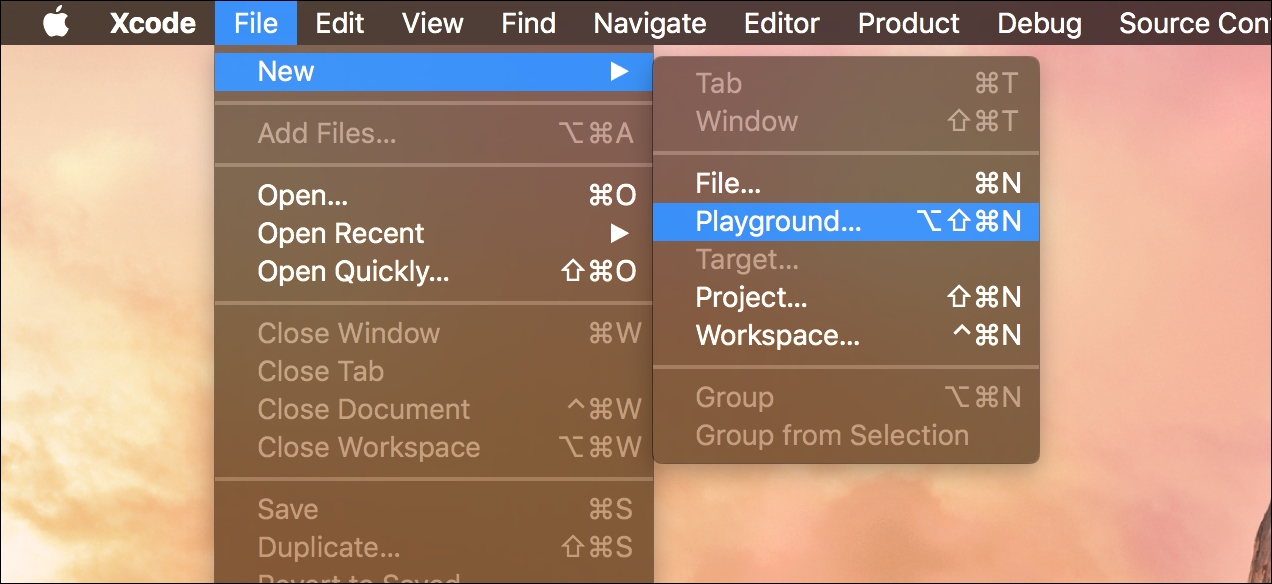
Go ahead and click on the Get started with a playground item from the menu. Note that if you closed the Welcome to Xcode window, or it never appears for some reason, you can always create a new playground from the menu bar by navigating to File | New | Playground..., as illustrated:
Now that we have created a new playground, let's move on to saving it.
The next step is to enter a proper name for our new playground. We suggest typing in HelloWorld as a name for this playground. Next, we will choose the platform to target, which has the following three options:
- iOS: This is the platform for developing iPhone and iPad applications
- macOS: This is the platform for developing applications running on a Mac computer (for example, MacBook Pro)
- tvOS: This is the platform for developing Apple TV applications (requires Apple TV 4th generation or a later version at the time of writing)
A platform refers to the devices that should be able to run our application. As mentioned in Chapter 1, What is Programming, decisions on what programming language to use and what device to target are what set the boundaries in terms of the available functionality for our application:

After filling out the form and clicking on Next, a save dialog will appear. Go ahead and choose where to store your playground file:
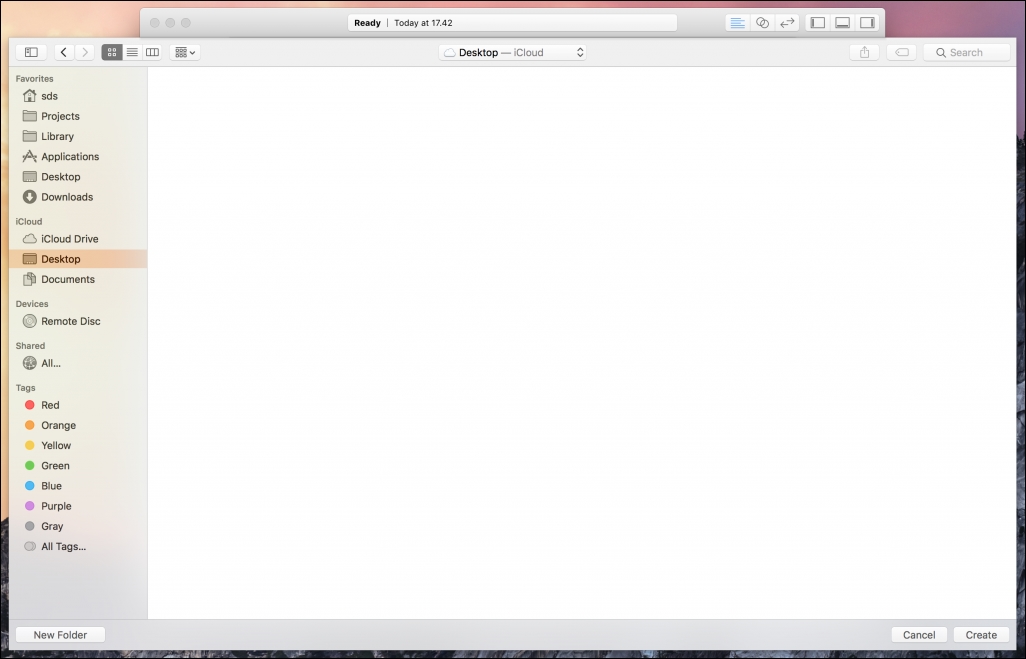
Ensure that you remember where you save it so that you can always open it again if you want to continue exploring Swift in the playground. If you delete it, however, a new playground can always be created.
Now we are getting really close to having our playground set up. Once you select where to save the playground file, the playground will automatically open, as illustrated:
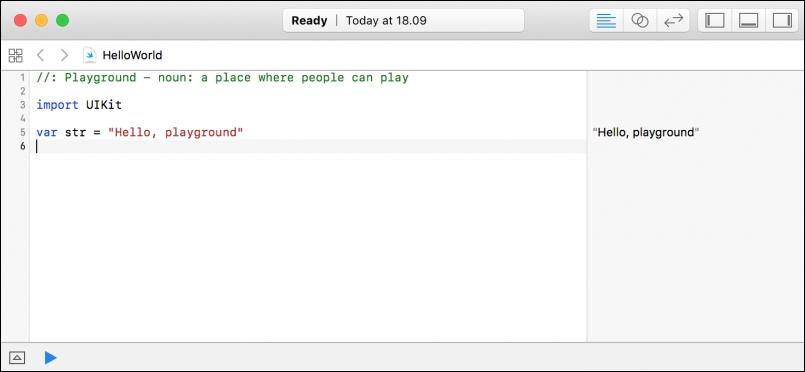
Don't worry about the content for now, as we won't be needing it. In fact, go ahead and remove all the text from the editor so that your playground is completely empty, as shown:
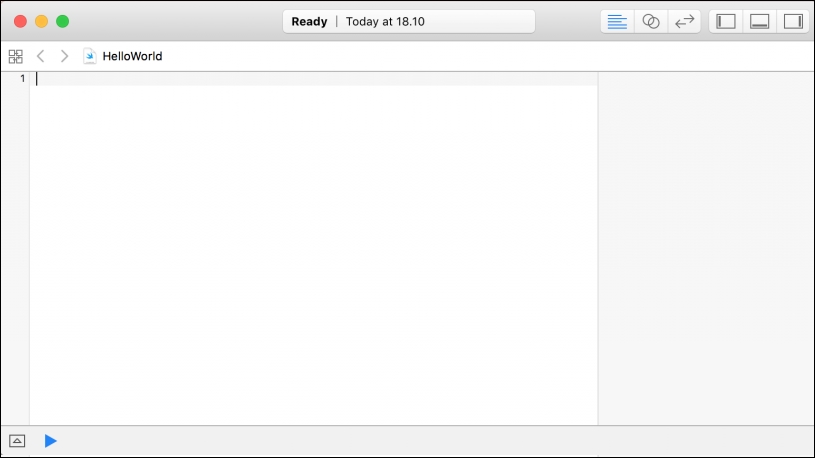
With our clean slate in place we are now ready to write our first lines of Swift code.