
It is time to use our knowledge about laying out interface elements on our canvas using the Xcode's IB by creating a small application. We will try to make a small Simon Says application, which will not be fully functional, but will have an interface that is similar to a fully working Simon Says app:
A Simon Says application is a simple memory game where the user has to memorize an increasing number of color combinations. Basically, the user takes turns with the application and tries to mimic the colors the application has chosen. For example, if the app starts out by choosing blue, then the user should, afterwards, press the blue button. Then, the application will repeat the already-chosen color blue and then choose a new color, for example, red. Then, the user should press the blue button, followed by the red button. This pattern continues until the user is unable to remember the right combination of colors.
For this small application, we will use the Xcode project we already created (and named Simon Says). Let's open up Main.storyboard and delete the button we already added to ensure that we start from scratch. You can delete the button by selecting it and then pressing Backspace.
Then, we will drag four plain views onto the canvas; one for each corner. The view is called View in the list and can be found towards the bottom:

Then, by selecting each of the views individually, we are able to set the background color of the button in the Utilities area on the right. For each button on the canvas, we will apply a different background color, such as green, red, yellow, or blue. If the specific color you want does not appear on the list, you can click on Other at the bottom of the dropdown to select another color using a color picker:
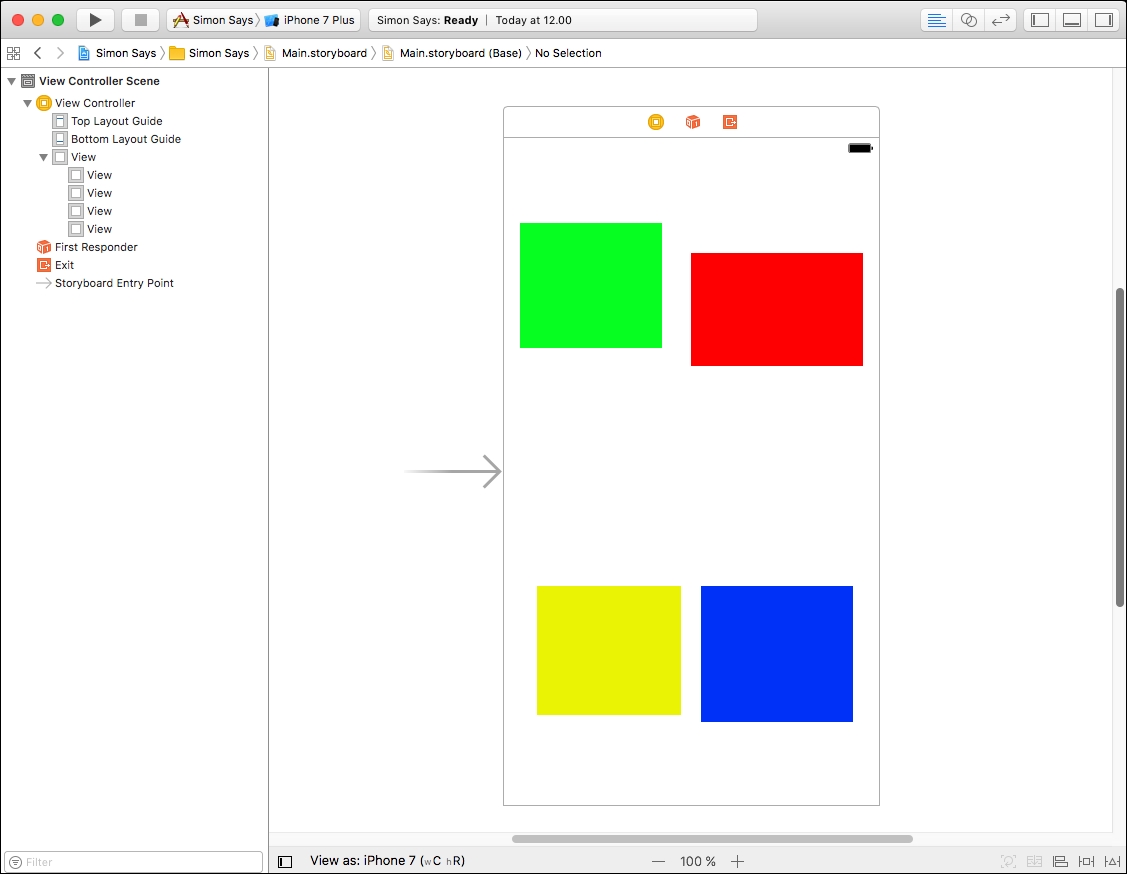
Having four views on the canvas, one for each corner, we will make them fill up approximately 25% of the screen each, by positioning the views and dragging their corners in order to resize them:
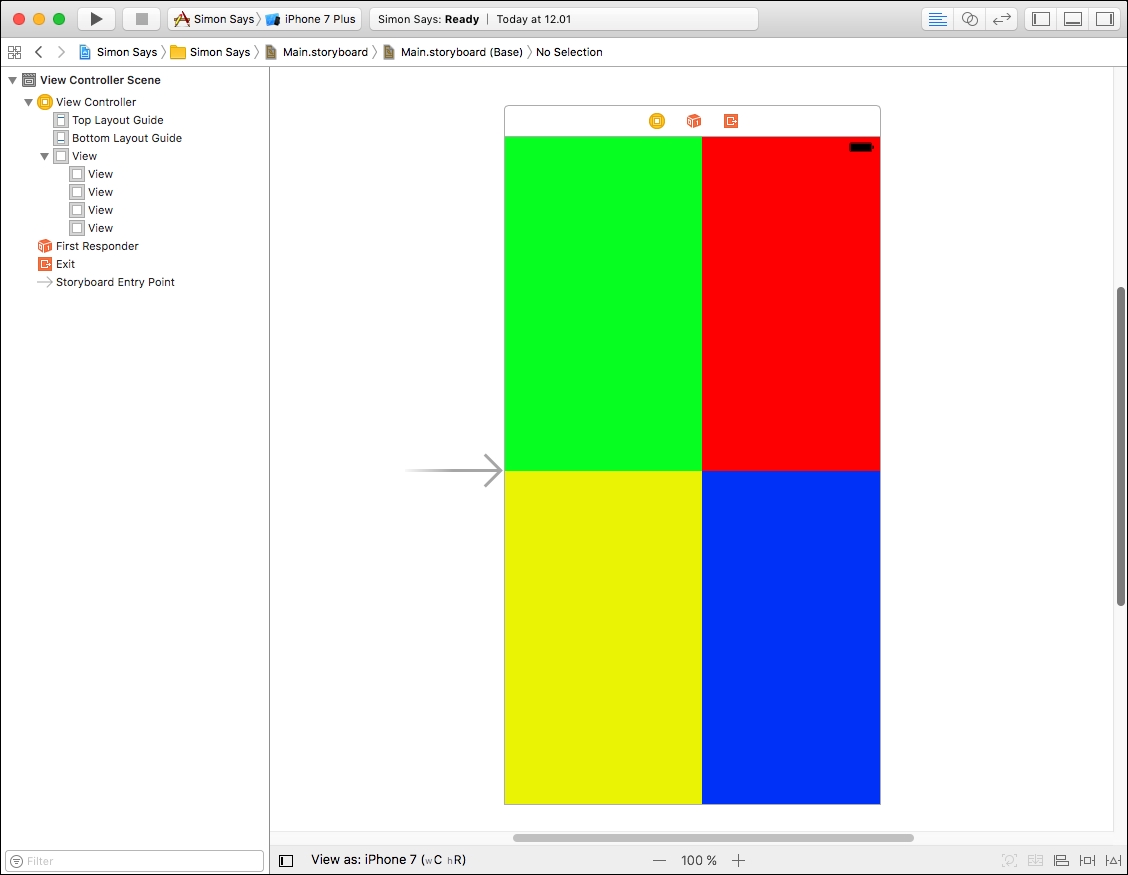
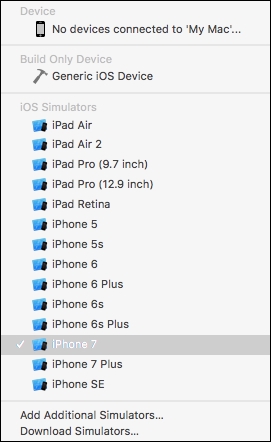
If we take a look at the bottom of the IB, it should say something like View as: iPhone 7, which means that the canvas we have been using to design our interface has been based on the screen size of an iPhone 7. If we now ensure that we select the iPhone 7 as the device for our simulator (close to the play/run button), we should be able to see our interface as we have designed it:
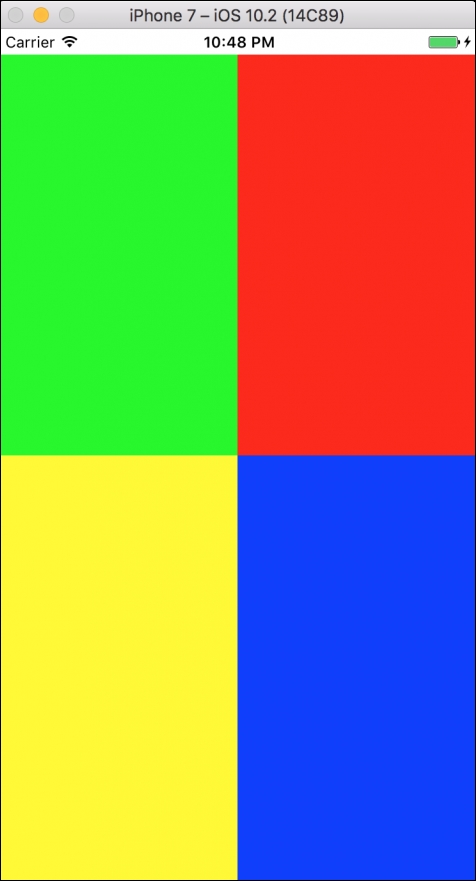
Running the application will open up the simulator and the interface should look similar to how we designed it:

This is quite exciting, as we have now designed our very own UI. It is running on a simulator (which mimics a real device), and is looking as we designed it. Good job!
The way we designed our interface using Xcode's IB was fairly straightforward, as we basically just dragged and dropped the elements we wanted to have in our interface and, afterwards, repositioned them to our needs. However, there is a bit more work to making a UI that will scale across devices with different screen sizes. If we try to run our application on an iPhone 7 Plus opposed to the iPhone 7, we should see the following view:

This shows that the UI we designed for the iPhone 7 does not scale as the size of the screen grows. To fix this, we need to look at other strategies for laying out a view, which will be covered in the next chapter.