
41. POSING THE BODY
![]()
THERE ARE SO many possibilities when it comes to posing bodies that there isn’t enough room in this entire book to cover them. There are many large volumes dedicated to this particular art of the portrait genre. On top of that, different portrait purposes dictate the types of appropriate poses available (you wouldn’t make a person lay in the grass to make professional headshots, would you?). However, regardless of what type of portrait you are making, there are a few take-to-the-bank considerations for posing the body from the neck down.
I’m sounding like a broken record, but my main concern with composition and posture is whether or not I’m visually conveying a sense of dimension. My primary approach is to position the body so the eye isn’t strained to see this value of depth. There is a lot to be said for positioning your subject so that their entire body is facing the camera, especially if the light or portrait style calls for it (Figure 41.1). However, rotating your subject slightly provides a hint of dimensional depth to their body, shows off their form, and forces the eye to look deeper into the shot, even if the subject is the only thing in focus (Figure 41.2).
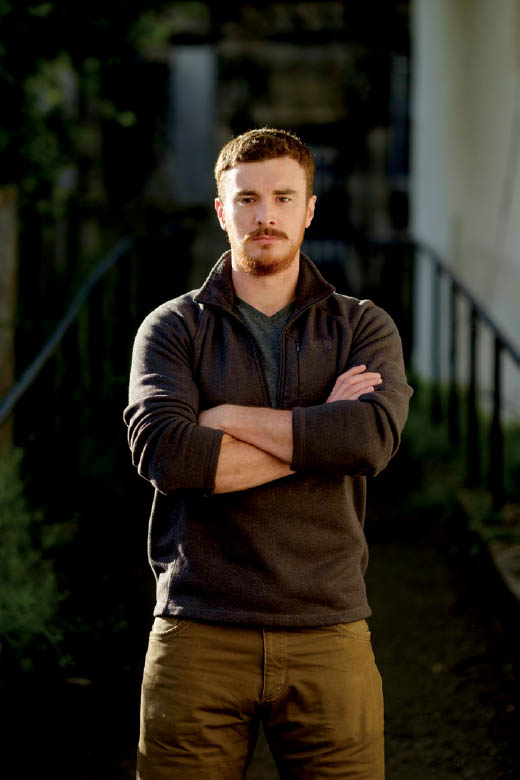
41.1 A front-facing body position can be effective, but only if the shadows cast across or from the subject are apparent. Otherwise, the depth in the image is greatly reduced.
ISO 200; 1/1700 sec.; f/2; 90mm
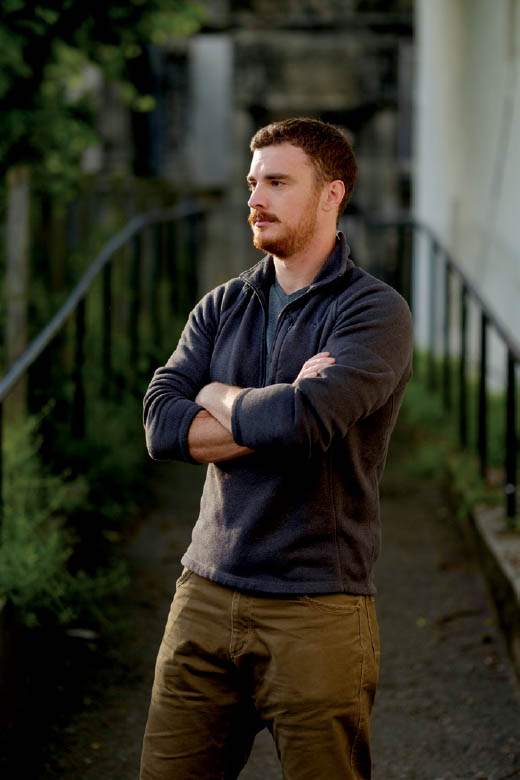
41.2 Turning the subject’s body by 45 degrees allows the eye to now view across the body while also looking into the shot. Slightly adjusting the angle at which the subject was facing the camera now implies depth into the entire frame.
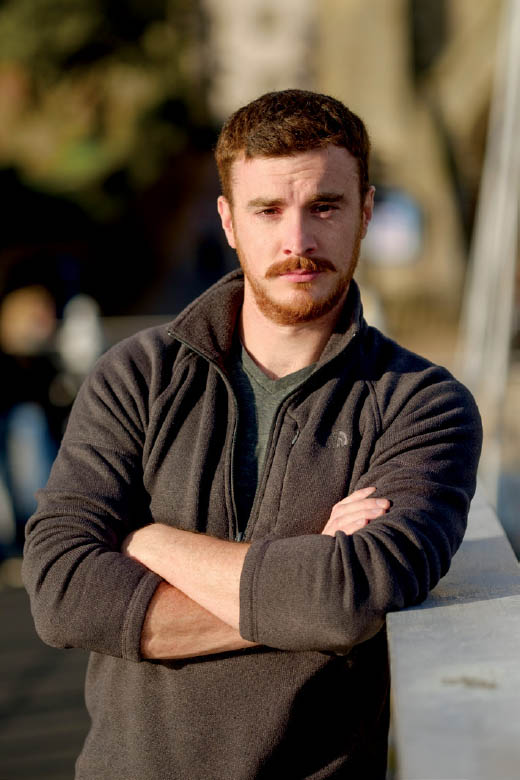
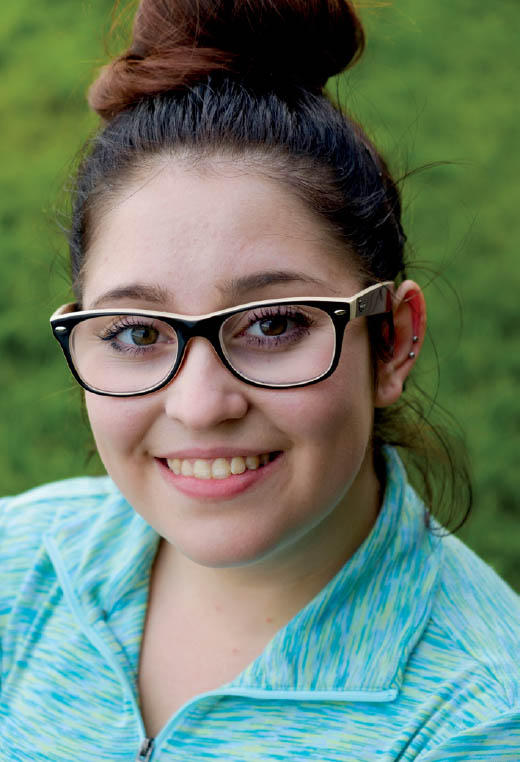
Creating an angle to the photographic plane of focus also increases the dynamic appeal of the image. If the subject is still looking straight forward, they will not be looking at the camera, conveying a sense of wonder that is popular in portraiture. Turning their face back toward the camera, especially if you tilt their head one way or the other, also creates a nice line (Figure 41.3). The next time you are on a shoot (and every shoot thereafter), instead of shooting into your subject’s body, consider shooting across it. Turn their body into the light for a brighter portrait, or angle your subject away from the light to increase drama in the shadows (Figure 41.4 and Figure 41.5).
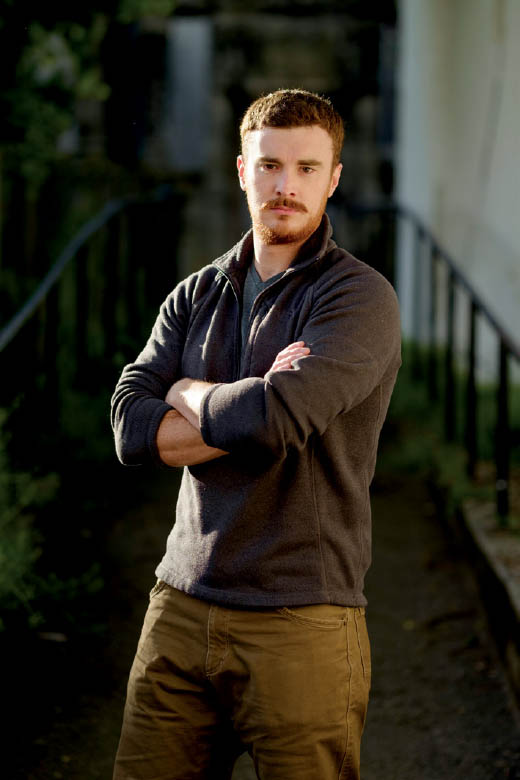
41.3 Turning the head toward the camera and slightly tilting it to camera right adds another compositional element to the frame: an implied diagonal line moving across the frame from bottom left to top right.
41.4 Turning the body into the sun, even direct light, alleviates the emotional drama created by the shadows in many cases.
ISO 200; 1/4000 sec.; f/2; 90mm
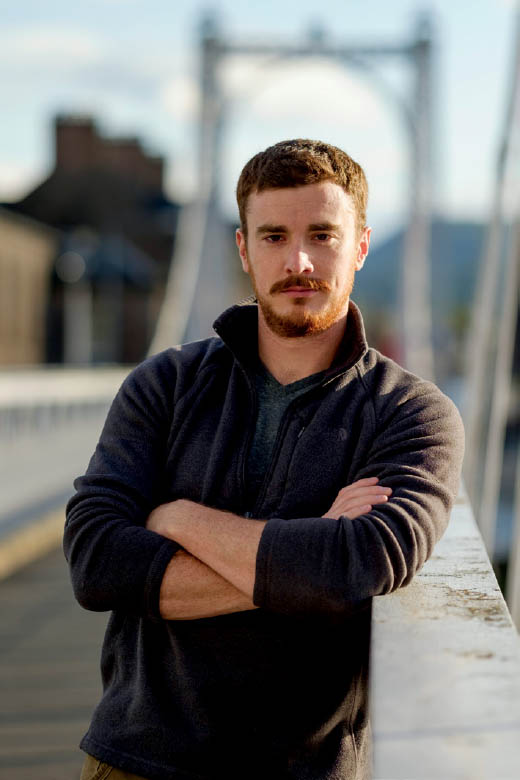
41.5 I often favor angling the body away from the sun to increase the edginess of the contrast between light and shadow. This translates into a more dramatic portrait with deeper, possibly darker, meaning.
Bend Your Subject’s Arms
Joints bend. Elbows, knees, fingers, and the like give character to the body, especially when they appear as if they are (or just were) in motion. When photographing your portrait subject, one of the major considerations to make is whether or not bending her arms (or other joints) contributes to the image.
Bending at least one of your subject’s arms away from their body contributes to the image’s overall composition in creating more lines (Figure 41.6). It also creates visual separation from the body, making it seem slimmer. It creates more body dimension, and it looks more relaxed and natural. In the end, bending an arm or two looks more interesting and active.
There are a number of ways to bend arms and other joints to create appealing poses. That being said, you’ll know when the pose appears awkward, and the subject will more than likely let you know if they feel odd. It’s not a bad idea to ask her if she feels comfortable, and if not, coach her into a better position. Review the portraits you like and see how they incorporate bent arms and joints, and you’ll get a feeling of how far to take it in your own work.
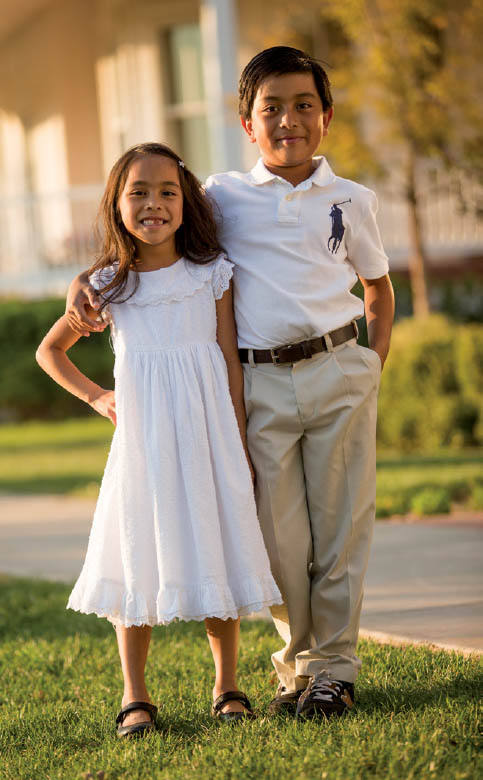
41.6 A bent arm as the result of a hand placed on a hip, creates a portrait that seems more relaxed, and even spunky, especially given the age of your subjects. Since separation is made from the body, a bent arm also allows for a better visualization of the subject’s form.
ISO 200; 1/1000 sec.; f/2.8; 130mm
Just as some portrait subjects are sensitive about their noses, others can be sensitive about their weight. Not everyone has the anatomical build of a runway model, so it is important to be considerate of your shooting position when it comes to those subjects who can be perceived as heavier than the average person. In this case, avoid shooting them from below (Figure 41.7). Photographing from a low angle at any focal length can visually increase their size since you are positioning other parts of their body, namely their midsection and arms, closer to the camera than their head. Keep in mind that the closer you get to your subject, the more dramatic this effect will seem. Unless your stylistic intention is to create an intimidating, overpowering portrait of the subject, it’s best to photograph them from eye level or slightly above. Shooting from a higher angle on a larger subject is relatively slimming, largely due to the angle, which forces the subject to raise their head, which helps elongate their neck and reduce a double chin (Figure 41.8).
I also try to steer away from photographing any subject from a high angle with a wide focal length. Doing so makes the subject look like an inverted triangle, especially if you’re aiming to make it a full-length shot that includes their feet (Figure 41.9). This issue will appear no matter the subject’s size, and you’ll more than likely make this mistake while shooting and notice it afterward during the edit. Shooting from a high angle with a wide focal length distorts the body, and the higher your angle, the more noticeable the effect. In this case, consider using a longer focal length (85mm or longer) to drastically reduce this unattractive effect (Figure 41.10).
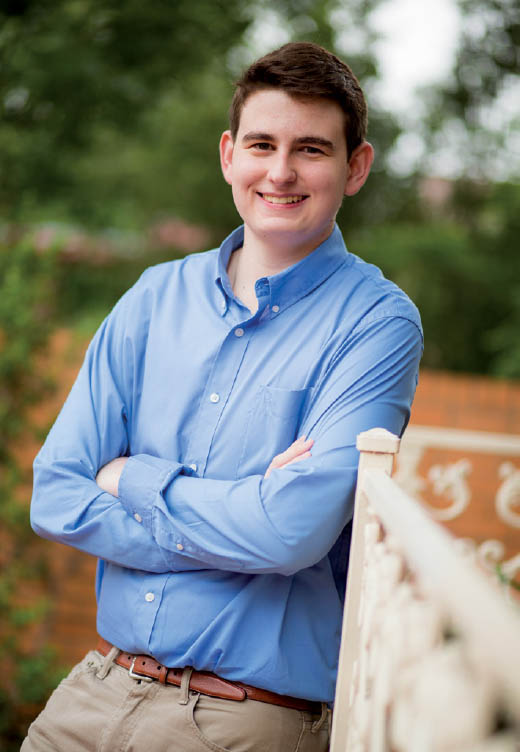
41.7 Although this subject is no where near being overweight, his height and build make him appear heavier when shot from slightly below his eye level.
ISO 200; 1/250 sec.; f/1.8; 85mm

41.8 Changing up my position to one that shoots down on the subject slims him up a bit from a lower angle.
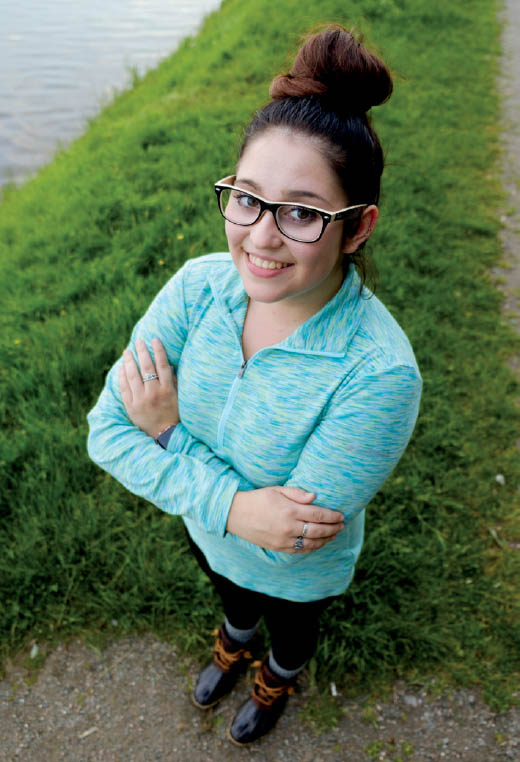
41.9 Although this is an extreme example, it nonetheless emphasizes why photographing your subject with a wide angle focal length from above is not a good idea. The expansive perspective of the focal length drastically elongates the body and makes the structure closest to the lens (head and shoulders) seem much larger than what is farther away (feet). In turn, the subject looks somewhat like an inverted triangle.
ISO 400; 1/250 sec.; f/2.8; 18mm
41.10 Simply using a longer focal length reduces the expansive perspective and more appropriately exhibits the subject’s form.
ISO 400; 1/140 sec.; f/4; 55mm
Lastly, I encourage you to pose your subject’s entire body, even if the majority of it will not be in the resulting portrait. For example, I’ll have a subject turn their body slightly away from the camera, sit up or stand up straight (but not uncomfortably), and cross their arms for some headshots (Figure 41.11 and Figure 41.12). Their crossed arms and feet will not be in the portrait, but in posing the whole subject, the effect will be noticeable in the portrait. The angle will create depth and dimension to the body, and the crossed arms and repositioned feet will provide an overall comfortable look to the subject’s shoulders, which creates a visually strong line in the frame. Posing the subject, even if their body is not going to be in the portrait, gives them something to do; it keeps the subject involved in ways other than looking into the lens. It might even give them the inspiration to pull off a certain look you both want in your images.
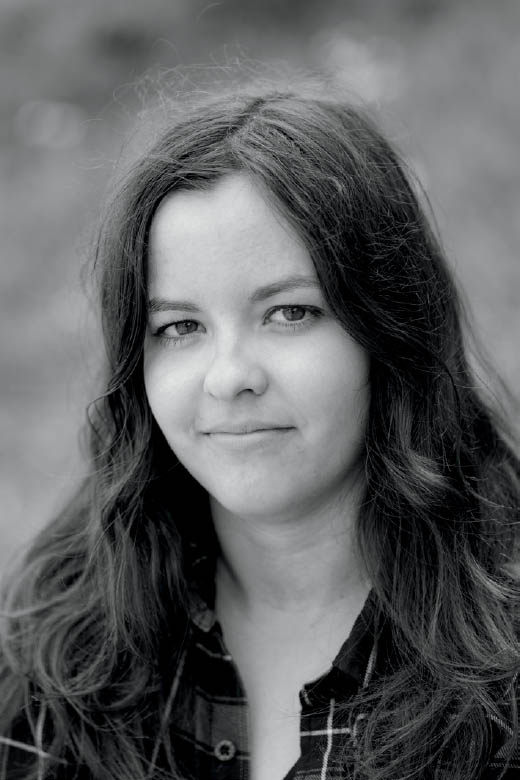
41.11 A simple headshot often does not show just how set up the shot is since it concentrates solely on the face.
ISO 200; 1/800 sec.; f/2; 90mm

41.12 It’s a good idea to completely pose your subject before making a headshot. It often creates a nice angle for the image and a level of comfort for the subject.