Here’s the easiest of all ways to get photos from your camera onto your computer. In fact, I’d say that it doesn’t get much easier than this. If you’ve got a digital camera and you’ve taken some photos, then the tutorial you’re about to read will show you how to transfer them onto your computer. Now, if the photos you have aren’t on a digital camera and you need to scan them, then feel free to skip this one and go to the next tutorial to find out how.
Method 1: Using a Card Reader
This is actually the way most people prefer to get photos onto the computer. First of all, it’s really easy because you can purchase a card reader at just about any type of electronics store. Next, it’s somewhat safer than connecting your camera directly to the computer because you can risk losing photos if, say, your camera battery runs out during the transfer.
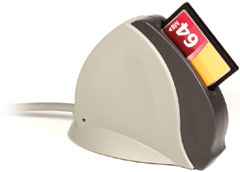
First, remove your memory card from your camera and place it into the card reader.
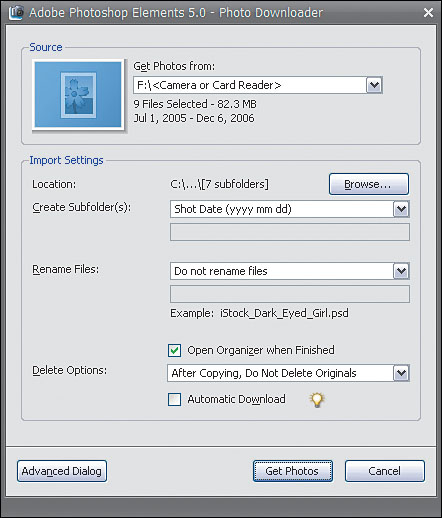
Your computer will probably think for a moment or two, and then you’ll see the Adobe Photo Downloader pop up (assuming you already have Photoshop Elements installed on your computer).
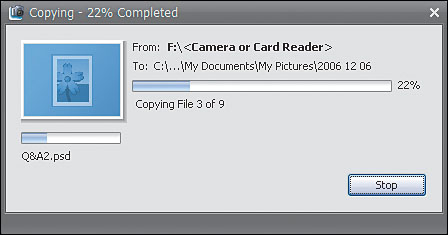
Select the photos that you want to download and click on the Get Photos button. The download process will begin and you’ll see a smaller dialog with a progress bar appear. This can take anywhere from a few seconds to a few minutes—it’ll just depend on how many photos you have on your memory card. Note: Some cards can hold up to 8 GB, and if the card is full, you may want to go have a cup of coffee (or four) while the photos are transferring.

Method 2: Connecting the Camera Directly to the Computer
Most cameras come with a cable that connects the camera directly to the computer. This method is okay, but it has two disadvantages: (1) it’s usually slower than using a card reader, and (2) it’s prone to errors, since if something happens when the photos are transferring (like the battery in the camera goes dead), you may lose your photos.
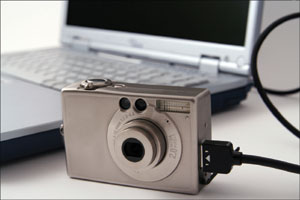
Connect the cable from the camera to the computer.
Your computer will probably think for a moment or two, and then you’ll see the Adobe Photo Downloader pop up.
Select the photos that you want to download and click on the Get Photos button. The download process will begin and you’ll see a smaller dialog with a progress bar appear. As I mentioned earlier, it’s slower than the previous method, so expect to wait as much as double the amount of time as you would when using a card reader.

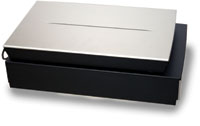
So, you’ve been shooting digital photos for a while now. You have all of your recent memories on the computer but you’re missing something. You keep thinking how you’d love to do something more with some of those older photos. That’s where a flatbed scanner comes in. A flatbed scanner scans photos onto your computer in a manner similar to a photocopier. Now, it doesn’t matter how old these photos are—one year old or 100 years old. If they’re not digital, then you’ll need another way to get them on your computer and a scanner is it.
I hate to mention the obvious here, but you’ll need a flatbed scanner to start. You can get a great scanner for under a hundred bucks from any electronics or computer store. However, as with many things in life, you get what you pay for. I actually use the Epson Perfection V750-M PRO. It costs a little more than some of the cheaper ones you’ll find out there, but let me tell ya—it’s worth every penny. The scanning speed and quality of image that this scanner produces blows the other ones out of the water.
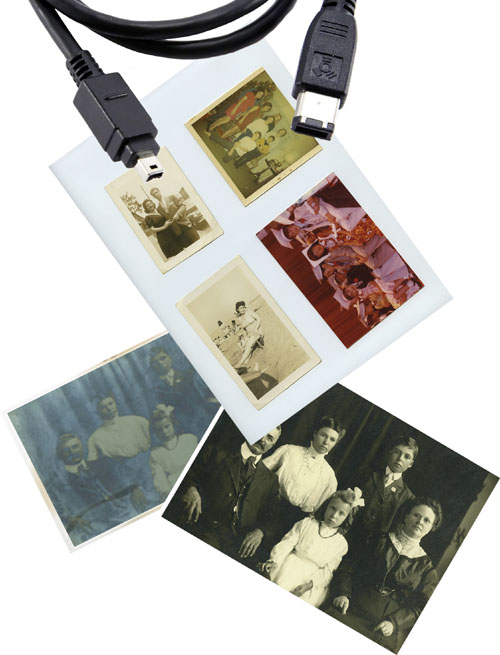
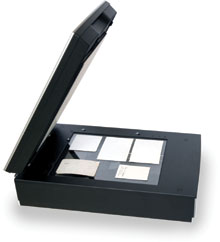
Get the photo (or photos) that you want to scan and place it on the scanner. If you’re scanning multiple photos (also called a “gang” scan), place as many as you can fit, but be sure to keep them at least ¼-inch apart so they don’t overlap.
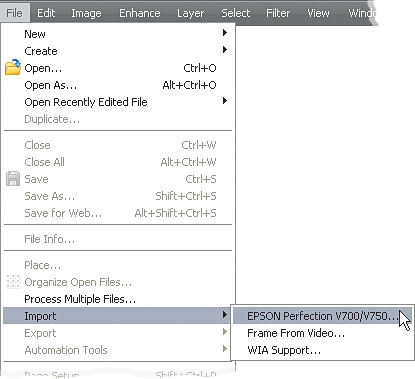
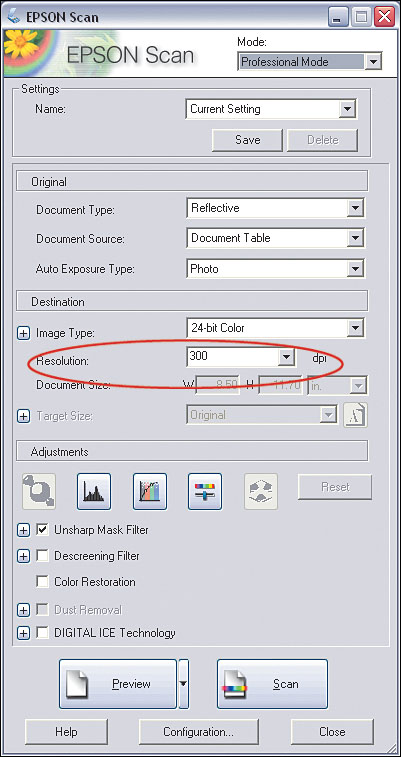
Inside Elements, choose File>Import>Your Scanner’s Name. This will most likely launch a scan dialog where you can tweak the settings for scanning. Here’s where it gets a little tricky, but I’ll show you what to look out for. First and foremost, the main thing we’ll need to be concerned about is the resolution setting. If you’re thinking about printing this photo, then you’ll want to set the resolution to 300 dpi. That’s actually a bit higher than you’ll need, but not by much and it gives you some wiggle room later in Elements, in case you need it.
Tip
Most scanning software will do some automatic corrections for you. I encourage you to stay away from those settings. Photoshop Elements is a much better tool for getting the best results. After all, Elements was built for that; your scanning software was not. Plus, you have this book and I show you how to fix the same things that the scanning software will try to, but better.
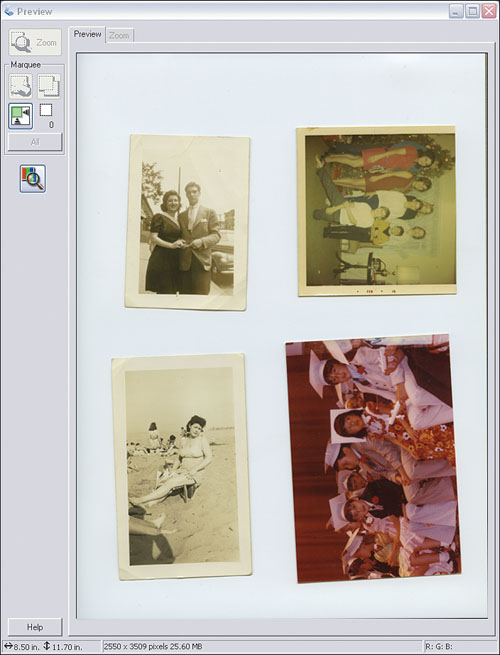
Most scanning software has a Preview button somewhere near the actual Scan button. Go ahead and click it to preview your scan just to make sure that it looks as expected.
When you’re satisfied that the photo(s) is placed correctly and is ready to be scanned, press the Scan button. The time this takes really depends on the quality of your scanner. The Epson Perfection V750-M PRO takes about 20 seconds, but I’ve owned scanners that can take as long as a few minutes. When it’s done, you’ll have a new image window open in the Elements Editor. First things first: save the image by choosing File>Save As. Give it a descriptive name, choose the PSD format, and click Save. Now it’s on your computer and you’re ready to roll (when I say “roll,” I mean you’re ready to move on to the rest of the book).
Okay, at the end of the previous tutorial, I mentioned I had a killer trick to help you when you’re scanning multiple photos. I’ve got to tell you that this trick totally rocks! You’ll be amazed at the time it saves. In fact, I’ve seen two emotions come to light when I show this: (1) extreme happiness, and (2) extreme anger. The anger is mostly from the folks who never knew this trick existed and spent countless hours manually dividing scanned photos.
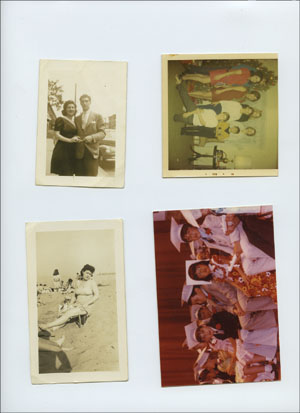
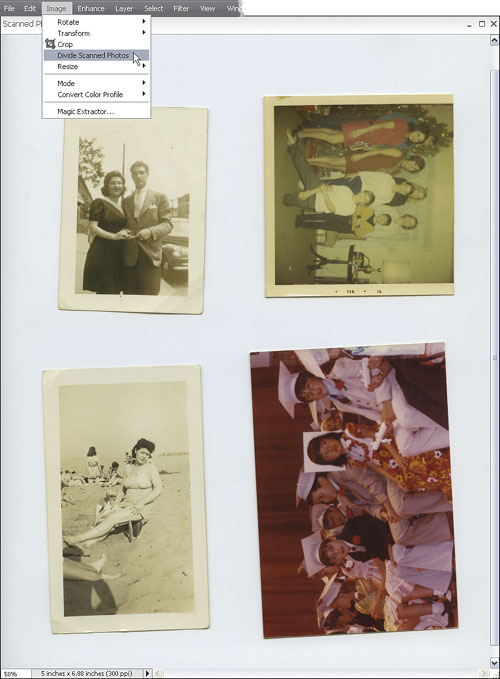
Let’s say you’ve scanned several photos like the document shown here. While I was scanning, I was careful to include at least ⅛-inch of space (preferably ¼-inch) between each photo. Once the image is in Elements, go to the Image menu and choose Divide Scanned Photos.
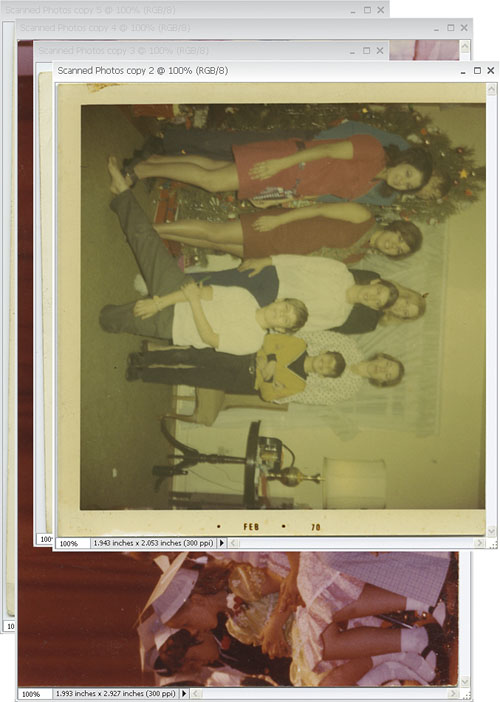
You’ll see Elements do some fancy work on the screen for a minute and then, almost magically, you’ll see that all of your photos are in separate documents. How’s that for service? Now you don’t have to worry about it. Just save all those photos as PSD files (File>Save As) and you’re ready to roll (you should already know what I mean by that).
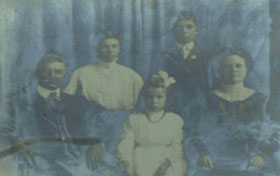
The first time I taught this technique, I forgot to mention the most important part—why? Needless to say, I was met with many puzzled looks. So, why in the world would you take a photo of a photo? Well, without getting too technical, a scanner uses light when it scans your photo. Some photos, especially old ones, have a reflective coating on them that doesn’t turn out too well on a scanner. So, you’ll need another way. Taking a photo of a photo is it.
This is actually more technique than it is Photoshop Elements, but I think it’s important given the subject of this book. I’ve started by scanning the photo first to give you an idea of what it looks like when scanned. As you can see, that reflective surface has wreaked havoc on the photo.
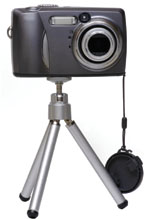
One of the most important aspects here is keeping the camera absolutely still. To do this you’ll need a tripod, regardless of whether you’re shooting with a point-and-shoot digital camera or a digital SLR. If you don’t have a tripod, then consider putting the camera on a bookshelf, table, or any other flat surface that’ll keep it totally still.
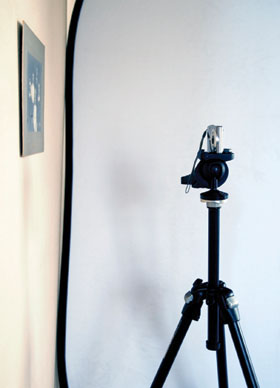
Next, you’ll need to set the photo up. There are two essential keys for getting a good photo of a photo. First, make sure the photo is straight in front of your camera when you’re shooting it—at a 90° angle to either the floor (if you’re using a tripod) or the flat surface your camera is resting on. You can lay the photo flat and shoot straight down at it, if you can set your camera up with a stable way to do that or you have a special piece of equipment that points your camera straight down, since a tripod won’t allow you to shoot straight down on the photo. Either way, you need to make sure your lens is pointed straight at the photo and the camera is stable. So, I suggest using the tripod or whatever flat surface you have and taping or pinning the photo up on a wall, so you can still shoot straight at the photo—it’s not straight down but it’s still totally fine.
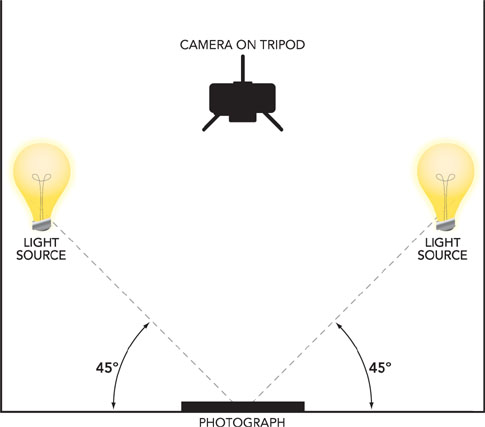
Now let’s talk about lighting. You may think you need a pro lighting setup, but you don’t. First and foremost though, turn the flash on the camera off. It’ll bounce light right back at the lens and give you worse reflections and lighting than you’d get if you scanned the photo. Even light is the best here and you can get that with some subtle indirect sunlight, like the kind you get from a covered window (just don’t place the photo too close to the window). You could also use the light you’d get from a lamp, as long as the lamp isn’t too close to the photo. Either way, try to place the light at a 45° angle to the photo. Even better, if you have two light sources, place them on either side of the photo at 45° angles.
You’re ready to take the shot, so go ahead and try it. It may take a few attempts at adjusting the lighting and exposure settings on the camera, until you get it right. When you do get it right, I suggest writing a quick note of what setup you used so you don’t forget if you have to do it again one day. When you’re done, just follow the tutorials earlier in this chapter for getting the photos from your camera onto your computer.