When setting up the hybrid scenario, you must plan out certain steps on the SharePoint server and Office 365. Setting up a common UPN between these two environments is the crucial first step. In this chapter, you will explore how to configure the underlying infrastructure to create a hybrid environment with SharePoint Server and Office 365.
Prerequisites
- 1.
Sign up for Office 365.
- 2.
Get a public domain (from Office 365-supported vendors like GoDaddy.com or any third-party vendor).
- 3.
Register the public domain with Office 365.
Adding a UPN suffix to the Local AD
The basic requirement is that the UPN configured in the local active directory must match the public domain name created and registered with Office 365. So, if the public domain registered with Office 365 is SharePointRocks.com, then the same should be used as a UPN suffix to be added to the local active directory.
Adding an Office 365-Registered UPN Suffix
- 1.
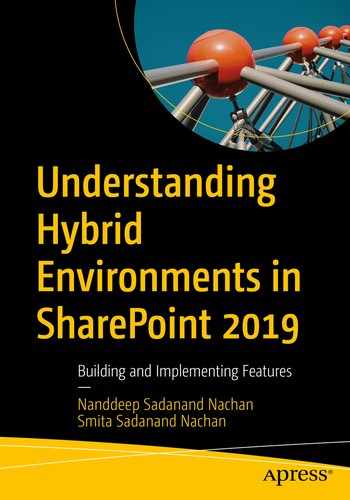
Open Active Directory Domain and Trusts.
- 2.
Right-click the root node and click Properties (Figure 9-1).
Active Directory domains and trusts
- 3.
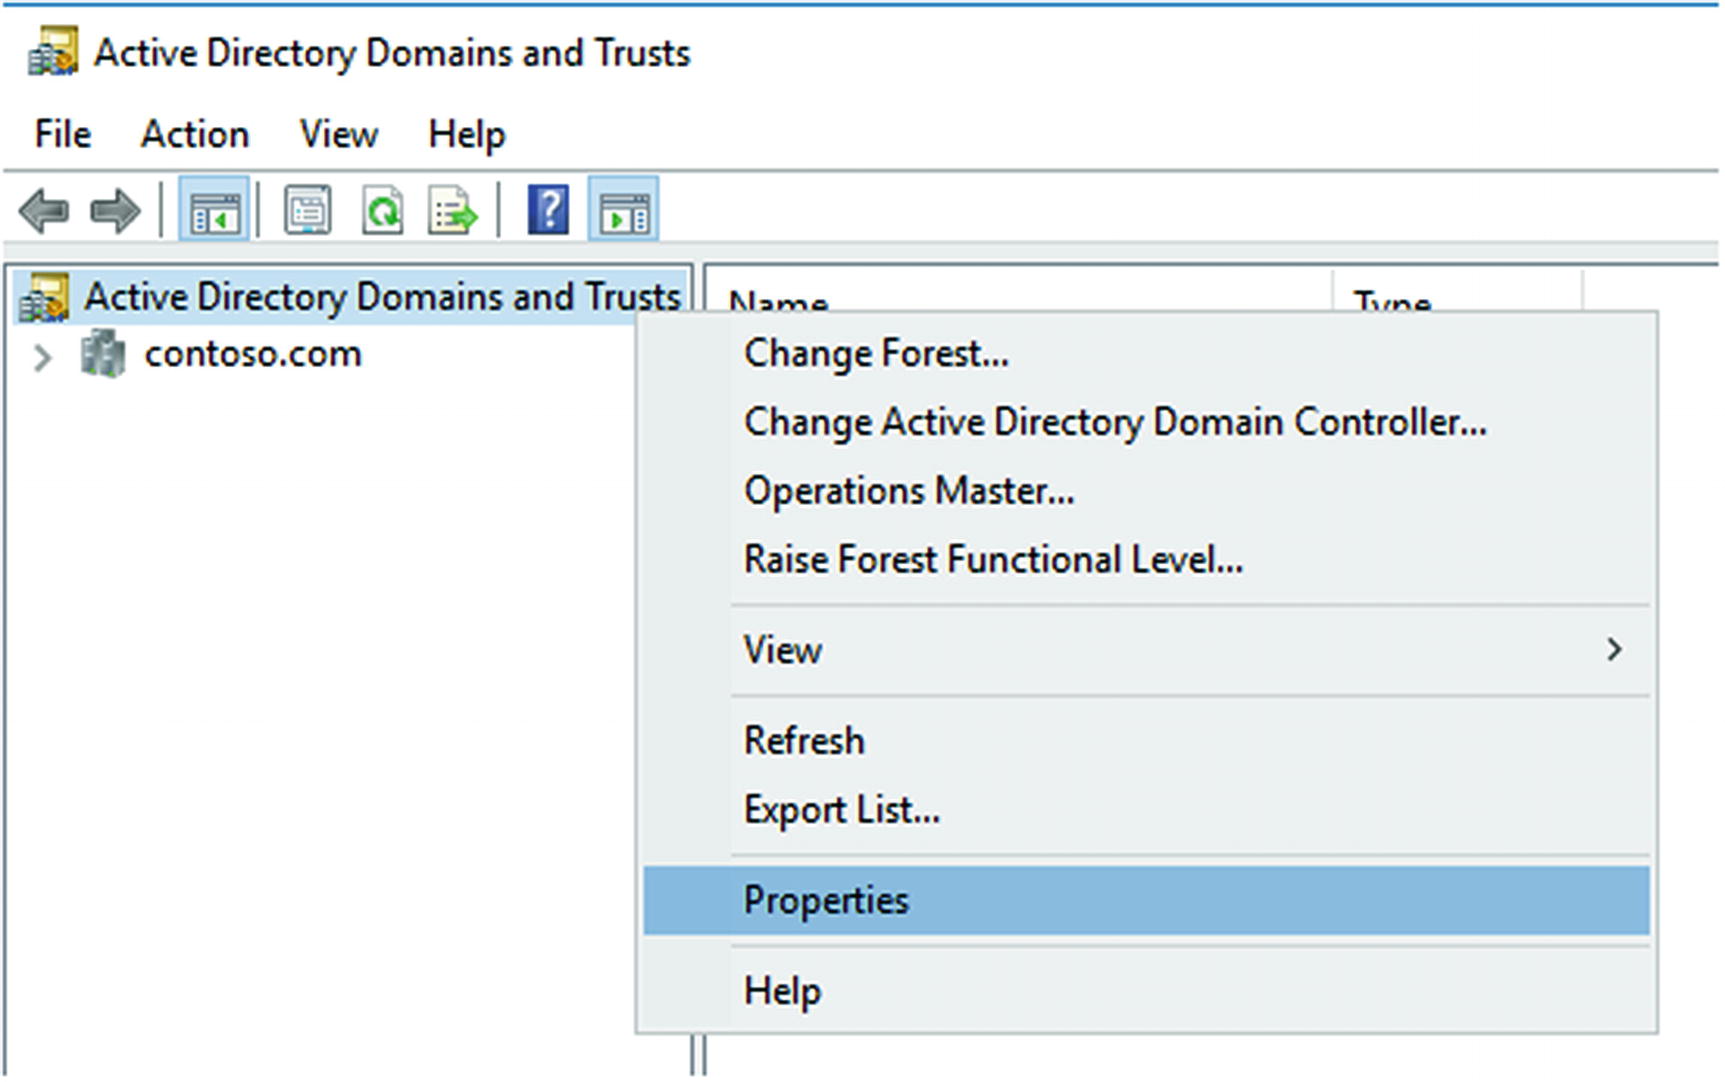
Add a Office 365-registered UPN suffix.
- 4.
Click OK (Figure 9-2).
Adding a Office 365-registered UPN suffix
Updating a UPN for a Single User
- 1.
Open Active Directory Users and Computers.
- 2.
Select any user to change the UPN.
- 3.
Change the existing local domain to the new UPN.
- 4.
Click OK (Figure 9-3).

Active Directory user properties
Managing Office 365 Directory from Azure Active Directory
- 1.
Open the MS Azure portal (https://portal.azure.com).
- 2.
Click Azure Active Directory ➤ Azure AD Connect.
- 3.
Click Download Azure AD Connect (Figure 9-4).

Connecting to Azure Active Directory
- 4.
This will navigate to the Microsoft Downloads Center.
- 5.
Download Microsoft Azure Active Directory Connect.
- 6.
Double-click the downloaded file to install it.
- 7.
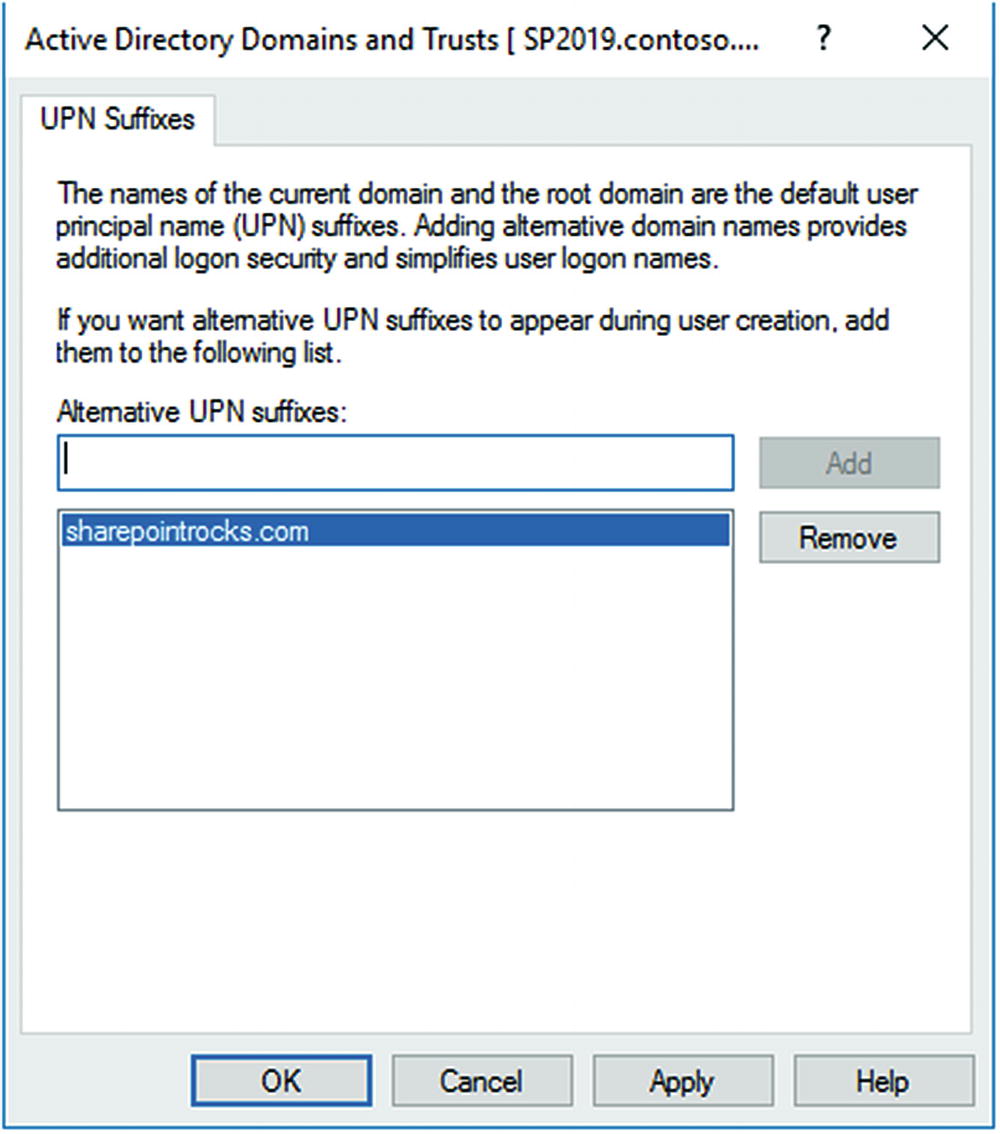
Check the I agree to the license terms and privacy notice box.
- 8.
Click Continue (Figure 9-5).
Microsoft Azure Active directory connect
- 9.
Click Use express settings to configure the identities of the local AD and synchronize.
- 10.
For more configuration options, click Customize (Figure 9-6).
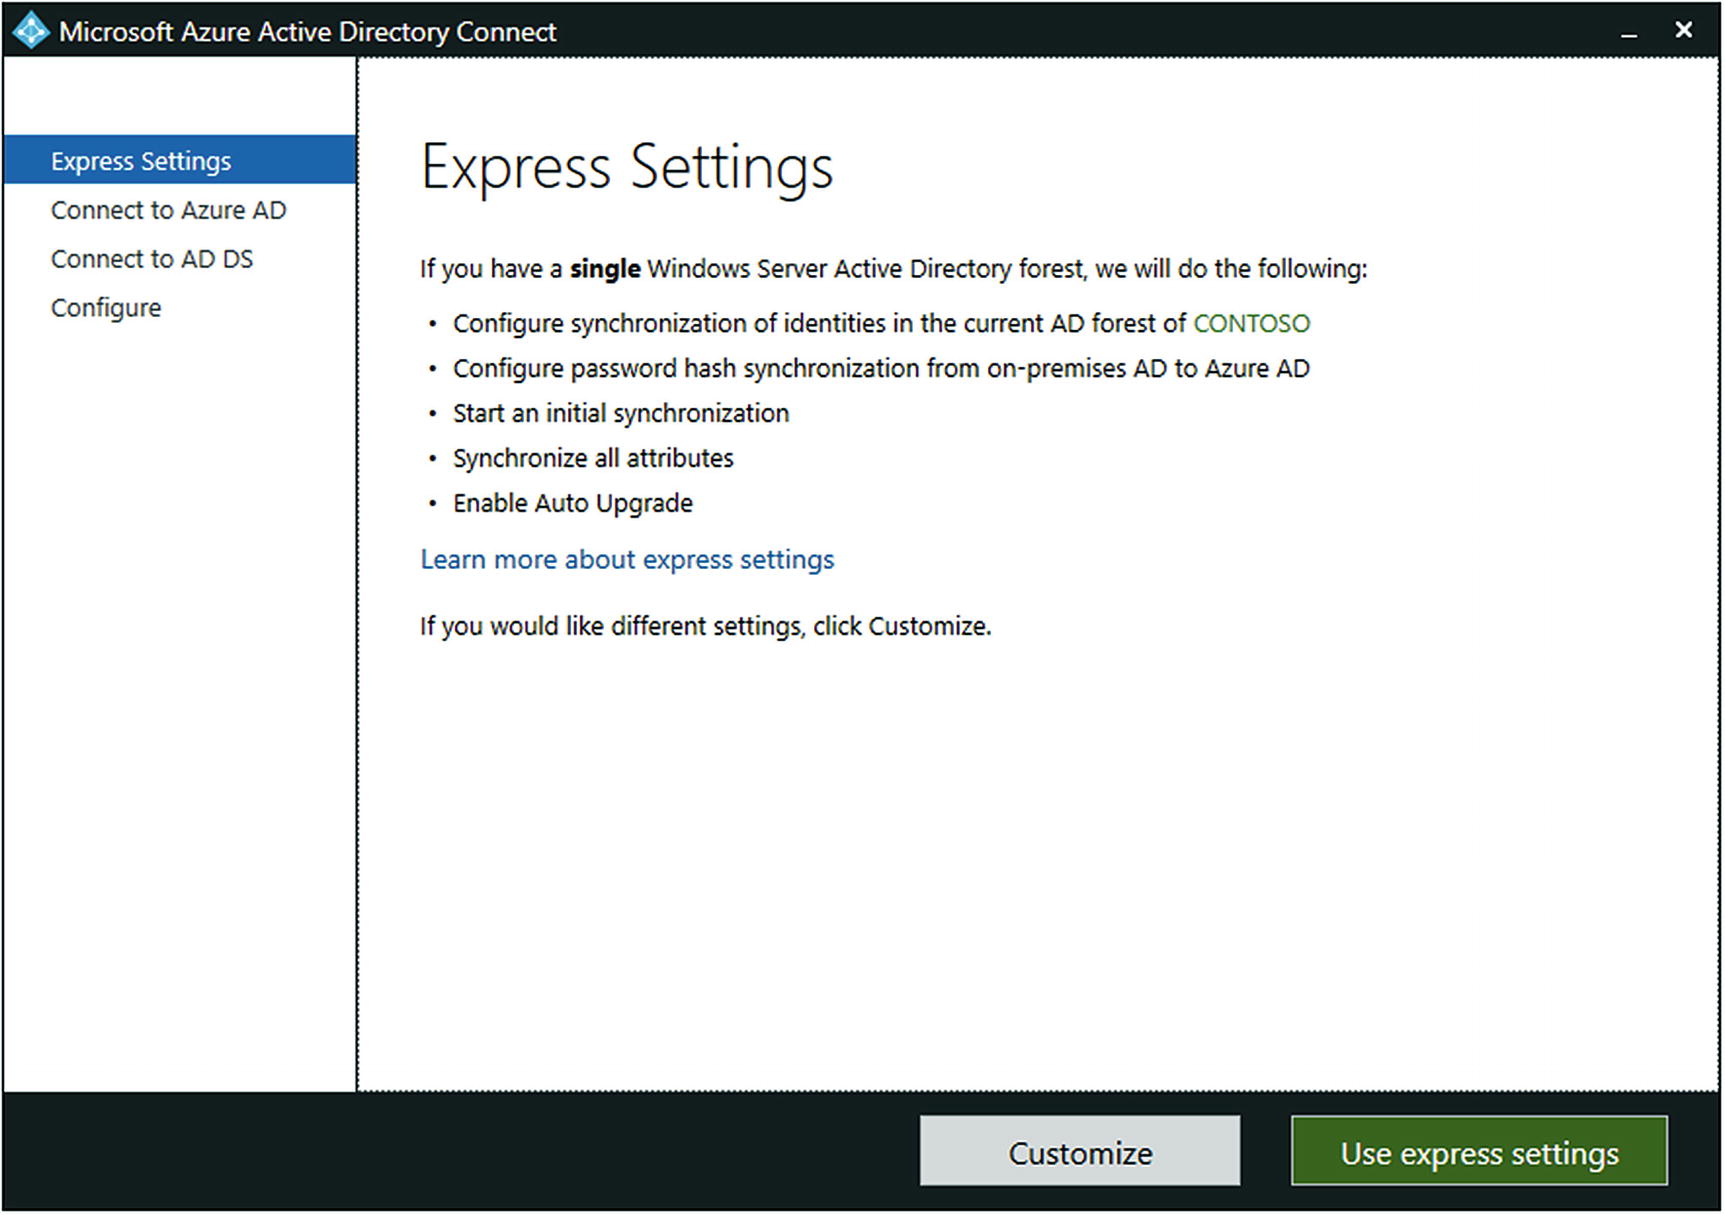
MS Azure AD connect express settings
- 11.
Specify Office 365 administrator credentials.
- 12.
Click Next (Figure 9-7).

Connecting to MS Azure AD
- 13.
Enter the Active Directory Domain Services enterprise administrator credentials.
- 14.
Click Next (Figure 9-8).
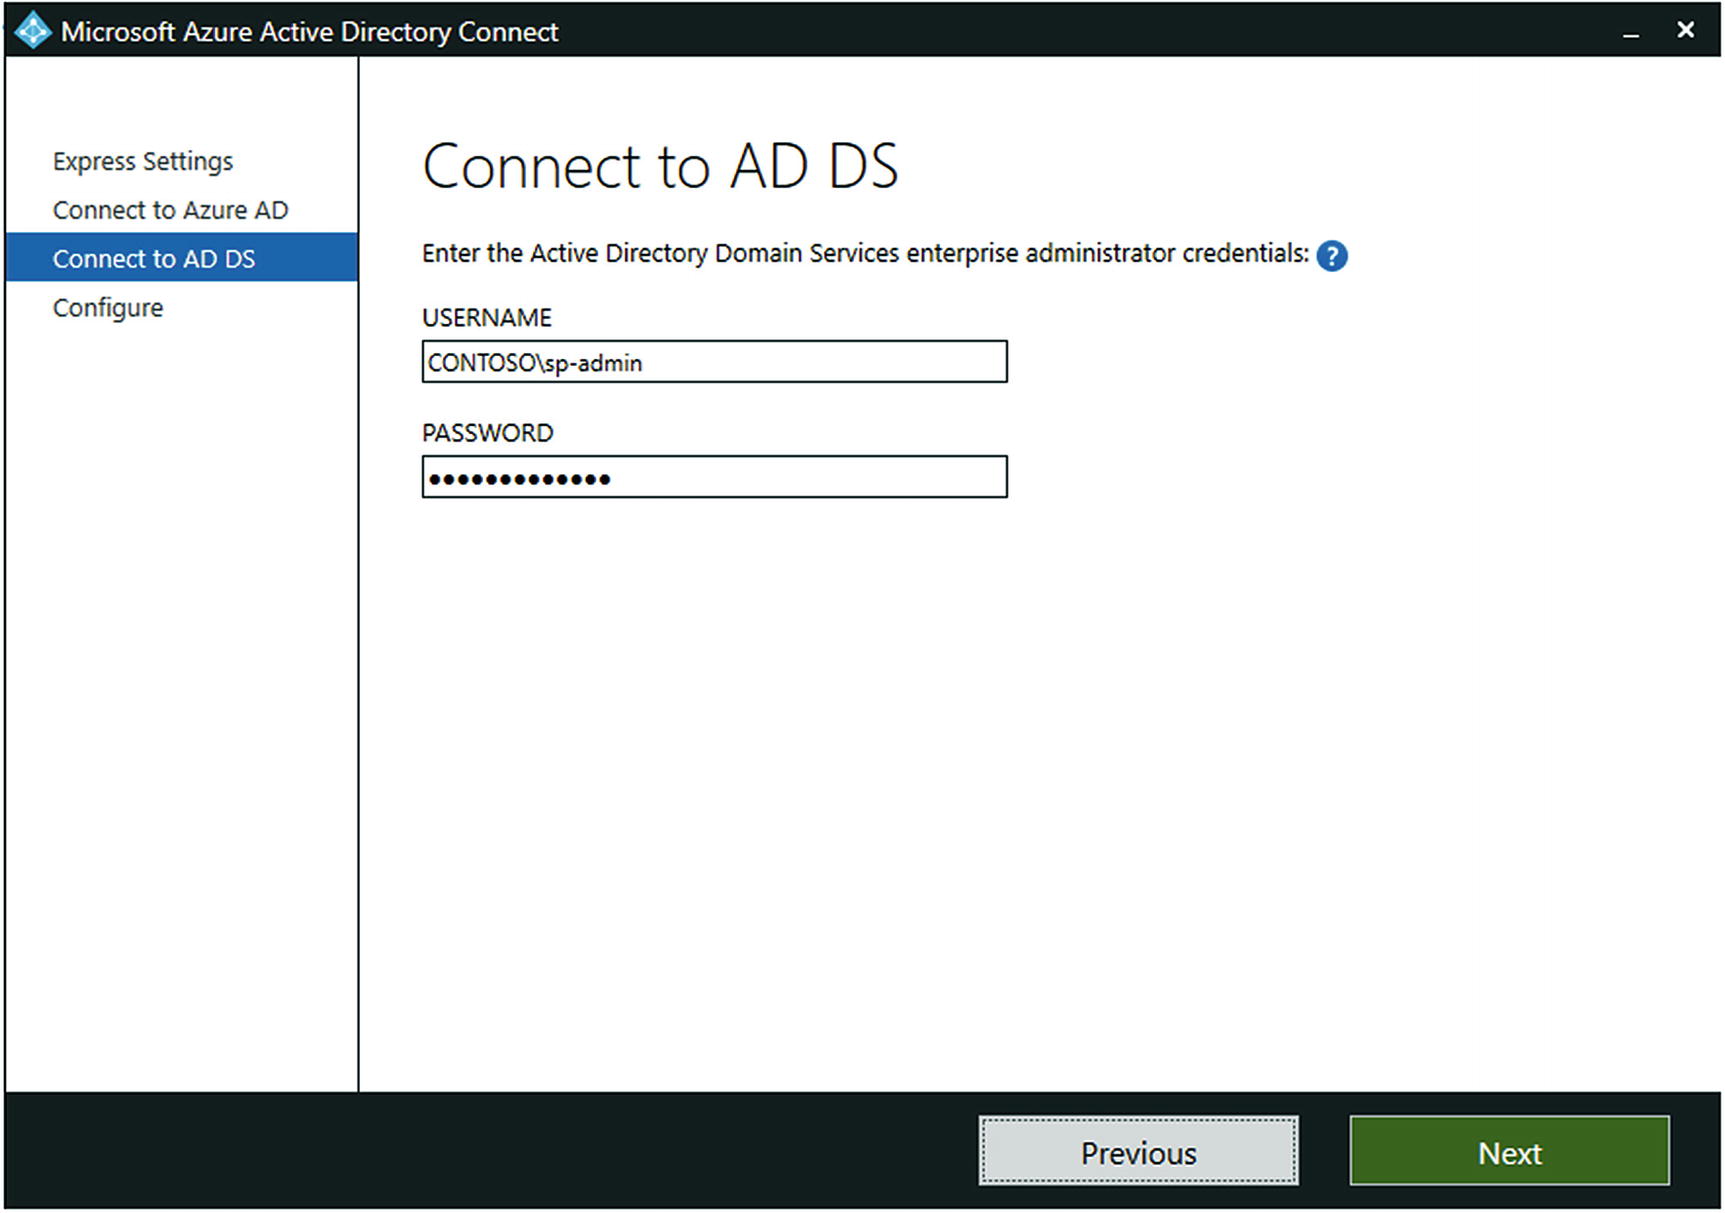
Connecting to AD DS
- 15.
Select the Continue matching all UPN suffixes to verified domains checkbox.
- 16.
Click Next (Figure 9-9).
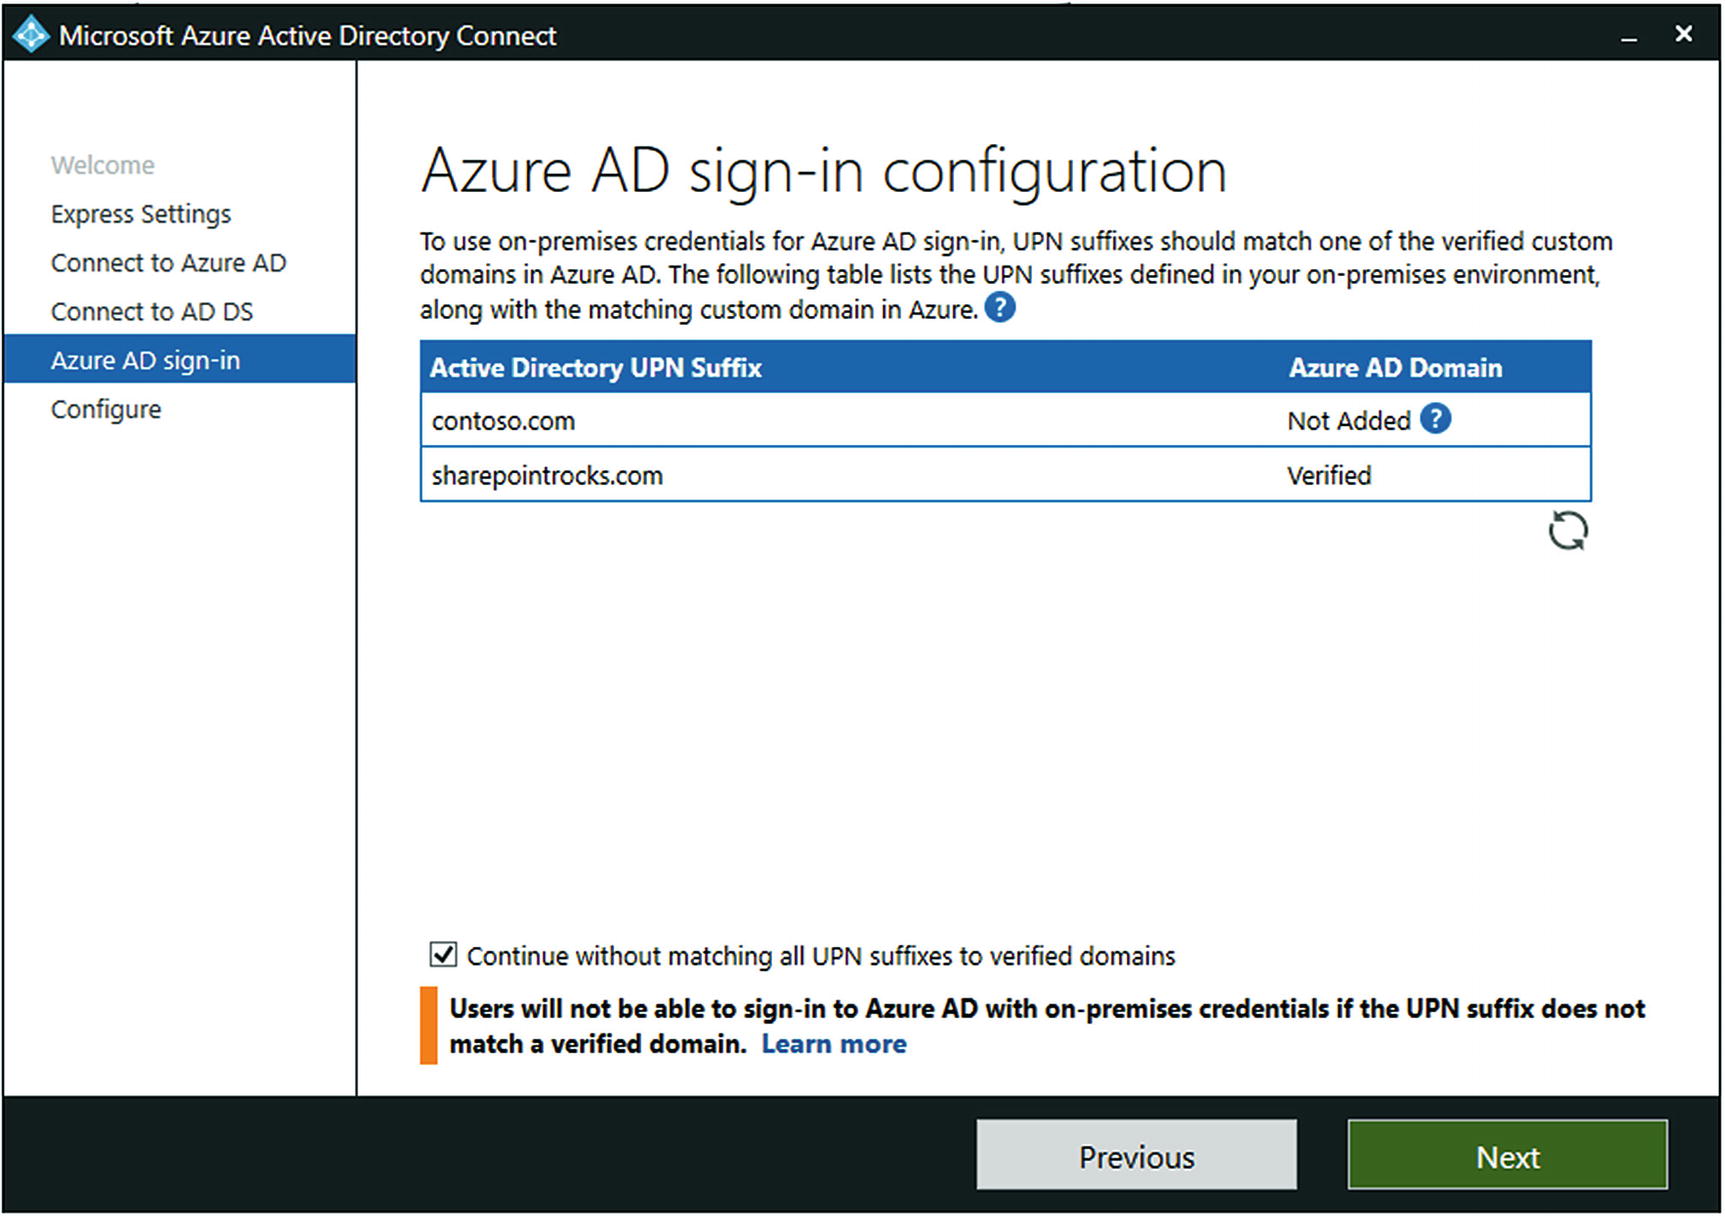
Azure AD sign-in configuration
- 17.
The wizard is now ready to configure. It will install the synchronization engine, configure the Azure AD connector for Office 365, configure the local AD connector, enable password synchronization, enable auto upgrades, and configure synchronization services on the installed machine (Figure 9-10).

Configuring Azure AD for the synchronization
- 18.
The service configurations will take place. It will take some time to connect to both active directories and synchronize the users (Figure 9-11).

Azure AD synchronization wizard
- 19.
Once the configuration is complete, check for any errors and warnings to fix.
- 20.
Click Exit (Figure 9-12).

Azure AD synchronization configuration completion
Verifying User Sync
- 1.
Open Microsoft 365 Admin Center.
- 2.
In the left menu, under Users, click Active users (Figure 9-13).

Verifying user synchronization
Assigning Licenses to Users
- 1.
Select the user to get a license.
- 2.
Select Manage product licenses (Figure 9-14).
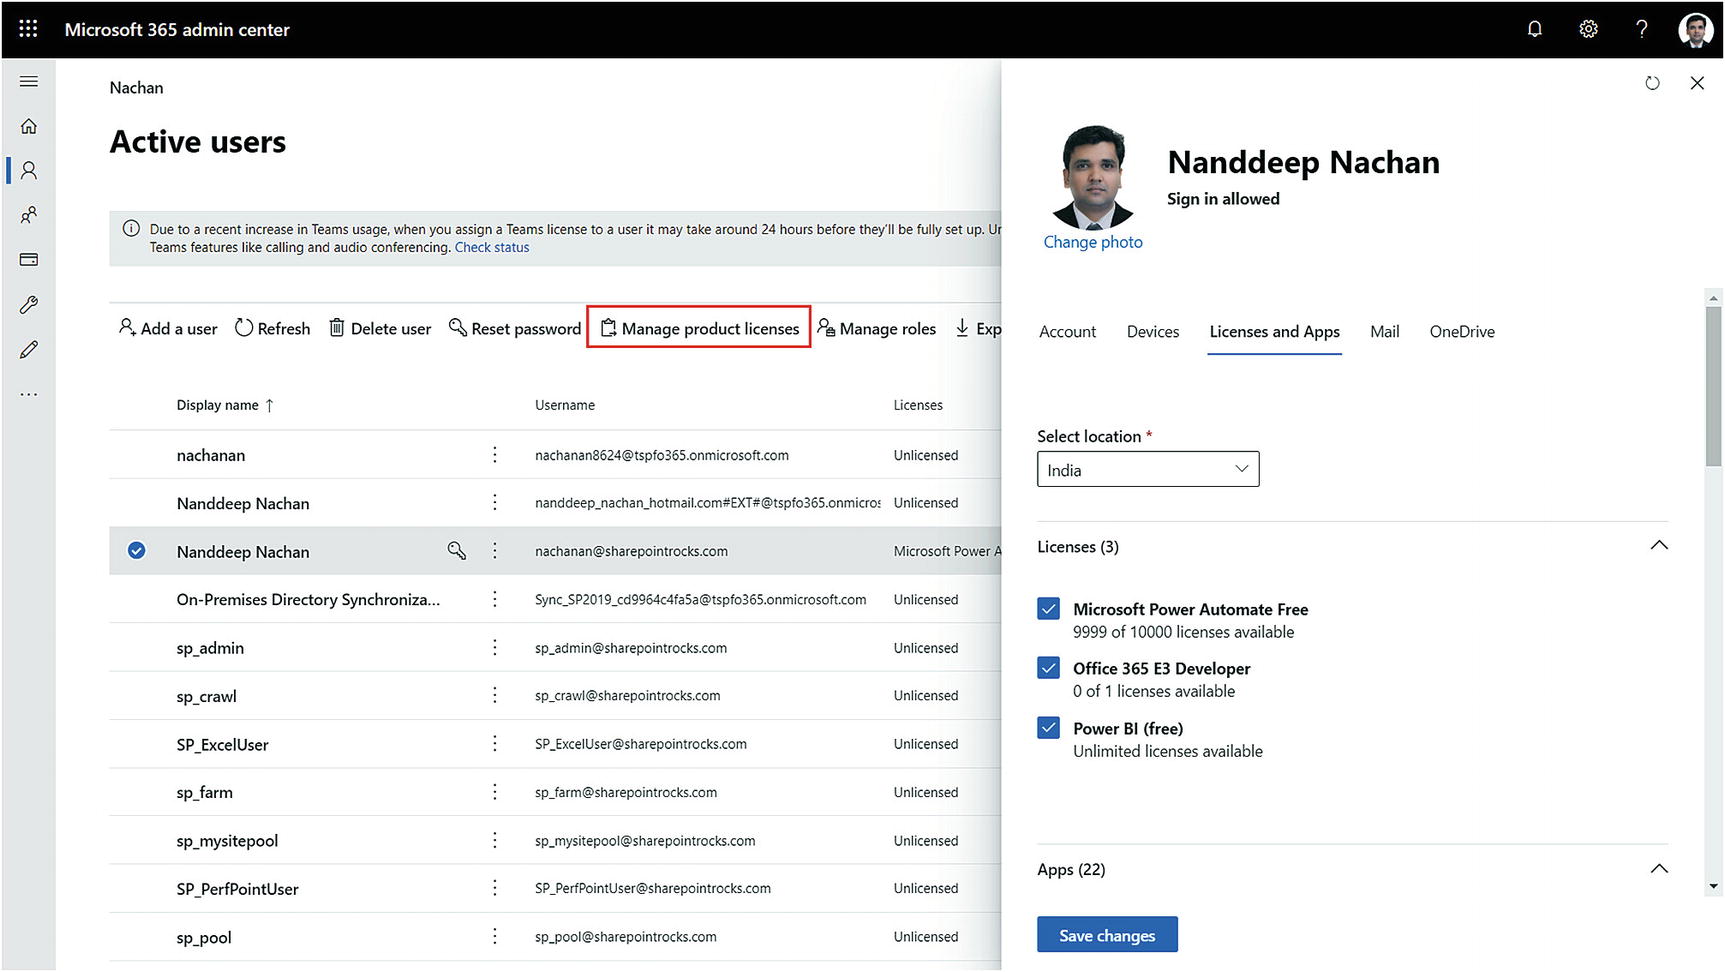
Assigning licenses to users
- 3.
Select the location for the user. Turn on the required licenses for the user.
- 4.
Click Save changes.
Conclusion
Setting up common UPNs between SharePoint Server and Office 365 environments is important to synchronize the users. This will help to set up a hybrid scenario.
In the next chapter, you will learn about self-service site creation and new feature offerings from SharePoint Server 2019 for the self-service site creation experience. You will set up a platform for understanding hybrid self-service site creation in the next chapter.