SharePoint Server 2019 offers various new features. Power Apps integration is one of the features that bring the cloud experience on-premises. Power Apps help users design custom apps for business needs by connecting to various sources or data platforms. In this chapter, you will explore how to integrate Power Apps with SharePoint Server 2019 on-premises using a data gateway.
Power Apps Overview
- 1.
Canvas apps: They provide the flexibility to arrange the user experience and interface the way you want to configure it. You can start creating a canvas app from a blank canvas, data, sample, or common data service source.
- 2.
Model-driven apps: They can be created from the Power Apps site. They help to rapidly develop forms, business rules, and process flows by using a common data service.
In SharePoint Server 2019, it is possible to use Power Apps in a hybrid environment. First, you must set up a data gateway. Follow the instructions from Chapter 15 to install and configure a data gateway.
Building a Power Apps Canvas App
- 1.
Sign into Power Apps (https://web.powerapps.com).
- 2.
On the Home screen, under Start from data, click SharePoint. (Figure 17-1).

Starting from SharePoint data
- 3.
Under Connections , click New connection (Figure 17-2).
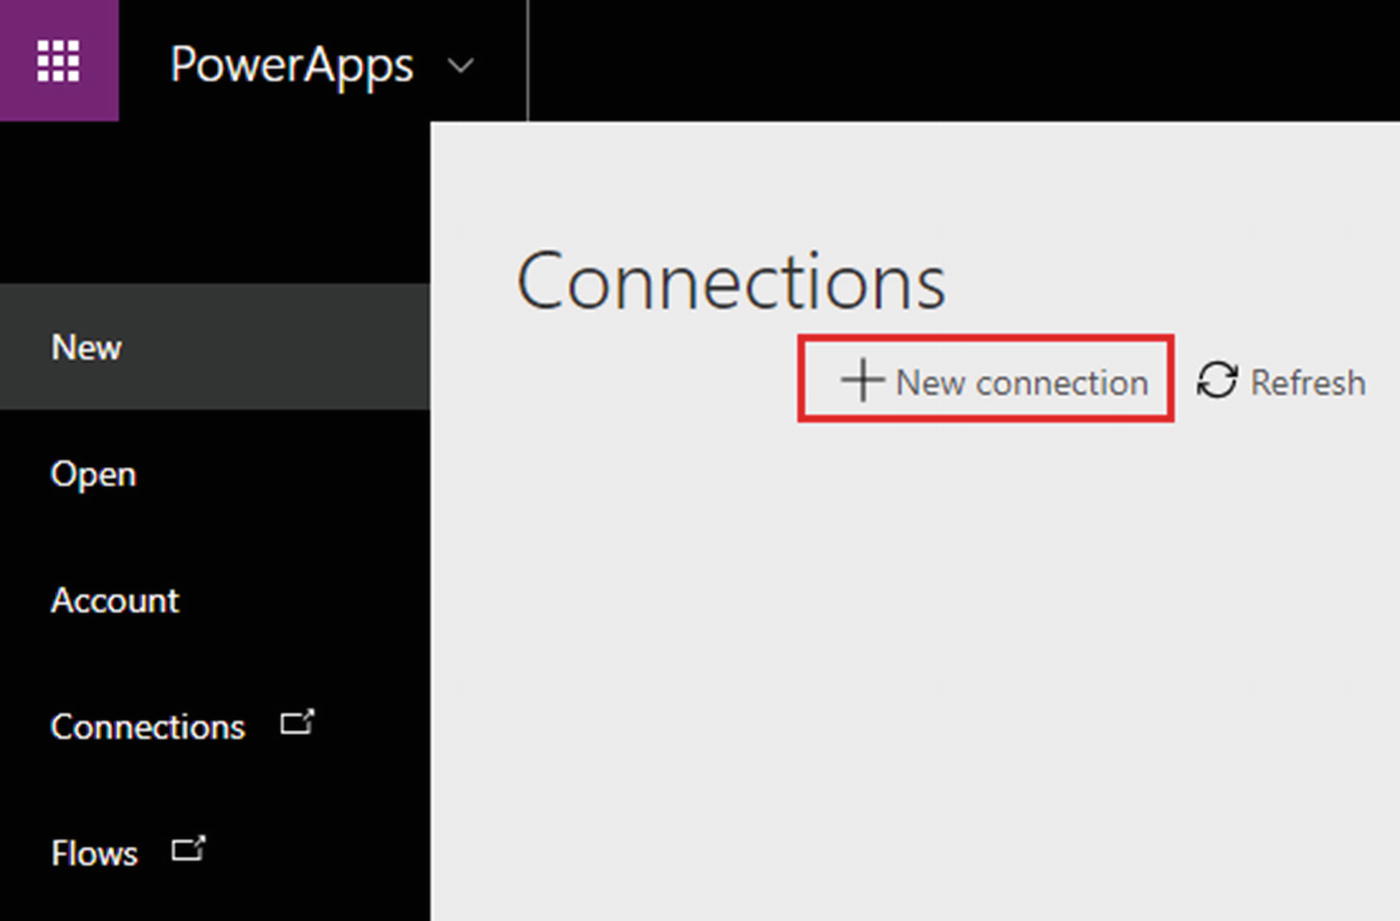
New connection
- 4.
From the available list of connections, select SharePoint.
- 5.
Select Connect using on-premises data gateway.
- 6.
Select the Authentication type as Windows.
- 7.
Specify the username and password to get connected to your SharePoint Server 2019 on-premises farm.
- 8.
Select the gateway to use from the list.
- 9.
Click Create (Figure 17-3).

Creating a new SharePoint connection
- 10.
Specify the SharePoint site URL to connect to.
- 11.
Click Go (Figure 17-4).

Connecting to the SharePoint site
- 12.
Select the list to connect to or enter a custom list name to create it. For this demonstration, select the preexisting Employees list.
- 13.
Click Connect (Figure 17-5).

Choosing a SharePoint list
- 14.
The app is ready to configure. BrowseScreen1 will help to configure the All items view. DetailScreen1 will help to configure the View item screen. EditScreen1 will help to configure the Edit item screen (Figure 17-6).
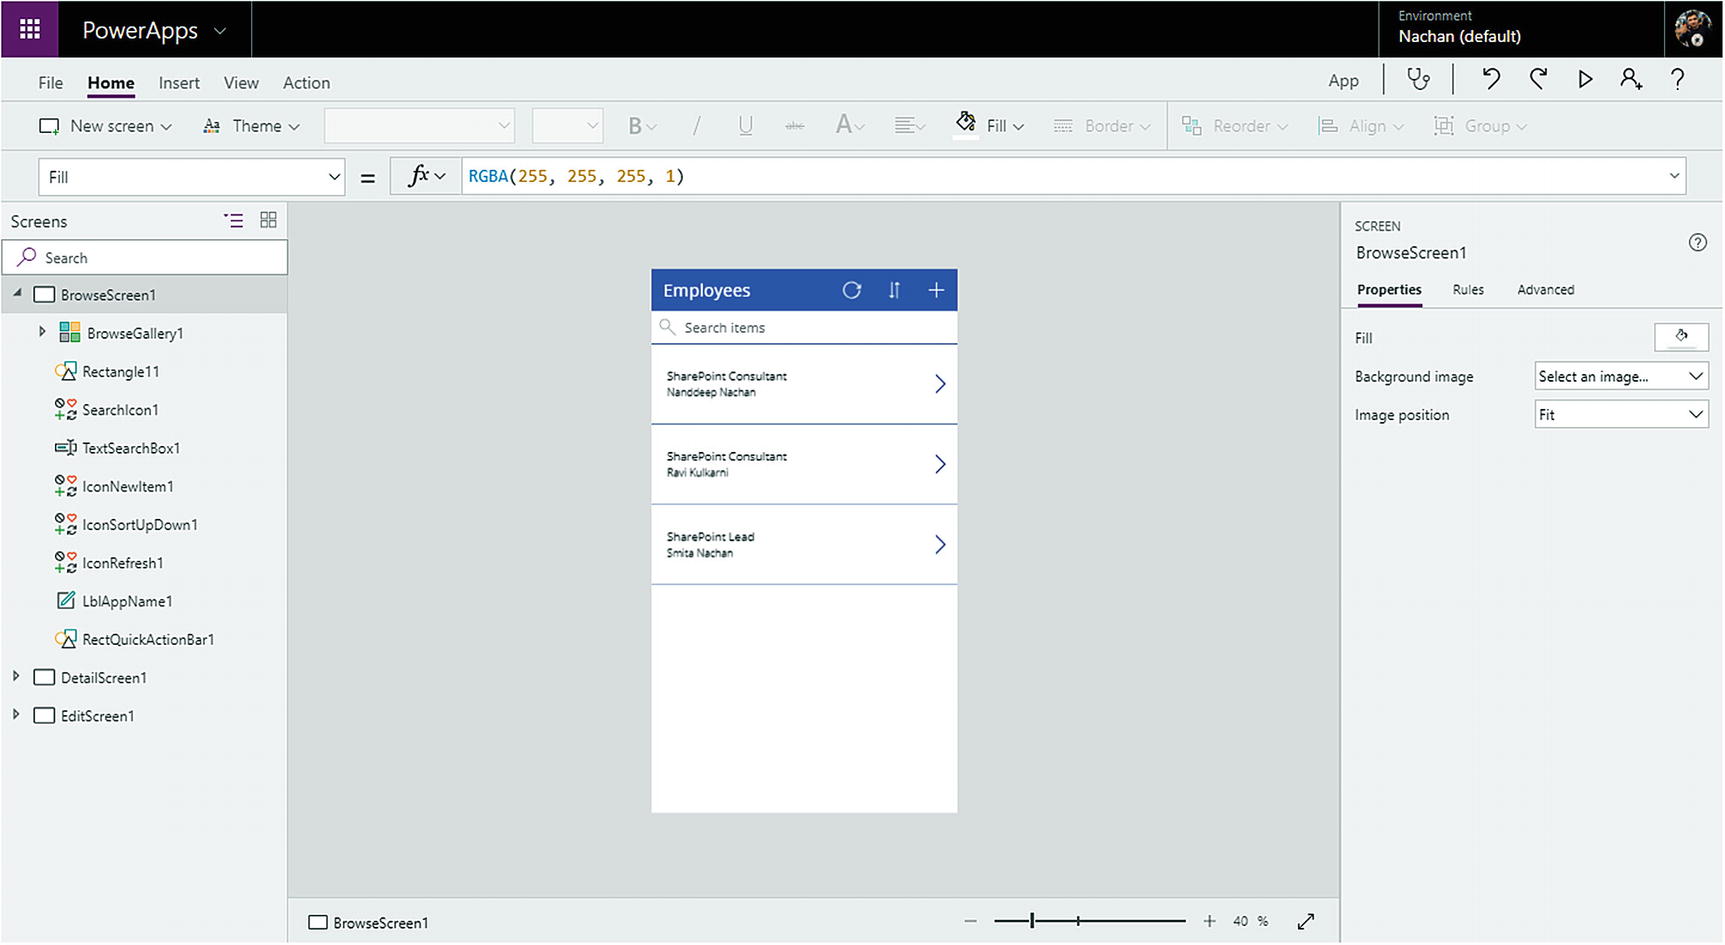
Configuring screens
- 15.
Open DetailScreen1 to modify it.
- 16.
Click Insert ➤ Text ➤ Label (Figure 17-7).
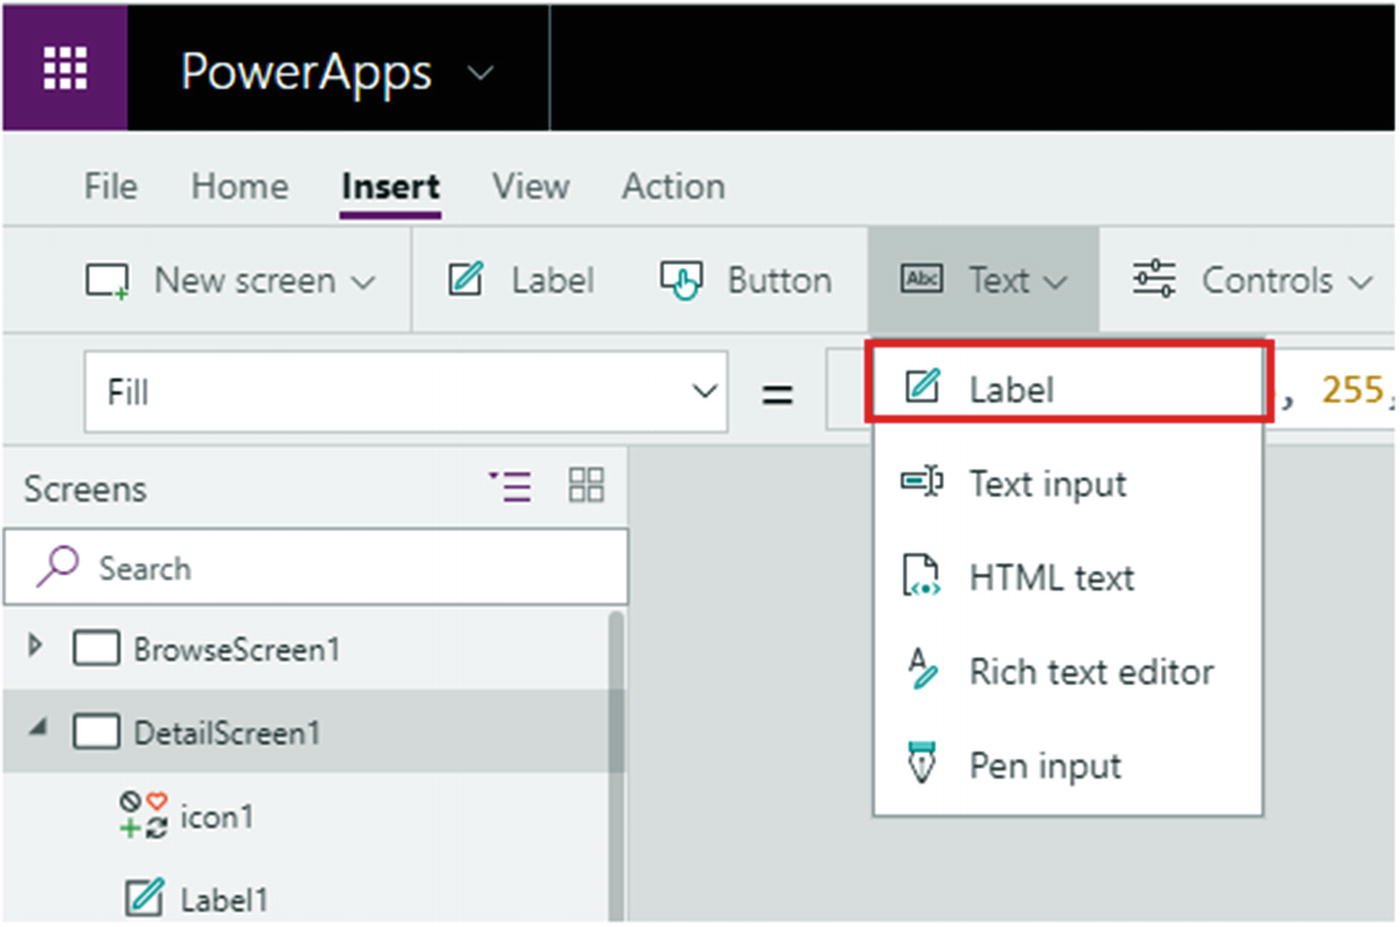
Adding controls to Power Apps
- 17.Type in the text as formula as shown below:Concatenate("Days since joined: ", Text(DateDiff(DateTimeValue(DataCardValue2.Text),DateTimeValue(Text(Today())),Days)))

Configuring controls for Power Apps
Publishing the Power Apps App
- 1.
Click File ➤ Save ➤ The Cloud.
- 2.
Click Save (Figure 17-9).
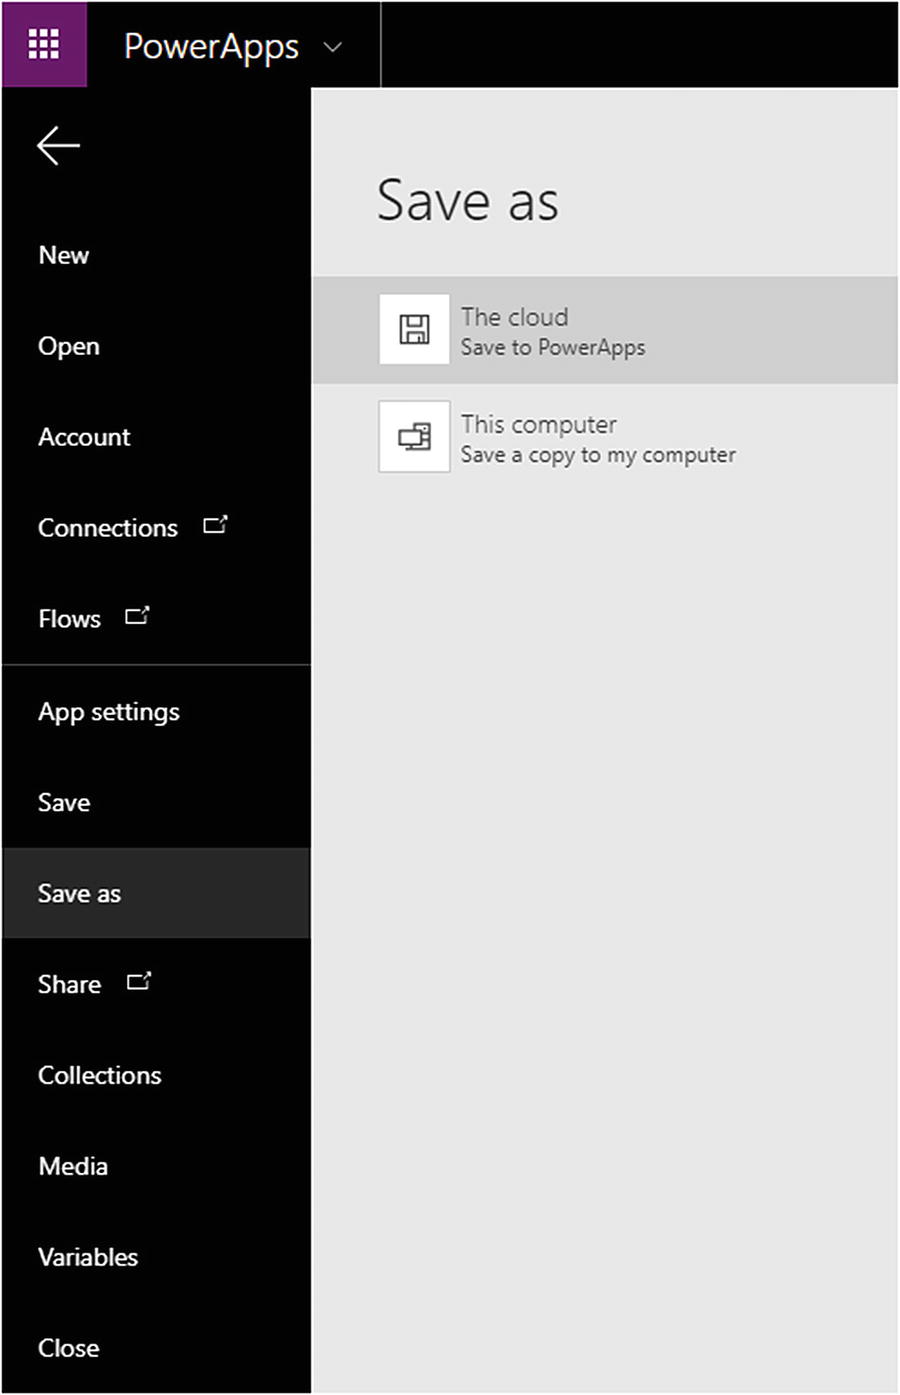
Publishing the Power Apps app
- 3.
Click Share this app (Figure 17-10).
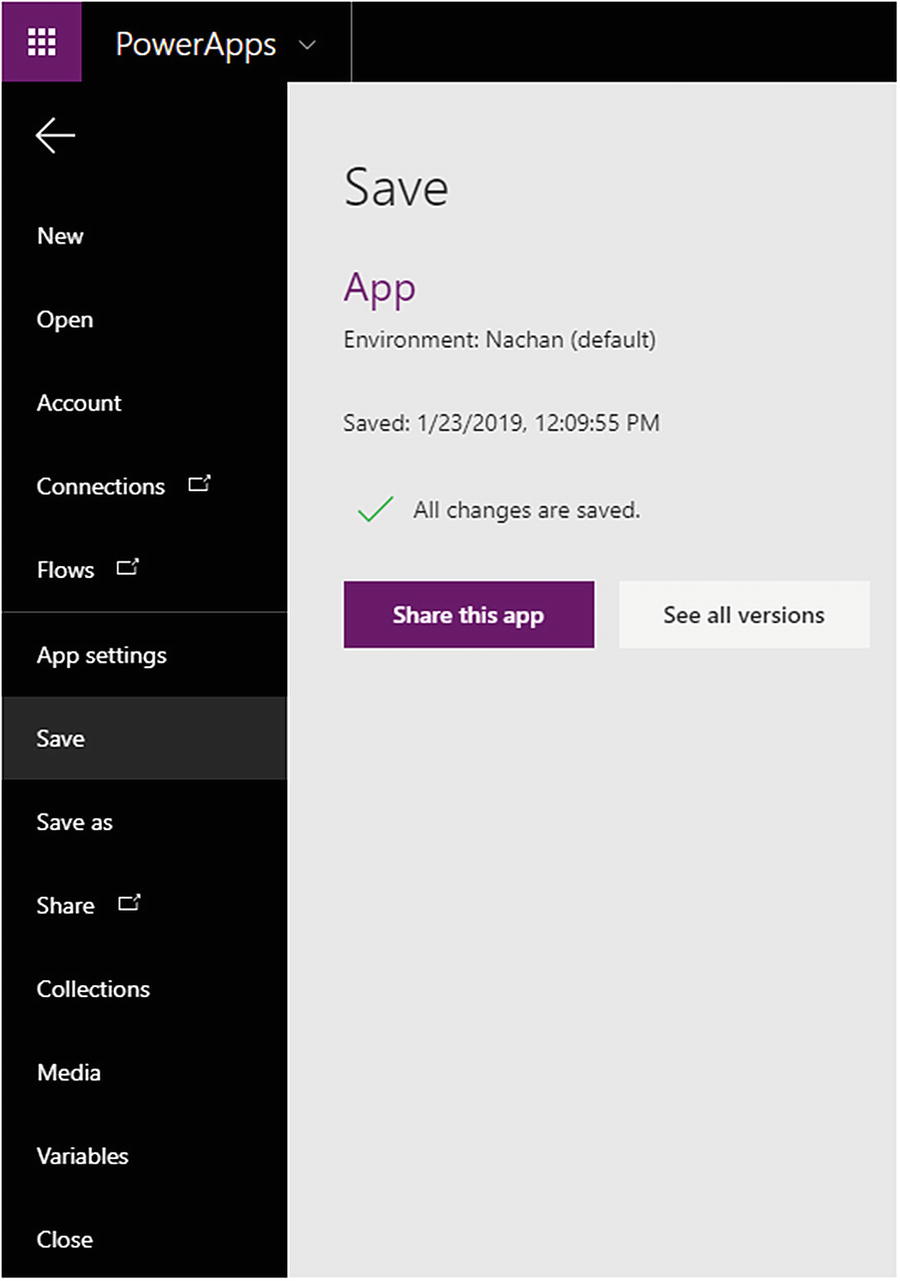
Sharing the Power Apps app
- 4.
The app can be accessed from a web link URL (Figure 17-11).

Generating a Power Apps app web link
Showcasing the Power Apps App in SharePoint Online
- 1.
Open the SharePoint Online site.
- 2.
Edit the page and add the Microsoft Power Apps (Preview) web part under the Connectors category (Figure 17-12).

Power Apps web part in SharePoint Online
- 3.
Edit the web part and add an app web link or ID to the web part property (Figure 17-13).
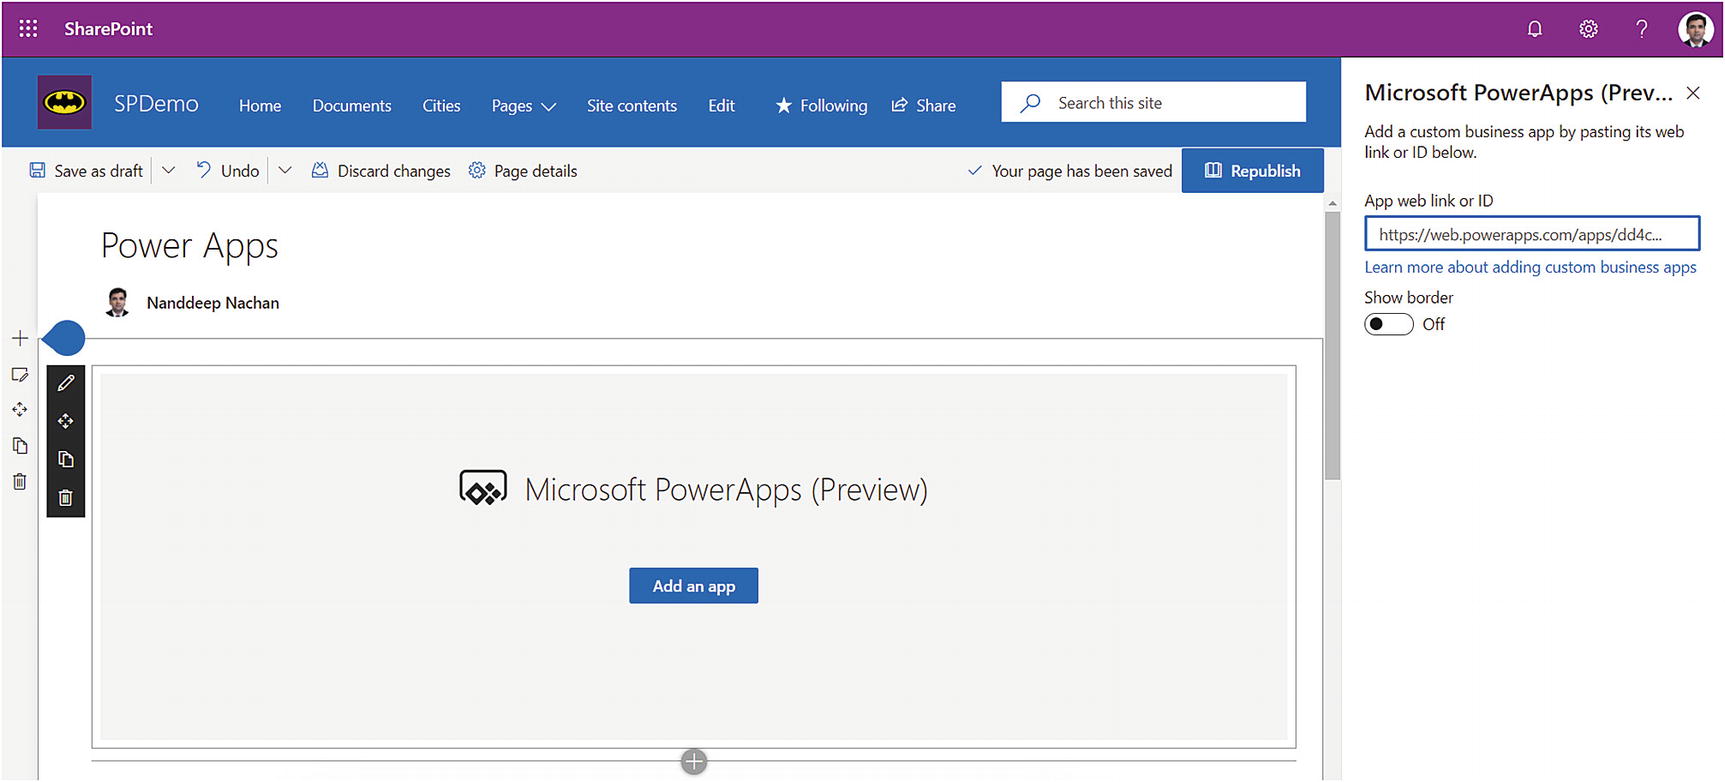
Specifying an app web link or ID to the web part property
Conclusion
The Power Apps feature brings the cloud experience to SharePoint Server 2019 on-premises. You can set up a data gateway for creating canvas apps. Power Apps offer a responsive design and work well in browsers and on mobile devices. SharePoint Online provides the Microsoft Power Apps (Preview) web part to render the Power Apps apps in a browser.
In the next chapter, you will explore how to integrate Power Automate with SharePoint Server 2019 on-premises using a gateway.