
Chapter 7. Setting Up the Project
Your first project in UE4 focuses on getting acclimated to the UE4 Editor, the Content Browser, and the level viewport. This chapter focuses on defining the scope of the project and getting everything set up to start building your first interactive world in UE4.
Project Scope
Before working on any interactive application, it’s important to first define the goals of the project and write them down. A solid scope and well-defined minimum requirements ensure you develop your projects in a focused and methodical manner.
For your first project, you will keep it simple. UE4 includes a lot of sample content that’s easily accessible and a great way to start learning the basics of UE4. You’ll use that content to build a simple level, populate it, and set up a custom Pawn that can walk smoothly through the level, colliding with walls and floors giving the world a solid, immersive feeling.
Finally, you’ll test the application using Play-In-Editor (PIE). After you’re satisfied, you’ll package and prepare your application for distribution as a stand-alone application.
By the end of this chapter, you’ll have a good grasp of how to develop a simple UE4 application from the ground up. Let’s break that down into a list:
1. Develop an application that allows a player to walk through a virtual environment.
2. Use Starter Content to build a simple environment with a light, door, and switch to toggle the light.
3. Use Dynamic Lighting.
4. Make the view first person and walking at a slow and steady pace.
5. Ensure the view height is appropriate for architectural visualizations.
6. Enable the player to collide with walls and floors, giving the simulation a feeling of solidity.
Creating a New Project from the Launcher
If you have not created your account at UnrealEngine.com, downloaded and installed the Epic Games Launcher, and installed engine version 4.14 or later (this book uses 4.14 in all examples), you need to do so before beginning.
The easiest way to make a new UE4 project is to use the New Project wizard. You can access it by launching the Engine from the Launcher (see Figure 7.1).
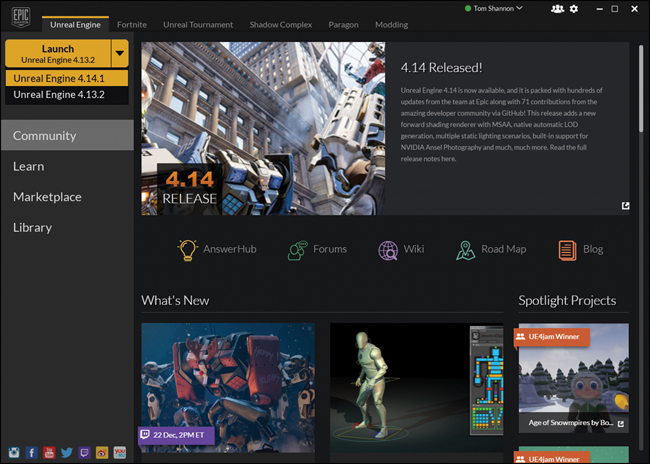
Figure 7.1 Launching the Engine from the Launcher using the Launch button in the upper-left corner of the Unreal Engine tab
After the Unreal Project Browser launches, follow these steps:
1. Click the New Project tab along the top showing the New Project template selector (see Figure 7.2).
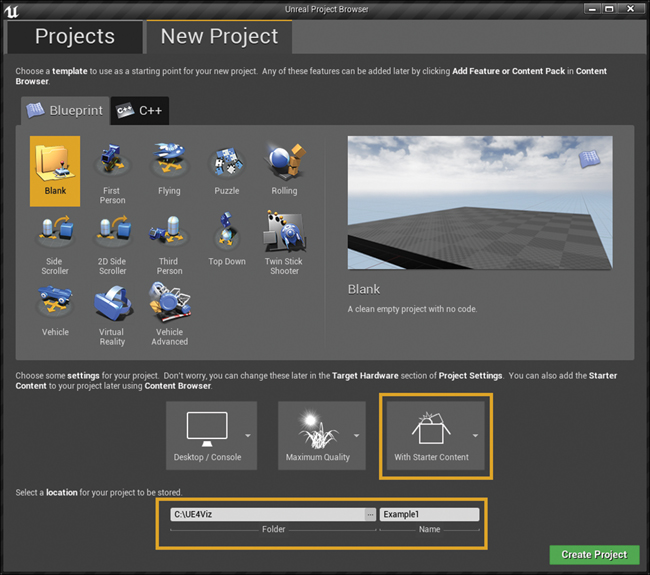
Figure 7.2 The New Project template setup panel in the Unreal Project Browser showing the settings for your first project
Here, you can choose from a wide array of starter templates. Each is well authored and can be a good starting point for many projects. They are also a great and easy way to play with different game modes and styles (First Person, Flying, Side Scroller, and so on) in UE4.
You won’t use any of these for your project. Although they are great starting points, they are all game-centric and introduce things that you would have to undo and other things that you should know how to set up on your own.
2. Select the Blank Blueprint project template. This project template contains no content or code at all—in other words, it is a completely blank slate.
3. Click Starter Content, which adds some simple pre-made assets to the project that will help you quickly build your level.
4. Choose a location to store your project and give the project a name. I keep my projects outside my user folder; however, where you decide to keep your project is your decision. Just remember to choose a fast, local hard drive or SSD with plenty of free space.
5. Click the green Create Project button. The Engine creates a new folder and builds the folder structure required to run your project.
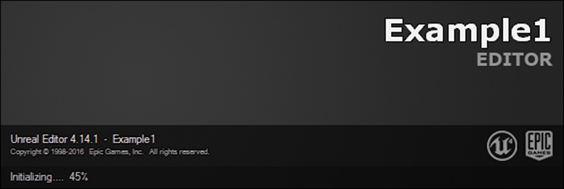
After your project files are created, a new instance of the UE4 Editor launches (see Figure 7.3) displaying the name of your new project.
After a short loading sequence, a sample level appears in the Editor (see Figure 7.4).
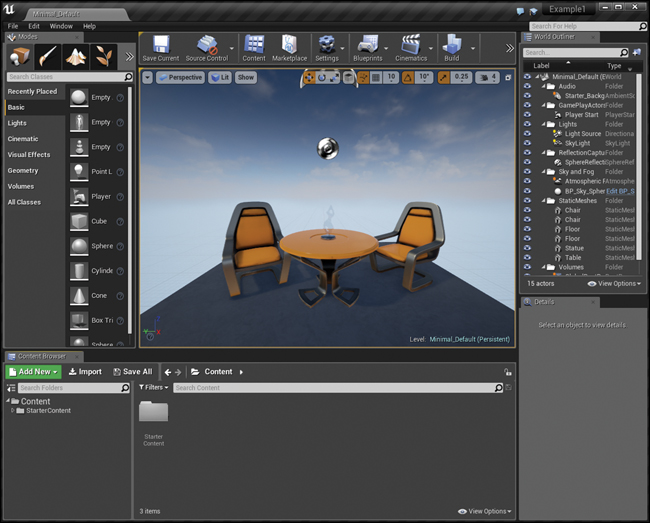
Figure 7.4 Unreal Engine 4 Editor opened for the first time showing the default level and some of the Starter Content
When you include the Starter Content, your project’s default level is set to a simple scene with some of the sample assets placed.
Summary
Your new project is ready to go. You learned how to create a new project from a template and set up the initial file structure in the Content folder. This is how you’ll likely start most of your new Unreal projects so it’s a workflow worth getting to know.
The different templates let you try out pre-made setups easily, and I encourage you to explore them because they are a great learning resource as well as a great way to get started on a specific type of project.