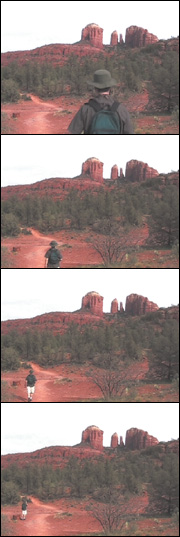
You can shoot and edit all kinds of movies: wedding videos, fictional stories, scripted documentaries, sporting events, or just in-the-moment scenes of babies, pets, landscapes, clouds...your only true limits are the amount of tape and the camcorder’s battery life. For this Visual QuickProject Guide, I’m creating a vacation video from a recent trip to Arizona. Nearly every task I show in this book applies to other types of movies, so don’t worry if the movie you’re editing isn’t a vacation video. Then again, if you’ve been itching to go on a vacation anyway, maybe this is a good excuse to get out there and capture your own footage!
Here’s what you’ll be able to do by the end of the book:
![]() Import the video footage from a digital camcorder into iMovie (see Chapter 3).
Import the video footage from a digital camcorder into iMovie (see Chapter 3).
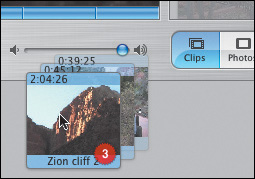
![]() Assemble the movie by choosing the order of the video clips, adding audio, and importing some digital still photos (see Chapters 4-5).
Assemble the movie by choosing the order of the video clips, adding audio, and importing some digital still photos (see Chapters 4-5).
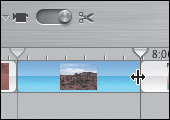
![]() Edit the clips to remove footage you don’t need and improve the movie’s timing and flow (see Chapter 6).
Edit the clips to remove footage you don’t need and improve the movie’s timing and flow (see Chapter 6).
![]() Add titles, transitions, and effects to the movie (see Chapters 7-9).
Add titles, transitions, and effects to the movie (see Chapters 7-9).
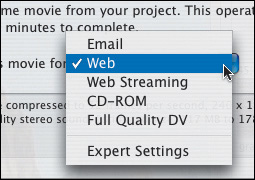
![]() Share the movie with others by creating a QuickTime version that can be burned to a CD-ROM or uploaded to a Web site, such as an Apple .Mac Home-Page (see Chapter 10).
Share the movie with others by creating a QuickTime version that can be burned to a CD-ROM or uploaded to a Web site, such as an Apple .Mac Home-Page (see Chapter 10).
![]() Create an iDVD project that contains your movie (also in Chapter 10).
Create an iDVD project that contains your movie (also in Chapter 10).
![]() Edit the project in iDVD by choosing a new menu theme and personalizing its appearance (see Chapters 11-12).
Edit the project in iDVD by choosing a new menu theme and personalizing its appearance (see Chapters 11-12).
![]() Add more media to the DVD, such as other QuickTime movies and a slide-show of some of your digital still photos, which can be viewed separately from your main movie (see Chapter 13).
Add more media to the DVD, such as other QuickTime movies and a slide-show of some of your digital still photos, which can be viewed separately from your main movie (see Chapter 13).
![]() Burn the project to a DVD disc that can be played back in most consumer DVD players and DVD-equipped computers (see Chapter 14).
Burn the project to a DVD disc that can be played back in most consumer DVD players and DVD-equipped computers (see Chapter 14).
Editing video in iMovie, and creating DVDs in iDVD, is fun, easy, and even slightly addictive. With this initial project under your belt, you’ll be ready to tackle others on your own.
A Macintosh computer (desktop or laptop) with a PowerPC G3, G4, or G5 processor running at 400 MHz or faster. iDVD 5 requires a G4 processor at 733 MHz or faster.
A 1 GHz or faster G4 processor is needed to take advantage of HD editing in iMovie HD. Both applications require Mac OS X Panther version 10.3.4 or later.
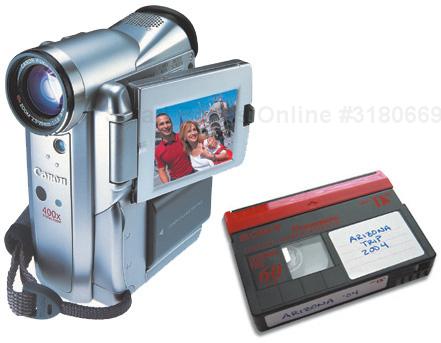
A digital camcorder and MiniDV tapes for shooting video footage.
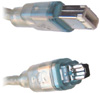
4-pin to 6-pin Fire Wire cable to connect the camcorder to the Mac.

Blank DVD discs (DVD-R, DVD-RW, DVD+R, or DVD+RW), if your Mac contains a SuperDrive and you want to burn DVD projects.
iMovie HD 5.0.1 or later, and iDVD 5 or later (part of the iLife ’05 package).
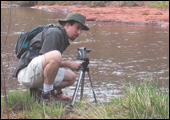
![]() Shoot Video. Go into the wild (or just into the living room) to capture video footage that you will edit later in iMovie.
Shoot Video. Go into the wild (or just into the living room) to capture video footage that you will edit later in iMovie.
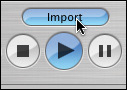
![]() Import Footage into iMovie. Use iMovie’s Import feature to save the footage to your hard disk as clips.
Import Footage into iMovie. Use iMovie’s Import feature to save the footage to your hard disk as clips.
![]() Assemble Your Movie. Drag movie clips to the Timeline to determine their order of appearance. Also, add audio (such as music or sound effects), digital still photos, or other content that appears in the movie.
Assemble Your Movie. Drag movie clips to the Timeline to determine their order of appearance. Also, add audio (such as music or sound effects), digital still photos, or other content that appears in the movie.
![]() Edit Clips. With a rough version of your movie in place, edit the individual clips to remove unwanted frames, trim clips for timing, and add transitions, titles, and effects. This is the polishing stage, where the movie really comes together.
Edit Clips. With a rough version of your movie in place, edit the individual clips to remove unwanted frames, trim clips for timing, and add transitions, titles, and effects. This is the polishing stage, where the movie really comes together.
![]() Share Your Movie. It’s done! Now, save the movie out of iMovie into a format that other people can view, such as a QuickTime file, .Mac HomePage, or iDVD project.
Share Your Movie. It’s done! Now, save the movie out of iMovie into a format that other people can view, such as a QuickTime file, .Mac HomePage, or iDVD project.
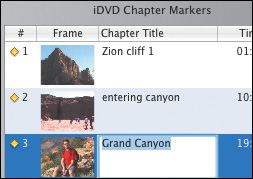
![]() Prepare in iMovie. Create iDVD Chapter Markers in iMovie to access individual chapters within the movie when you play the DVD.
Prepare in iMovie. Create iDVD Chapter Markers in iMovie to access individual chapters within the movie when you play the DVD.
![]() Create iDVD Project. The easiest way to move from iMovie to iDVD is to use the Create iDVD Project command. iMovie prepares the data, launches iDVD, and saves a new iDVD project containing your movie.
Create iDVD Project. The easiest way to move from iMovie to iDVD is to use the Create iDVD Project command. iMovie prepares the data, launches iDVD, and saves a new iDVD project containing your movie.
![]() Edit the DVD Theme. Each DVD menu has a visual theme that not only makes it attractive, but provides links and folders to your movie and other content. Choose one of iDVD’s existing themes and then customize its appearance.
Edit the DVD Theme. Each DVD menu has a visual theme that not only makes it attractive, but provides links and folders to your movie and other content. Choose one of iDVD’s existing themes and then customize its appearance.

![]() Add Other Content. Your DVD can include just your movie, but if there’s enough room on the disc, you can add QuickTime movies, photo slideshows, and other data.
Add Other Content. Your DVD can include just your movie, but if there’s enough room on the disc, you can add QuickTime movies, photo slideshows, and other data.
![]() Burn the DVD Disc. Time to etch your project into a disc’s surface. Choose the type of encoding, double-check that everything is set, and then burn the disc in a SuperDrive.
Burn the DVD Disc. Time to etch your project into a disc’s surface. Choose the type of encoding, double-check that everything is set, and then burn the disc in a SuperDrive.