
Now it’s time to talk about the webpack development server, which is mostly referred to as webpack-dev-server. We will explore the basic options and see how it will save us compilation time and give us a nice URL to work with. We will also learn about HMR (Hot Module Replacement), which will help us update our page without a full reload.
Installing and Configuring Webpack Dev Server
So far, we have used the command “npm run build” repeatedly in order to bundle our code. Then to view the changes, we open the index.html file in the browser manually after locating that file first in our machine. In addition to that. keep in mind that when your files get bigger and/or you’re adding more plugins or loaders to do certain tasks, you will notice that the compilation is taking more time to finish. Sometimes it’s really slow, but the good news is that you don’t have to suffer either waiting (at least after the first compilation) or searching for that index.html in your file system every time – there is a better way to do it: Webpack-Dev-Server.
Webpack provides us with a ready-to-use development web server, which will help us reduce our compilation time drastically, give us an HTTP URL to access our HTML page(s) from (rather than the file protocol), and can even recompile the bundle and reload our page whenever something gets changed in our JavaScript, CSS, etc.
Here we have set a port (9000) for our server. You can set this to whatever you like; just make sure it’s a free port that’s not used by any of your running programs. The contentBase option role is to specify which folder should be used to serve the static content (I’m referring more precisely to the index.html file) from. In case it's not set, it will default to the root of the working directory. But in our case, even though we have set that option explicitly, it won’t make any difference because we are using htmlWebpackPlugin, as a consequence the index.html file will be part of the webpack bundle, and when using webpack-dev-server, that bundle will be built and served from memory (which takes precedence over the local filesystem) regardless of the specified “contentBase” path. In case any file (HTML, JS, CSS, etc.) is not found in memory, webpack-dev-server will fall back on “contentBase” directory and tries to fetch that file.
So, in short, you need to retain this: webpack-dev-server loads and serves any bundled file from memory instead of the local filesystem. If any resource (HTML, JS, CSS, etc.) is not found in memory, webpack-dev-server will look at the “contentBase” path and try to find the missed file there. When no “contentBase” option is set, it will look at the root of the working directory.
When specifying the contentBase option, Webpack recommends using an absolute path; that’s why we relied on path.resolve in the snippet above. While it was my intention to make clear how the “contentBase” works, using it is optional. You may not need to use it in most cases.

Webpack-dev-server has started, and it tells us that it’s running at http://localhost:9000/
Webpack is started and running at port 9000. You can see that it says, “webpack output is served from /” which means that webpack is serving our bundle (JavaScript, CSS, etc.) from the root url “/” (related to the root web server), which is basically http://localhost:9000/ and not from a subdirectory like http://localhost:9000/subdirectory/. You can also notice that it says, “Content not from webpack is served from …/build” which is where index.html is supposed to be, if it did not already exist in memory. Another way to explain “content not from webpack” is any static file that is not part of the webpack bundle.
In case you are curious and you want to verify that our bundle is served from memory, you can check the “build” folder (after starting the server) and make sure it’s empty.
I’m assuming here that you are using the CleanWebpackPlugin we saw previously, which cleans up the “build” folder every time before a new bundle is created. In case you are not using that plugin, the “build” folder may contain the old generated bundle (created when the “npm run build” command was used) but all the files in that bundle will remain unchanged across builds.
So whenever you see the expression, “Webpack output is served from /”, this means that the bundle will be served from the root of the server, which is basically like a virtual location in the memory. This location can be changed using an option called publicPath, and we will talk more about it in the next section.
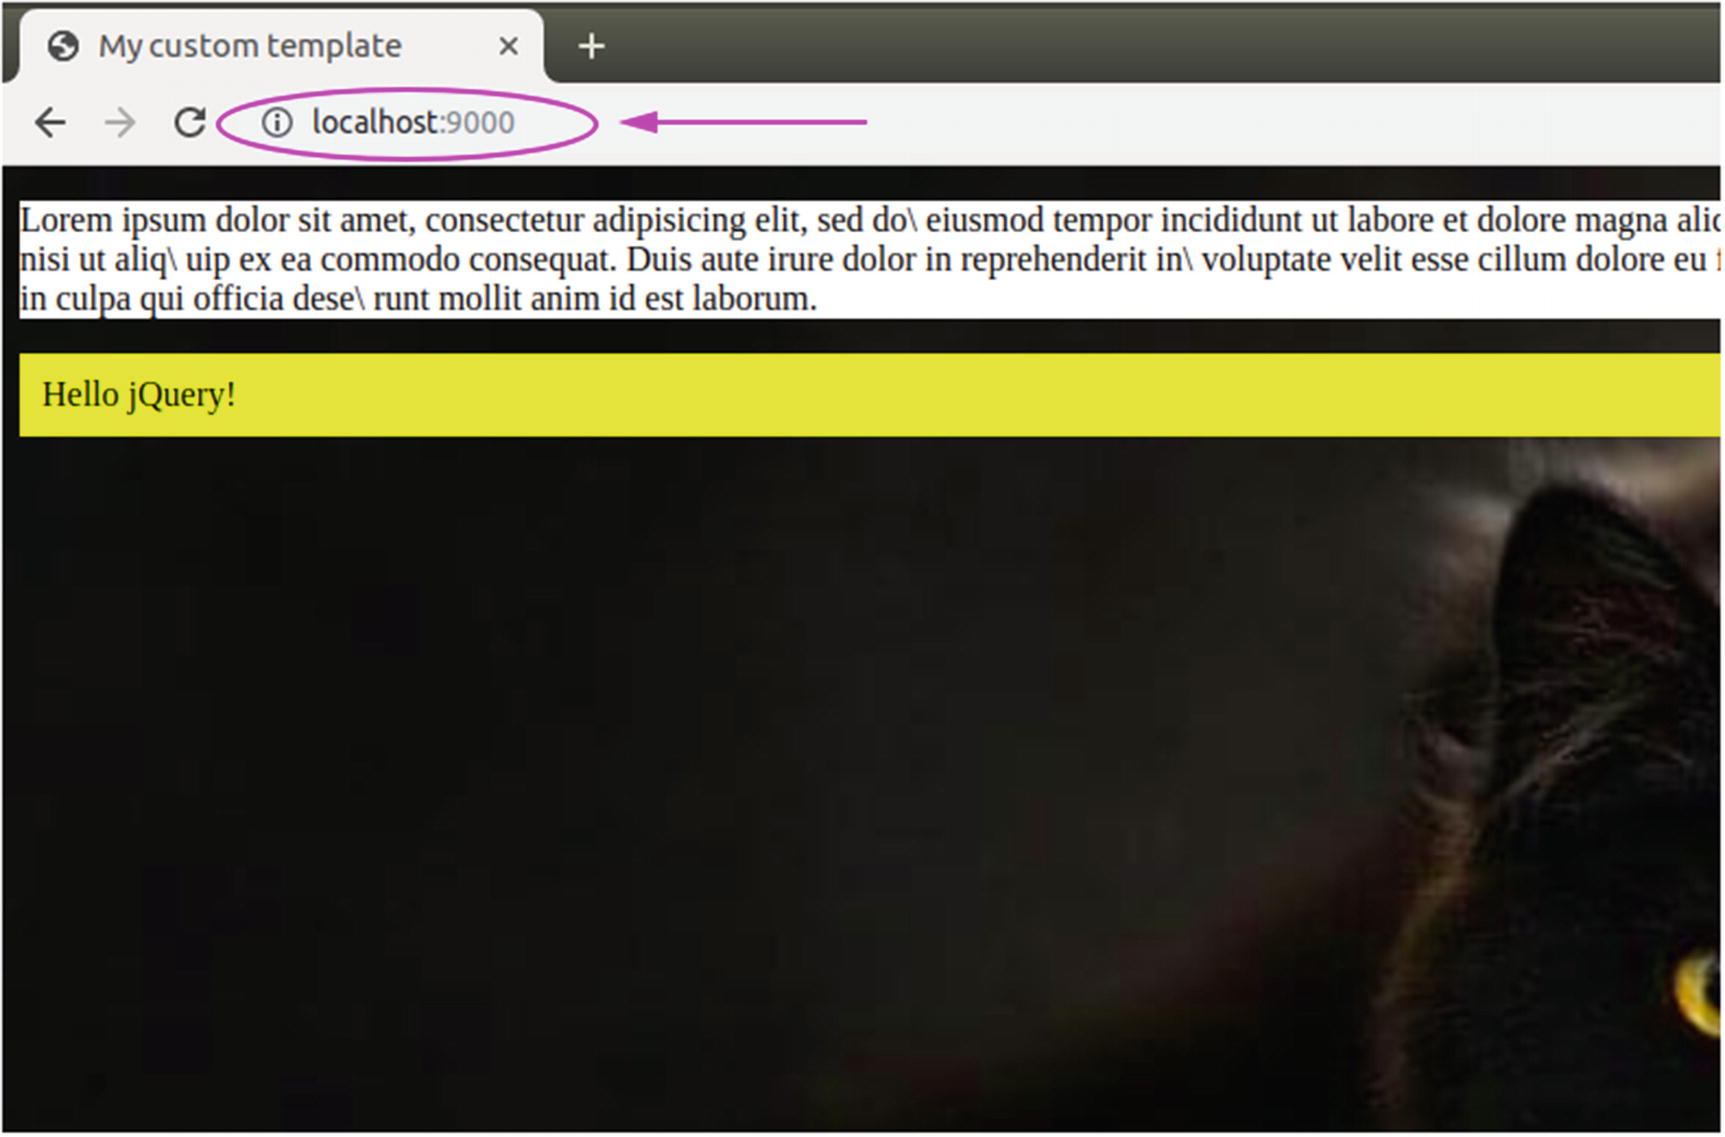
Our page served from WebpackDevServer under the URL of localhost:9000
Also note that the server stays running, so we can go and edit/update things like the content of our HTML template or our CSS/JS source files. Then we will see that the content of our page gets reloaded whenever we make and save these changes because webpack will reflect those updates in memory instantly. This is cool but the page gets fully reloaded (which will take a little time) and if you have, for example, some kind of form on your page filled with data and then you decided to change something like a button background color, the whole page will get reloaded and your data will be gone once you save the source file. To solve this, we will be using a feature called the Hot Module Replacement. We will talk about HMR shortly.
Understanding publicPath option
As we have just seen in the previous section, the webpack bundle is built and served from memory at the root url (/) of our server, which means that if we have an application.js file, we can access it in the browser at the url http://localhost:9000/application.js. That’s because webpack-dev-server has a “publicPath” option that is by default set to '/'.
Now the application.js file will be available virtually (in memory) under a folder “/assets/” and we can access it from http://localhost:9000/assets/application.js.
Let’s try the above configuration (do not forget to re-run the “npm run start” command after that) and see what will happen when we visit the root url http://localhost:9000.
Oops! Our index.html page disappeared and all we see is an empty page with a sign similar to this “~ /”. This indicates that there is nothing at the root of the server. How that can be?
It’s because we are using htmlWebpackPlugin which makes the generated index.html part of the webpack bundle. As you may have guessed, our bundle is (virtually) no longer under the root “/” but under “/assets/” (after we used the publicPath option), which means that index.html is too located under “/assets/” folder. You can prove this by visiting http://localhost:9000/assets/index.html
Does webpack-dev-server try to fallback to something when no index.html was found in the server root? Yes, it does fallback to the “contentBase” path which is the “build” folder, but as this folder is empty, there is nothing to show there. In case you’re curious, go ahead and create a dummy index.html (with some dummy content) in the “build” folder and then refresh the page (without restarting the server) at http://localhost:9000 to see that this time it will use the HTML file you have just created.
One last thing to know is that there is a similar option to devServer.pubicPath, but for the output configuration called also publicPath (output.publicPath) and it’s recommended that devServer.publicPath is the same as output.publicPath in case the later one is used.
Before we move to the next section, make sure you delete or comment out the “publicPath” option as we are not going to use here. I just wanted you to be aware of it and understand how it’s used in case you may need it in the future.
Hot Module Replacement
Sometimes we need to apply a few changes to certain elements in the page like changing the color, the text, or the position of a button, etc., and we want these changes to be reflected in the page immediately without fully reloading it. That’s when HMR (Hot Module Replacement) comes into play; it works out of the box with webpack and fortunately it’s easy to activate.
Note that webpack.HotModuleReplacementPlugin is required to fully enable HMR. If webpack or webpack-dev-server are launched with the --hot option, this plugin will be added automatically, so you may not need to add this to your webpack.config.js. See the HMR concepts page for more information.
And voilà! You have just added the HMR power to your webpack-dev-server.
It’s totally possible to append the --hot option to the server call in our package.json under “scripts” for the line (“start”: “webpack-dev-server --hot”) so that the command “npm run start” runs the server with HMR enabled.

HMR complains about contenthash substitution
What that error tells us basically is to use [hash] instead of using [chunkhash] or [contenthash]. This issue is related to the usage of [contenthash] in conjunction with webpack-dev-server and it’s caused by the “hot” option we used previously in our devServer configuration. While the reason behind this is not officially documented by webpack, it’s reported that using it causes many other issues, like memory leak and also because the devServer does not know when to clean up the old cached files. To avoid any issue, it’s recommended to turn caching off in development and use it only for the production mode in which we won’t need to use webpack-dev-server anyway.
In case you are wondering what’s the difference between [hash], [chunkhash], and [contenthash], a brief explanation follows.
On one hand, the substitution [hash] will generate the same hash string for the bundled files across every build, the generated hash is based on our source files together, that means if we change something in one file, a new hash will be generated and all bundled files’ names will be set with this new hash. In production, when something changes, this will result in the browser not only downloading the specific file that got updated but all the other files as well regardless if they got updated or not.
On the other hand, [chunkhash] is based on every chunk. For example, if you have a file index.js where you imported index.css and you have another file admin.js where you imported admin.css, this will result on application-∗.js and application-∗.css having the same hash because they are the result of the same chunk “application.” However, admin-∗.js and admin-∗.css have a different hash (but are identical for both) because they are coming from another chunk “admin.” If you update the content of admin.css (which is part of the chunk “admin”), a new hash will be generated and both admin-∗.css and admin-∗.js will get the same new hash without affecting or changing the hash of application-*.css and application-*.js.
Last, the [contenthash] is calculated based on each file content separately, which means if the content of a file changes, only that file will get a different hash when bundled. Easy to understand, isn’t it?
Every situation is different and there are use cases where you want to use [hash] or [chunkhash] but in production, for most cases you would use [contenthash].
All the types of hashes can be shortened using two colons followed by a number that represents the desired length, that is, [contenthash:6], [hash:8], [chunkhash:5], etc. ...
For the HMR to work later… avoid adding any hash to MiniCssExtractPlugin in “development” mode
You can add/edit anything, or just change yellow to green like I did. Then save the file while keeping an eye open in your browser to see what will happen to the page.
As you may notice, the page reloaded, however FULLY! This is not what we are aiming for. We want to update only the part that was changed, but the whole page was reloaded – which is equivalent to refreshing the browser tab. Note that it may take a few seconds to see the page reloading but if the page doesn’t get reloaded like expected, you can refresh it manually for the first time then start editing and testing your files.
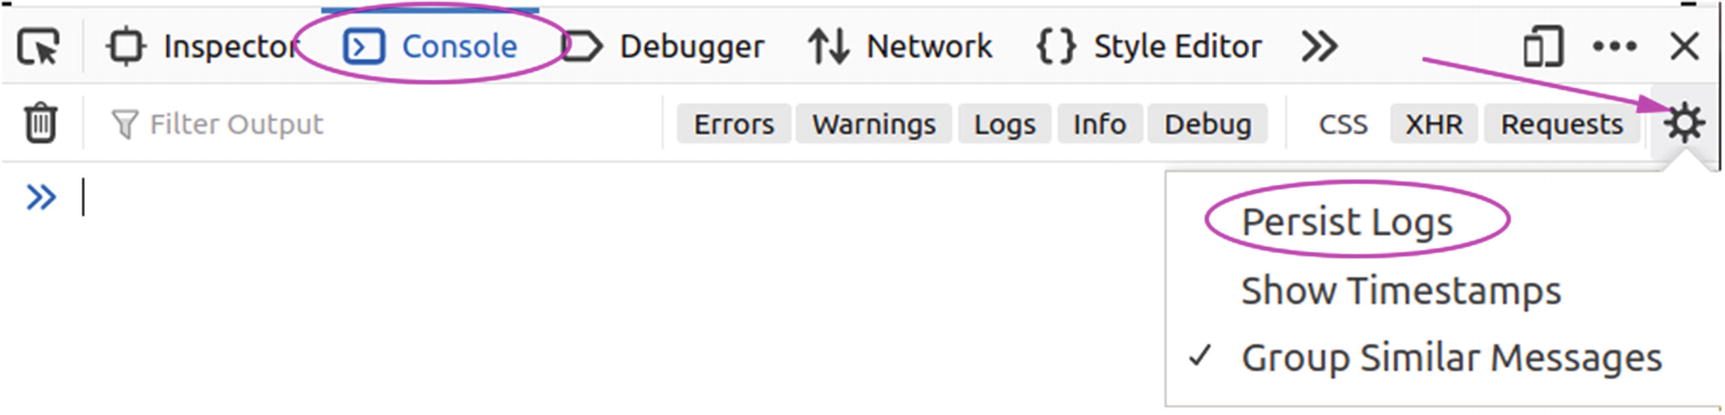
While the page is getting refreshed, the browser’s console is trying to tell us why the reloading part is not working as expected, but the message disappeared so quickly because of how console logs are configured by default in the browser’s developer tools. To find out more about the issue, we are going to make our console logs persistent from page to page, and that will help us see why the HMR is not working as expected.
Persisting log under Mozilla Firefox

Persisting log under Google Chrome
Depending on the browser you are using and its current version, you may have a slightly different user interface than mine, but the principle remains the same.

Hot Module Reload warning as it falls back to a full reload
What this means is that our index.js is not accepting hot updates because we haven’t instructed it to do so. That’s why it falls back to full page reloading!
The callback function we have passed as an argument to module.hot.accept() is optional, and it can be used in case an error happens and you want to log it or do something else.

HMR: A new div appended when editing the “div” color in jquery append method, resulting in having two appended DIVs
You are maybe saying this is not what I’m expecting but re-executing all the code in the updated file is how HMR works with JavaScript. There is a “Gotchas” section in the webpack documentation if you want to explore more at https://webpack.js.org/guides/hot-module-replacement/#gotchas where it explains exactly that, and what they did in the example is that they removed the elements added using some JavaScript within the “module.hot.accept. I won’t go deep into this because it’s out of the scope of this book and also it’s not the most important thing you have to worry about because mostly you will have HMR already set up for you within the web framework you are using instead of the one provided by webpack. But in case you are using webpack as a stand-alone solution, then feel free to check the example provided in the documentation.
Enabling HMR for MiniCssExtractPlugin in CSS and SCSS Rules
Save and verify that your page background image disappeared without reloading the entire page. You can add more style like setting another background image or changing the text color. Every change you make will be updated without the need of full reloading.
This will tell webpack devServer to show errors straight in your web browser on an overlay popup whenever something wrong occurs; this way you won’t need to go and check your terminal every time, which is very handy.
Summary
In this chapter, we have seen the main options for webpack-dev-server, how to use it, and how to activate the HMR (Hot Module Replacement) in order to update the page without fully reloading. Also, an important thing to remember is that the webpack-dev-server is built for development purposes only, NOT as a production server. So, in any case, it isn’t meant to replace a true classic web server. Other than that, you can go to the webpack documentation website and learn additional options if you are interested to know more. In the next chapter, we will explore the installation and usage of third-party libraries, which will be the final lesson in this journey, so let’s jump right in.