
14
Home Surveillance Camera
In this project, you’ll create a home surveillance camera system that streams live video on a web page that you can access from any device with browser capabilities connected to the same network as your Pi. This means you’ll be able to monitor any part of your house without getting off the sofa!
PARTS REQUIRED
Raspberry Pi
Raspberry Pi Camera Module v2
In this project, you need to connect the camera to the Raspberry Pi, as we’ve shown you in “Connecting the Camera” on page 165. If you haven’t enabled the software camera yet, go back to Project 13 and follow the instructions to set up the camera before continuing.
RECORDING VIDEO TO A FILE
Before building your home surveillance camera system, you need to learn how to record video to a file.
Using Project 13 as a reference, connect your Raspberry Pi Camera Module v2 to your Pi using the CSI port. Create a new script called record_file.py in Python 3 (IDLE), save it inside the Cameras folder, and enter the code in Listing 14-1.
LISTING 14-1: Record video to a file
➊ import picamera
➋ camera = picamera.PiCamera()
➌ camera.resolution = (640, 480)
➍ camera.start_recording('videotest.h264')
➎ camera.wait_recording(60)
➏ camera.stop_recording()
print('Finished recording')
As usual, you first import the picamera library to control the camera ➊. You create an object called camera to refer to the camera ➋ and then set the camera resolution to 640×480 ➌. The camera resolution is configurable; the maximum resolution for video recording is 1920×1080 and the minimum resolution is 64×64. To enable maximum resolution, you also need to set the frame rate to 15 by adding the line of code camera.framerate = 15. You can try testing this script now with different resolutions and see what works best for you, or you can just go with our settings for now and come back to it later.
The camera then starts recording to a file called videotest.h264 ➍. Feel free to change the filename, though you should keep the extension .h264, which is a format for video files. You then specify the amount of time that the camera should record for ➎. In this case, the camera is recording for 60 seconds. The wait_recording() method also repeatedly checks for errors, such as the disk space being too full for more recording.
Last, you stop the video recording ➏ and print a message saying that the recording is finished. Press F5 or go to Run ▸ Run Module to run the script. Your video file is located in the script’s folder, Cameras. From the terminal, enter the following commands to navigate to the video folder and watch it:
pi@raspberrypi:~ $ cd ~/Desktop/Projects/Cameras
pi@raspberrypi:~/Desktop/Projects/Cameras $ omxplayer videotest.h264
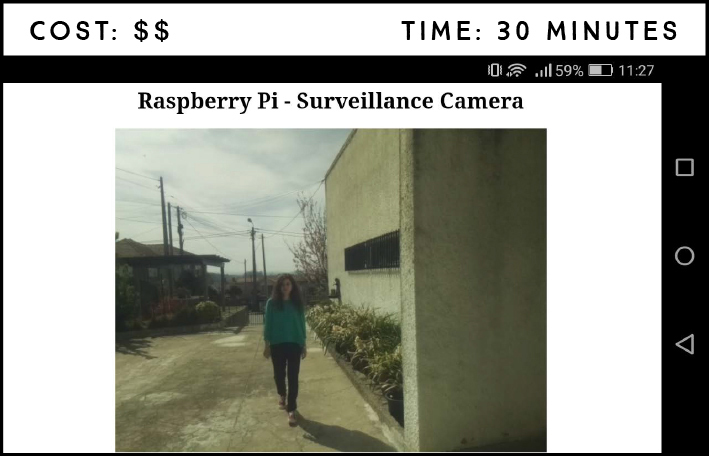
This opens a new window and plays the whole video in fullscreen. Figure 14-1 shows a screenshot of our video recording test.
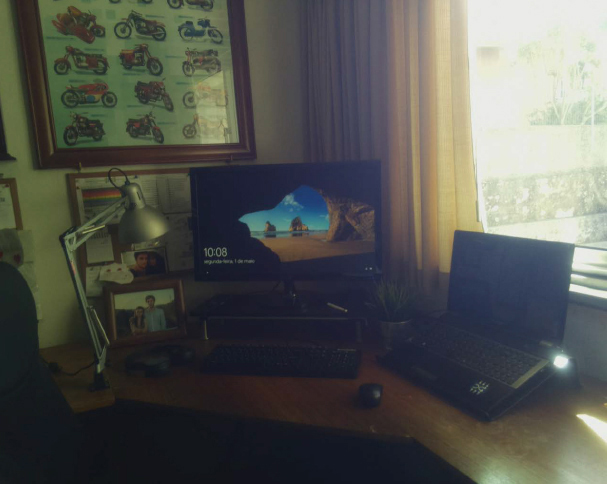
FIGURE 14-1: Recording video with the Raspberry Pi camera
WRITING THE SCRIPT
Now for the important bit: you’re going to build a web page that is hosted in your Raspberry Pi—also known as a web server—that streams live video. (We’ll cover web servers in more detail in Projects 15, 16, and 17.)
The script for this project is advanced, so we won’t explain each line in detail. Here’s an overview of what the code should do:
Initialize a web server and the Pi camera.
Set the web server, available at the Raspberry Pi IP address port 8000, to show a web page you can customize using HTML.
Set the web page to contain the camera video streaming.
Make the web server accessible from any browser connected to the same network as your Pi.
Entering the Script
Open Python 3 (IDLE) and go to File ▸ New to create a new script. Enter the code in Listing 14-2, and save it as surveillance_system.py in the Cameras folder (remember that you can download all the scripts at https://www.nostarch.com/RaspberryPiProject/).
This script was based on the web streaming example at http://picamera.readthedocs.io/en/latest/recipes2.html.
LISTING 14-2: Stream video to a web page
import io
import picamera
import logging
import socketserver
from threading import Condition
from http import server
➊ PAGE="""
<html>
<head>
<title>Raspberry Pi - Surveillance Camera</title>
</head>
<body>
<center><h1>Raspberry Pi - Surveillance Camera</h1></center>
<center><img src="stream.mjpg" width="640" height="480"></center>
</body>
</html>
"""
class StreamingOutput(object):
def __init__(self):
self.frame = None
self.buffer = io.BytesIO()
self.condition = Condition()
def write(self, buf):
if buf.startswith(b'xffxd8'):
#new frame, copy the existing buffer's content and
#notify all clients it's available
self.buffer.truncate()
with self.condition:
self.frame = self.buffer.getvalue()
self.condition.notify_all()
self.buffer.seek(0)
return self.buffer.write(buf)
class StreamingHandler(server.BaseHTTPRequestHandler):
def do_GET(self):
if self.path == '/':
self.send_response(301)
self.send_header('Location', '/index.html')
self.end_headers()
elif self.path == '/index.html':
content = PAGE.encode('utf-8')
self.send_response(200)
self.send_header('Content-Type', 'text/html')
self.send_header('Content-Length', len(content))
self.end_headers()
self.wfile.write(content)
elif self.path == '/stream.mjpg':
self.send_response(200)
self.send_header('Age', 0)
self.send_header('Cache-Control', 'no-cache, private')
self.send_header('Pragma', 'no-cache')
self.send_header('Content-Type',
'multipart/x-mixed-replace; boundary=FRAME')
self.end_headers()
try:
while True:
with output.condition:
output.condition.wait()
frame = output.frame
self.wfile.write(b'--FRAME
')
self.send_header('Content-Type', 'image/jpeg')
self.send_header('Content-Length', len(frame))
self.end_headers()
self.wfile.write(frame)
self.wfile.write(b'
')
except Exception as e:
logging.warning(
'Removed streaming client %s: %s',
self.client_address, str(e))
else:
self.send_error(404)
self.end_headers()
class StreamingServer(socketserver.ThreadingMixIn,
server.HTTPServer):
allow_reuse_address = True
daemon_threads = True
➋ with picamera.PiCamera(resolution='640x480', framerate=24) as
camera:
output = StreamingOutput()
camera.start_recording(output, format='mjpeg')
try:
address = ('', 8000)
server = StreamingServer(address, StreamingHandler)
server.serve_forever()
finally:
camera.stop_recording()
Listing 14-2 is more complicated than the scripts we’ve been writing so far, and explaining each class and function necessary for video streaming goes beyond the book’s scope, so we won’t go into it here.
There is space for customization, though. You can edit the way your web page looks and the camera settings:
- At ➊, you define your web page content using HTML; here you can change the title and heading of your web page. Check Project 15 for more information about HTML, as well as to learn how to style your web page using CSS.
- At ➋, you initialize the camera; here you can change the camera resolution and frame rate.
Running the Script
Press F5 or go to Run ▸ Run Module to run the script. Once the script is running, your camera will stream to the web page. To access this page, you need to find the IP address for your Pi and enter the URL http://<Pi IP address>:8000, replacing <Pi IP address> with your Pi’s IP address.
To find your Pi’s IP address, go to the terminal and enter the following:
pi@raspberrypi:~ $ hostname -I
This will print the Pi’s IP address, as highlighted in Figure 14-2.

FIGURE 14-2: Finding your Raspberry Pi’s IP address
Congratulations—you’ve built your own home surveillance system! You can access the video streaming from a computer, smartphone, or tablet browser connected to the local network. In this example, since our IP address is 192.168.1.112, we enter http://192.168.1.112:8000. Make sure you use your own IP address.
TAKING IT FURTHER
In this project you’ve learned how to record video and how to build a web server that streams live video footage. You can mix what you’ve learned here with other projects to enhance them. For example:
- Edit Project 13 so that the Pi records video for a specified time when it detects movement inside your house while you’re out.
- Customize the streaming web page with CSS using the skills you’ll learn in Project 15.