6. 123D Design Exercises for iPad
One of the most daunting things new users experience with design tools is the feeling of being overwhelmed with tools and options with no clear direction as to where to start.
In this chapter, we walk through the steps to create some simple objects that should help get you familiar with the purpose of the tools available to you.
Although the exercises are for creating simple objects, they should get you comfortable with using 123D Design and spark some ideas on how to create your own models for 3D printing.
Creating New Projects
The first project is to create a simple bowl. This bowl will also be the starting point for later exercises:
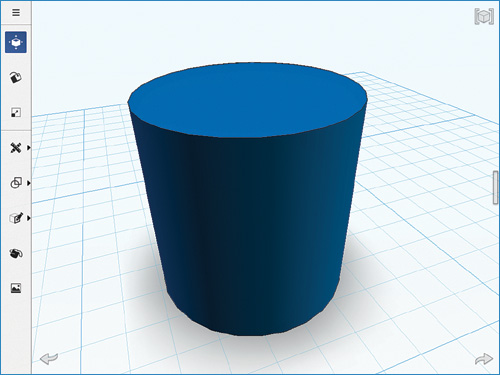
1. Create a new project and then slide open the Primitives panel on the right (see Figure 6.1). Tap on the cylinder shape (it looks like a soup can), which will drop it in the center of the workspace (see Figure 6.2).


2. Close the Primitives window by dragging it to the right (see Figure 6.3).
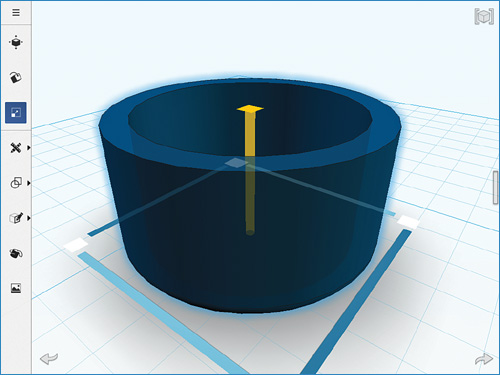
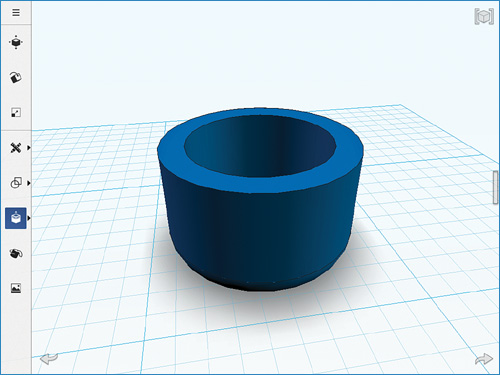
3. Because we started with a solid cylinder, we’re going to use the Shell tool to hollow out the cylinder to create the void in the bowl we’re making.
4. Next, tap on the Reshape (Face Editing) menu button (third from the bottom on the left); then tap on the Shell button (the bottom button).
5. Now tap on the top of the cylinder and you should see a white grip appear; you can hold and drag the grip down to hollow out the cylinder (see Figure 6.4).

6. Don’t worry about how far down you go, but try to get as close as your can to the bottom. It won’t let you go through the bottom (see Figure 6.5).

Scaling and Smoothing Edges
Now that we have the basic shape started, we’ll scale the cylinder to make it a little larger:
1. Tap on the Scale control on the left menu (fourth icon from top). White grips should appear; you can hold and drag them out or in to scale the cylinder.
2. Pull it out a little as shown in Figure 6.6. Keep in mind that it will scale the model in all directions, not just the direction you drag in.
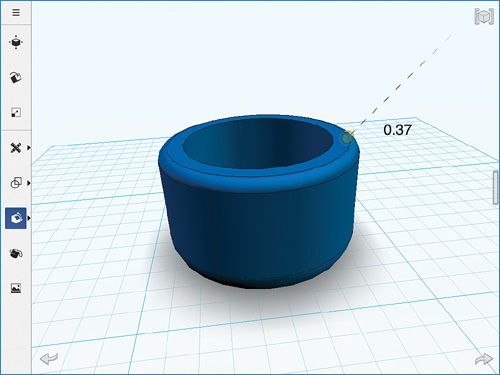
3. The next step is to smooth the bottom edges of the cylinder. Using the Chamfer tool, which is located in the Reshape (Edge Editing Tools) menu, tap on the bottom edge of the cylinder (see Figure 6.7). Like before, a white grip will appear and you can hold and drag it out or in.
4. You’ll get an instant preview of the amount of chamfer applied. Use as much as you’d like your bowl to have.
Tip
Try to leave some part of the bottom flat so that it will sit flat on whatever surface you place the printed version on. If it’s too chamfered, it might wobble easily or not even sit upright when in use.
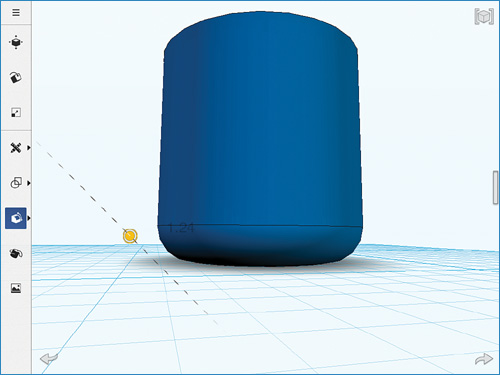
5. Next, use the Press/Pull tool (second from the bottom in the Reshape menu) to pull down the top of the cylinder to shorten the height of your bowl (see Figure 6.8).

6. After selecting the Press/Pull tool, tap and hold on the top of the cylinder and drag it down. Make it as low as you’d like, but try for something like what’s shown in Figure 6.9.
Using the Chamfer Tool
Now you could stop here and have a nice, simple model of a bowl. However, we’ll continue using the Chamfer tool and smooth out the edges of the bowl:
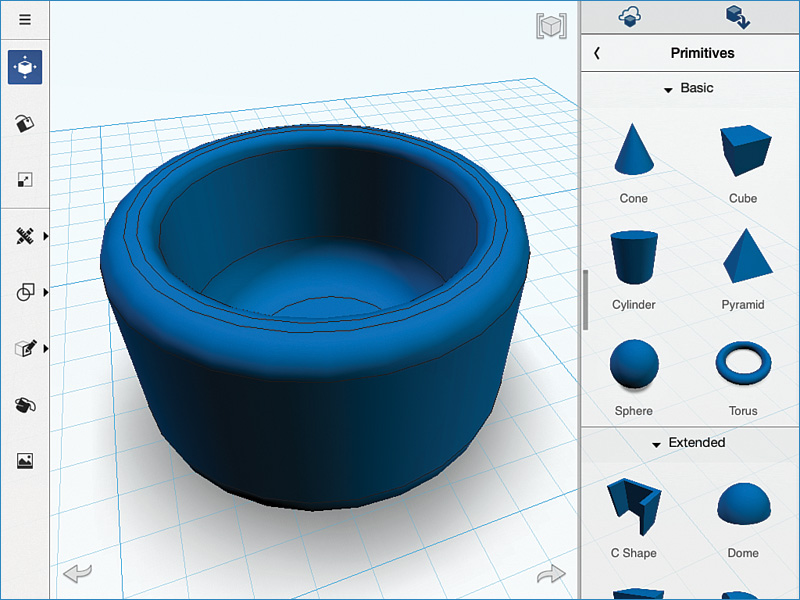
7. Once again, select the Chamfer tool and then tap on the top face of the bowl. Drag the grip to smooth out the edges as desired (see Figure 6.10).
Note
You’ll see edge lines in your model, but that is more for you to be able to continue to work on those edges within 123D Design. In reality, your model will likely be very smooth and rounded where you chamfered those edges and look great when 3D printed (see Figure 6.11).

8. Inside the bowl, the bottom is still a 90° straight edge. Let’s make it easier to get anything out of the bowl by making the bottom chamfered on the inside as well (see Figure 6.12). Save your project.

You should now have a nice smooth bowl, inside and out, that’s perfect for storing change or small items.
To export the project for printing, you’ll need to use the web or desktop version of 123D Design. We cover this in the next chapter. For now, save your project to the cloud, which will make it available to you in those other applications. Figure 6.13 shows the finished bowl when exported to STL and then loaded into MakerBot’s MakerWare in preparation of 3D printing.

Manipulating Existing Projects
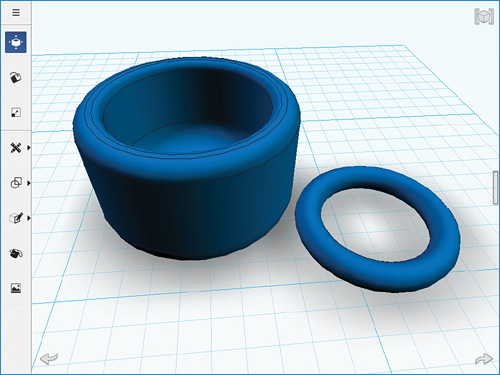
Next we’ll take the bowl shown in Figure 6.14 and turn it into a coffee mug. This will involve adding some parts to the bowl we just created and further changing the shape.
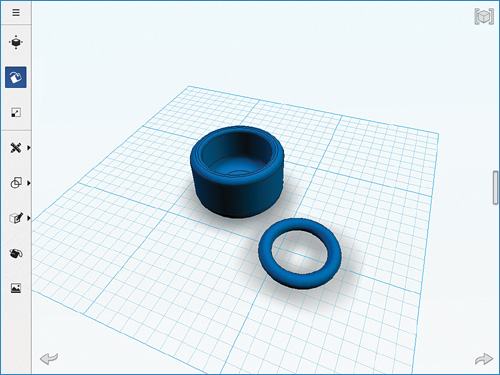
1. Starting with your previously saved bowl model, drop a torus from the Primitives menu onto the workspace (see Figure 6.15).

2. You can tap to drop it anywhere you’d like, and then close the Primitives menu by swiping to the right (see Figure 6.16).
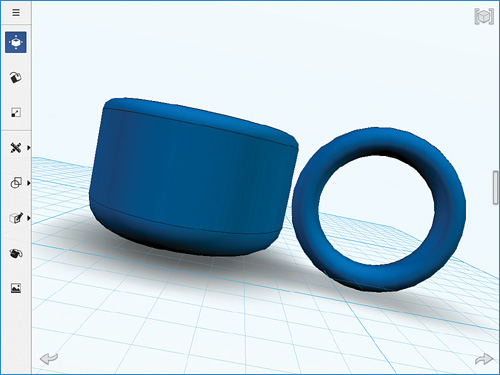
3. We have to manipulate it a little before we attach it to the bowl model so you might want to move the torus a little away from the bowl to do that. You also might want to zoom out (see Figure 6.17) to be able to see all the controls and grips for what we’re about to do.
4. The first change we’ll make is to rotate it so that it is better aligned to be a handle for our coffee mug. Tap on the Rotate control on the left menu to display the white grip controls on the torus model.
Tip
Depending on your camera view, you might need to change your view to see all the rotate controls.
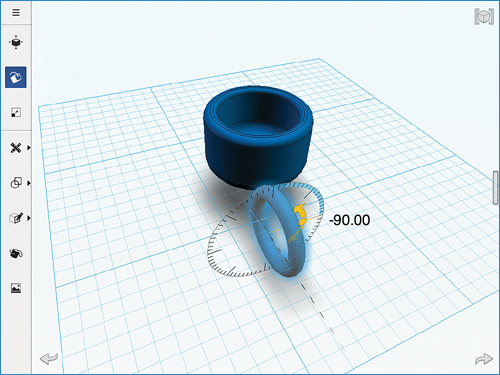
5. If your torus started out flat on the workplane, you’ll need to rotate it 90° up from the workplane (see Figure 6.18).
Tip
You’ll get visual feedback as to how many degrees of rotation you have as long as your camera view is zoomed out enough.
6. You can flip between the rotate and the camera control if you need to adjust.
Tip
Keep in mind that if you do, any degrees of movement will be reset to the point you’re currently at. It might be better to tap Undo if you’re not sure whether it is perfectly 90° and start over.
Aligning the Model
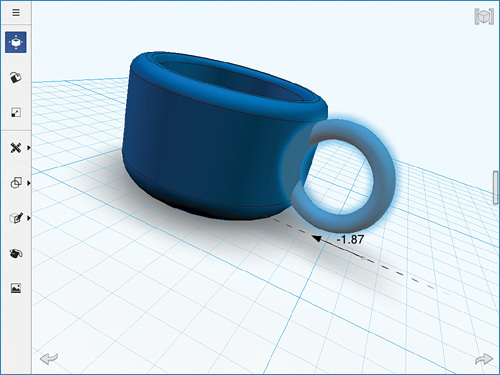
When the torus is upright, you’ll need to align it horizontally with the bowl model. In the case of Figure 6.19, the torus needed about 35° of rotation to line up with the bowl. However, this will vary depending on how you rotated your torus. Just try to align it with the bowl, as shown in Figure 6.19. Don’t worry if the torus is partially inside the bowl model.

You’ll likely need to change your camera view for this next move because we’re going to move the torus up so that it is very close to being properly aligned with the bowl model:
1. Using the Move control from the left menu, tap the white up arrow, and drag it up.
As you can see in Figure 6.20, the torus is still a little large for a handle. We’re going to scale the torus down to the right size using the Scale tool from the left side menu.
2. Tap and drag the white grips that appear on the torus to resize it as desired (see Figure 6.21).

3. The scaling of the torus might have changed the vertical alignment to the bowl, so use the Move tool once again to position it as desired (see Figure 6.22).
Finishing the Model
The last step to finish the model is to combine the torus with the bowl. Using the Combine tool from the Combine (Face Editing) menu, tap the torus so that it glows. This means you’re going to combine the highlighted (or glowing) torus (see Figure 6.23) with the next object you tap.

Tap the bowl model and your combine should be successful (see Figure 6.24). The two objects have now been combined into one solid model.

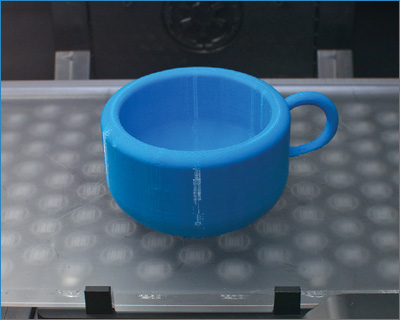
Congratulations! You now have a custom-made coffee mug...although unless you’re printing it with a ceramic 3D printer, I probably wouldn’t try to drink out of it. Don’t forget to save your work.
Sending a File to a 3D Printer
Now you’re ready to send the file to your 3D printer. There are a few things to consider with this particular model that will be useful to know when you’re designing your own objects.
If you are using a plastic filament-based 3D printer (like a MakerBot Replicator), you will likely need to use support material if you try to print the coffee mug depicted here. Figure 6.25 shows how the supporting material is added in MakerWare for printing on a MakerBot Replicator 2 3D printer.
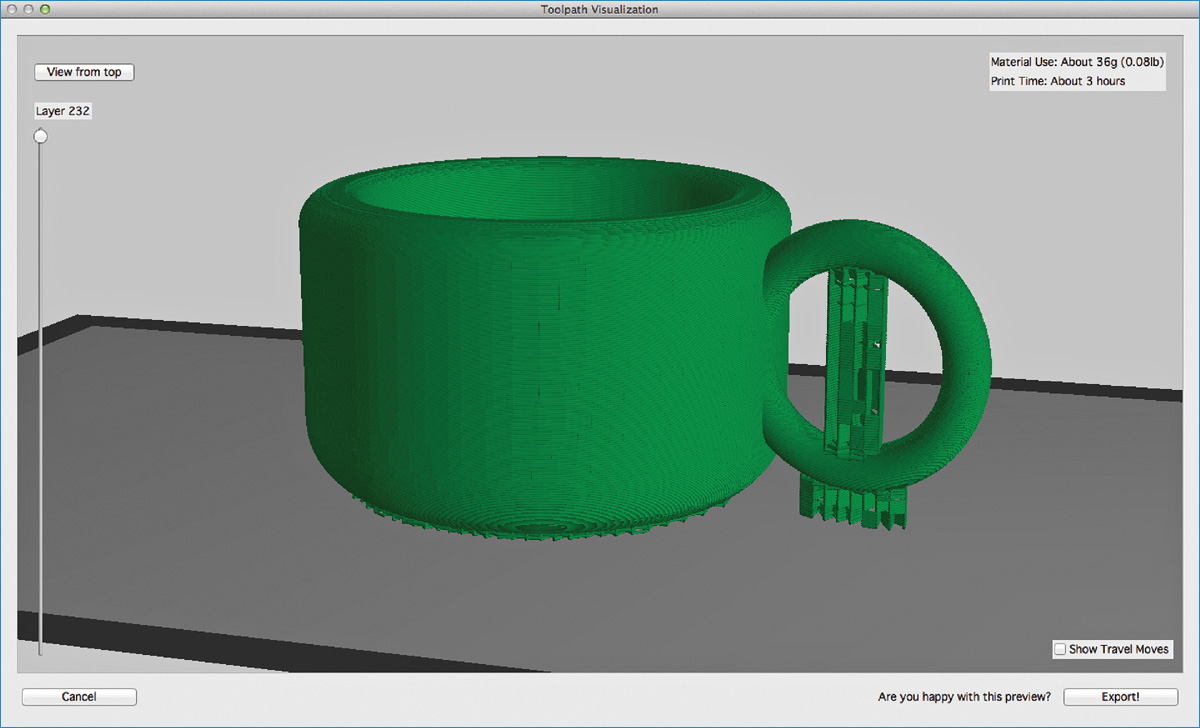
Why is support material needed? This is due to the torus extending out from the bowl over empty space (see Figure 6.26).
Generally, when 3D printing with an FDM-based printer, you need to ensure your angles are no greater than 45° from an edge so that the printer can build up material to print that area.
If there is no material from a previous layer to print upon, you will likely get plastic printing in air that might or might not droop down. Depending on the printer, this may be undesirable and cause the print to fail.
These limitations don’t exist if you’re using most other types of printers such as SLS, which has built-in support via the powder used to print with.
Trial and error with your specific printer will yield the best results.
Summary
In this chapter we created a bowl using a number of tools. We then continued to manipulate this model and turn it into a coffee mug by changing its shape and adding a handle.
In the next chapter, we move from the iPad to a desktop or laptop computer for even more options and controls with 123D Design.