16. Using a Third-Party 3D Printing Service Bureau
As 3D printing gains popularity in the mainstream, a number of companies have popped up to offer printing services not unlike a service bureau that you’d use for paper copies of documents. These companies typically have a user-friendly online experience and make it easy to get a 3D design printed in a variety of materials. You simply send them your file and then you receive it 3D printed in the material of your choice a few days later.
In this chapter we discuss a number of reasons you might want to use a third-party service for your 3D printing needs, even if you have your own 3D printer. We also discuss how you go about using a third-party 3D printing service.
Reasons to Use a Third-Party Service Bureau
The first (and most obvious) reason for using a third-party service bureau is that you don’t own or have access to a 3D printer. You can send your design files to a third-party service bureau from directly within many applications we’ve discussed in this book.
Using a service is also a great way to print your design in a material not yet available to desktop printers. You can also print your design at much larger scale than is currently offered with desktop printers.
Another reason to consider a service bureau is that many of them have marketplaces in which you can showcase your designs and offer them to the public. This can include selling or giving away your design files as well as selling printed versions of your objects for which the service handles the fulfillment (for a fee).
Note
This technology is changing rapidly so not everyone will want to spend their hard-earned money for a desktop machine that might become obsolete before it’s paid for. Just like you’d go to Kinko’s to get some 2D printing done on paper, a 3D service bureau is perfect for one-off printing jobs where you don’t need or want to own the machine.
Capability of Service Bureau Machines
The service bureau machines are generally capable of extremely high-quality printing, using materials and methods not yet available to desktop printers due to high cost, patents, or safety reasons. Many of the more advanced printing techniques, such as laser sintering, are still quite industrial in their processes. Because of this, they require safety precautions, such as ventilation and hazardous waste disposal, and large workspaces. Thus, they are not practical to have in the home or office.
These industrial techniques offer other unique properties when printing your designs, such as the ability to print complex and intricate designs without the need for support material.
Materials that can be used by high-end machines include various acrylics, ceramics, nylons, and even metals. Some of these materials can be printed in a variety of colors and even in full color. The methods used to print your object can vary greatly depending on the service bureau, as can the price.
Players in the Third-Party Service Arena
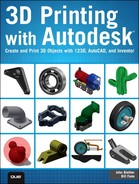
Now that we’ve established why you would want to use a service bureau, who are some of the players in this arena? The leaders in this space include i.materialize, sculpteo, and Shapeways.
Autodesk has partnered with a number of these providers and included the ability to order from directly within certain applications. You’re not limited to using the partners provided, though. All applications allow you to download your designs, which means you can then upload them to one of the service bureaus.
Note
For the purposes of this chapter, I’ll walk through my experience using Shapeways to order a 3D print of the cactus I scanned using 123D Capture, in Chapter 4, “Creating 3D Objects with Cameras and 123D Catch.”
Uploading 3D Projects to Third-Party Services
Just like desktop 3D printers, the third-party services require a 3D model file, which is typically an STL-formatted 3D model. Most services allow you to send your model files via a simple upload form on their websites. Many of the Autodesk applications covered in this book also enable you to send the model file directly from the application itself.
Ordering a 3D Print
In the menu of 123D Capture (and located similarly in the other 123D applications), select the Place an Order option to order a 3D print (see Figure 16.1).

This starts a process of checking the model and takes you to the sizing tab (see Figure 16.2).

Note
This step is important because it sets the size of your model before being sent to Shapeways (or one of the other providers shown in Figure 16.3). You won’t have the ability to resize the model after it is sent unless you resend it to the service.
After sizing your model, select a provider to fulfill your printing. For this example, we’ll be using Shapeways (see Figure 16.4).

After choosing Shapeways, you can sign up for an account or log in if you already have one. This process is similar for the other providers.
After account creation or log in, the 123D browser window then launches a new window or tab and hands over the process to Shapeways (see Figure 16.5).

Note
Depending on the size and complexity of your model, this process can take a few minutes while Shapeways loads your model into its systems.
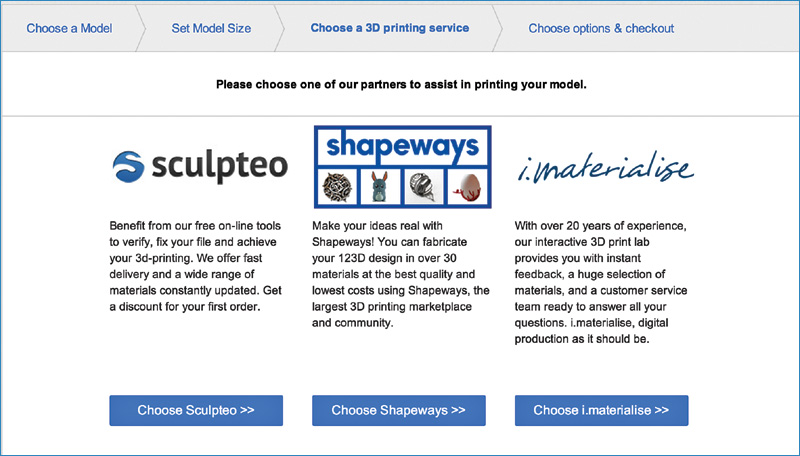
When Shapeways has finished loading and generating a preview of your model (see Figure 16.6), you’ll be able to see the various materials in which the model can be printed and the associated costs.

Along with a static preview of your model, you can also view a 3D rotating version of your model to ensure that the importation process hasn’t changed it (see Figure 16.7).
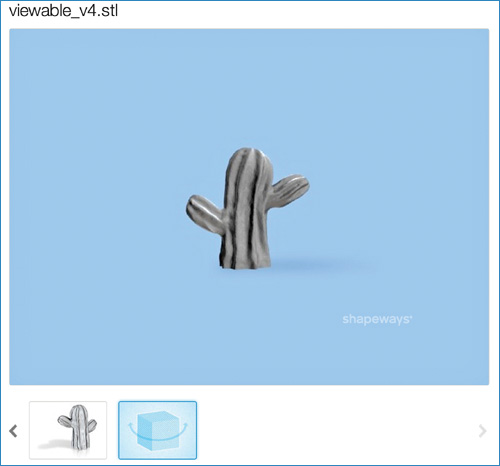
Using the Edit Details Tab
At this point, you should see an Edit Details tab at the top of the screen that will allow you to give your model a name and add a description. You can also categorize your model and add tags if you’re planning on making the model public and/or for sale to help prospective buyers find it (see Figures 16.8 and 16.9).

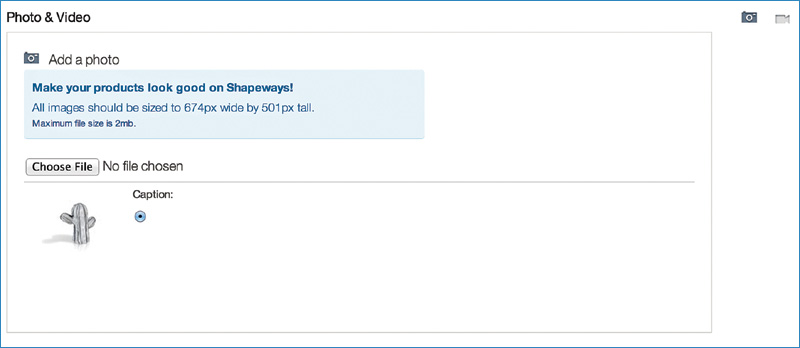
To help showcase your model, you can also upload photos and videos of your model and add captions to the photos (see Figures 16.10 and 16.11).
Pricing and Materials Options
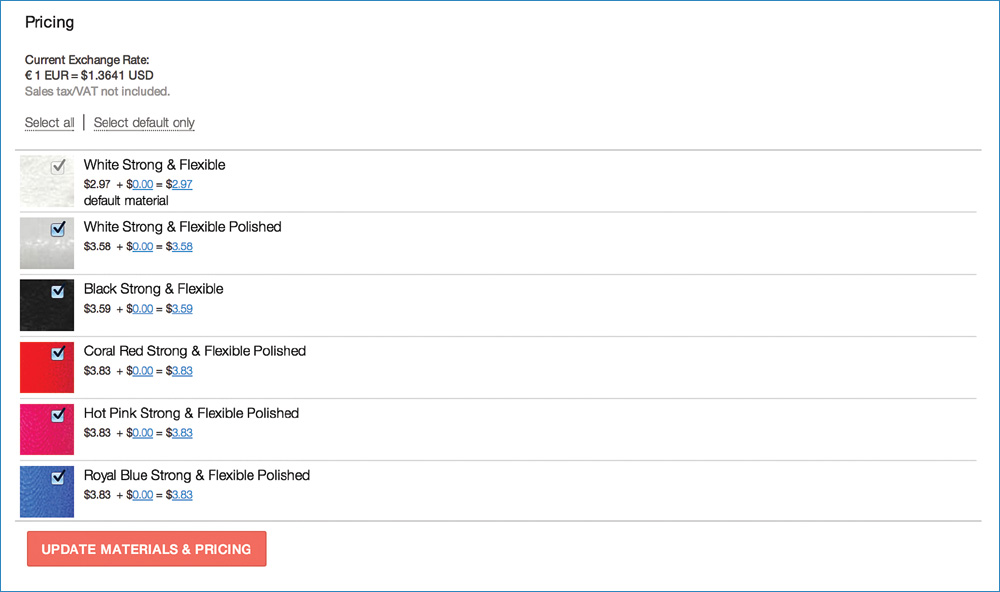
This section is where you can set the pricing for your model if you’ve chosen to offer it for sale. This is also where you can see the base cost for printing your model in various materials. As shown in Figure 16.12, your model can be printed with several different materials.

Note
If you choose to sell your design, you can add a profit markup to the base rate charged by Shapeways. For example, to print this model in Royal Blue Strong & Flexible Polished (which is a colored nylon material), it costs $3.83 in the size that you uploaded, plus shipping. You can add another amount, which is what you’ll get if someone purchases a print of your model from the Shapeways website.
When the model was uploaded, Shapeways also evaluated its printability; as you scroll through the materials list, you can see notes referring to the printability of the model. There are a number of reasons a model isn’t printable.
In the case of the model used in Figure 16.13, certain materials can be printed only at a certain size. Also, this model is too small for ceramic printing.

If your model has no color, as in Figure 16.14, printing it in Full Color Sandstone isn’t possible (you can still choose regular Sandstone, though).

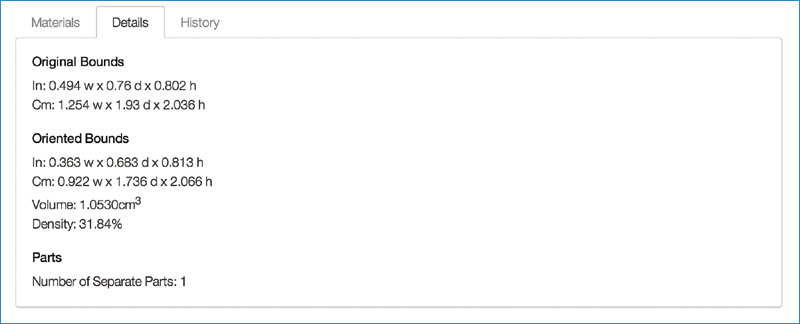
You can see more details about the printability of your model by clicking the Details tab located in the Edit Model tab (see Figure 16.15).
Clicking the View Product tab on the top right takes you back to the model preview screen. From here, you can choose the material in which you want to order the print, add it to your shopping cart, and then proceed to the checkout (see Figure 16.16).
Checkout Options
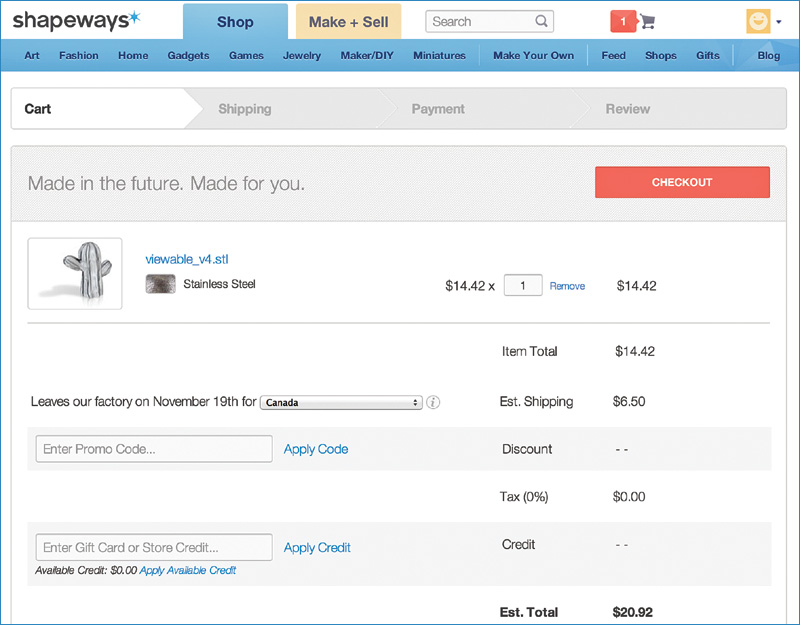
When you go to the Checkout section, you are presented with an estimated delivery time, shipping costs, and the final total for your 3D print.
Click the Checkout button, provide a payment option, and your print will start being made.
In most cases, you can get expedited printing and shipping for an additional fee if you can’t wait. A few weeks later, the scanned cactus model arrived from Shapeways (see Figure 16.17). It was 3D printed in stainless steel and it turned out perfect!

Summary
In this chapter, we covered a number of reasons you might want to use a third-party service for 3D printing. We also walked through the process of preparing and sending your model to the service, setting up the model for printing, and offering it for sale if you choose.
In the next (and final) chapter, we share our thoughts about the current state of 3D printing and our predictions on what the future holds.