10. Publishing and Exporting Your Site
The project for this lesson has not changed in any significant way when using the third-quarter 2012 update for Adobe Muse. However, there has been an addition to the Publish dialog box, as well as the addition of FTP upload to the host of your choice, asset upload, and a sitemap.xml that is generated when the content is exported.
The L10_start.muse file may show missing images when opened on Windows. You can fix them in the Assets panel.
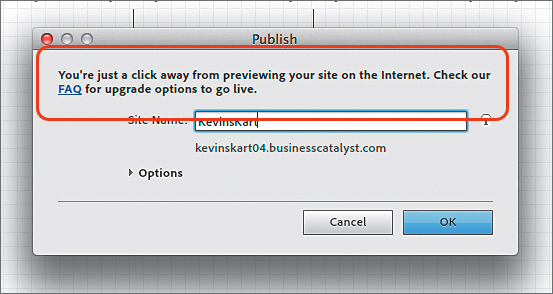
The first minor addition to the Publish dialog box occurs on page 236, when you encounter the Publish dialog box after choosing File > Publish. In the Publish dialog box, you will now see a FAQ link to a FAQ (Frequently Asked Questions) page on the Adobe website. The FAQ web page is intended to answer general questions related to publishing your site to Adobe Business Catalyst. It is intended to be informational only, and you don’t need to click the FAQ link to publish your site.
Upload a Site to a Third-Party Host
In the first version of Adobe Muse, if you wanted to publish your site to a host besides Adobe Business Catalyst, you needed to export your site content, then use third-party software to FTP (upload) the site content to another host (see page 244 in the Adobe Muse Classroom in a Book). In this first update of Adobe Muse, you can upload a site you create in Muse to a third-party hosting service using the File > Upload To FTP Host command.
Before proceeding with this command to publish your site to a host of your choice, you need to have a hosting account set up with that host. A host will supply you with information necessary to upload to its servers, such as a domain name (URL), FTP Host address, username, and password.
1. With your .muse site file open in Muse, choose File > Upload to FTP Host. The Upload to FTP Host dialog box appears.
2. Enter the FTP information that your Hosting Provider sent you when you created your hosting account.
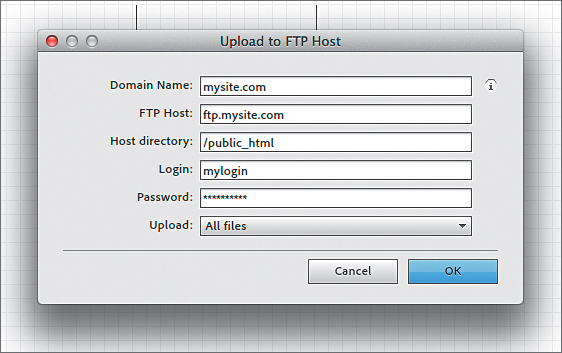
If you are not sure of the FTP host, host directory, and login credentials required to access your hosting account, contact your hosting provider. In many cases, they send the information via an email message when you first sign up.
3. In the Upload To FTP Host dialog box, enter the required information and click OK, and the files for your site will upload.
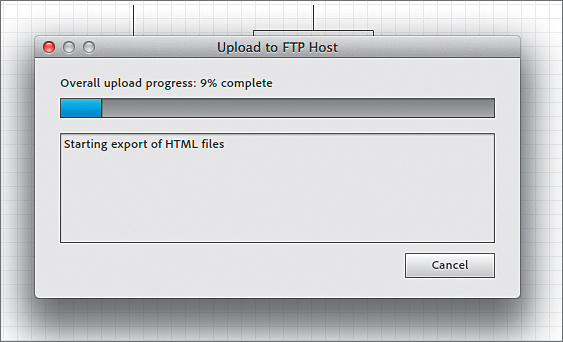
4. After uploading, the site may open in a browser. If that is the case, close the browser and return to Adobe Muse.
5. Click OK in the Upload To FTP Host dialog box after the message “FTP Upload Complete” appears.
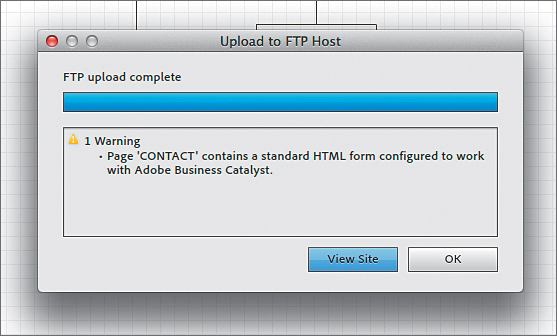
Any issues that occurred when the site was uploaded to your host will be displayed, including a warning indicating that a Muse form will not function properly when hosted anywhere besides Adobe Business Catalyst.
Upload Assets
When you publish the Muse site to Adobe Business Catalyst, Adobe Muse creates all files necessary for the site to look and work like it did in Muse. There are times when you have added content that requires external files to run. For instance, suppose you insert a jQuery widget (by inserting HTML via Object > Insert HTML) that requires an external JavaScript file and/or images in order to run properly. Muse will not collect and upload those files when the site is published to Business Catalyst. In this first update to Muse, Adobe has added an Add Files For Upload command that associates external files with the .muse site. All linked assets will be uploaded/exported along with the rest of the Adobe Muse site, in a new ‘assets’ folder.
1. With the Kevin’s Koffee Kart .muse site open, and a page open, choose File > Add Files For Upload.
2. In the Import dialog box, select the files that you wish to upload to Business Catalyst when the site is published. If you wish to choose an image from the images folder in the Lessons folder, do that. It really doesn’t make sense to simply upload a random image but for the sake of going through this lesson. Click Open to associate the file.
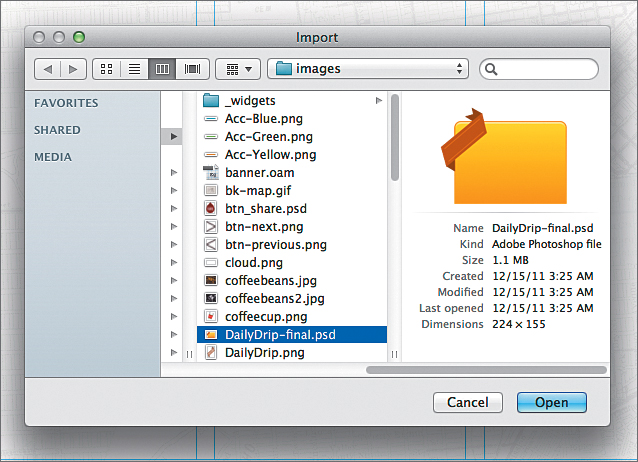
The file is now associated with the .muse site and will upload when the site is uploaded to Business Catalyst.
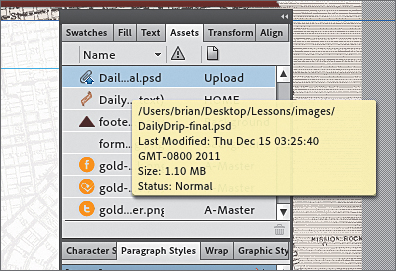
3. Open the Assets panel (Window > Assets). In the list of assets, scroll up or down, if necessary, to see the file you added in the Import dialog box.
Notice that the image name has a paperclip icon to the left of the name, as well as the word “Upload” listed in the page column. At any point, if you don’t wish to upload the selected file in the Assets panel, you can click the Delete Files For Upload button (![]() ) from the bottom of the Assets panel.
) from the bottom of the Assets panel.
Sitemap.xml
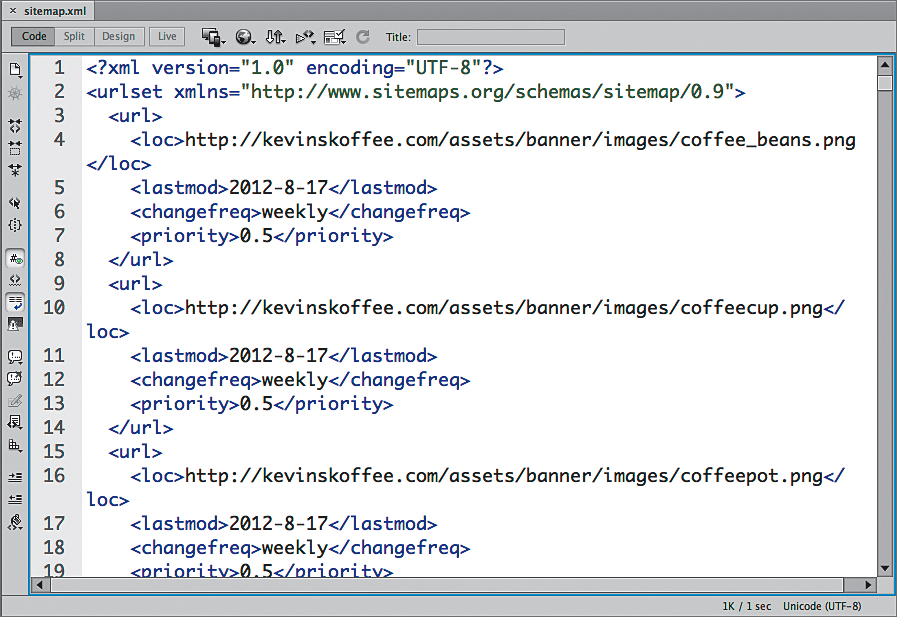
When a .muse site is published to Adobe Business Catalyst, a sitemap is generated at some point in the process. A sitemap is an XML file (in this case) that contains a list of pages on your Website. Providing a sitemap in your site files is one way to give search engines, like Google, information about your site and may speed up Google’s crawlers finding you. In the Muse update, a sitemap.xml file is now generated when you export (File > Export) or upload the site to another host using the File > Upload To FTP Host command.
With the exception of exporting or uploading to an FTP host, nothing special needs to be done in order to generate the sitemap. If you would like to see the sitemap.xml file that is created, then after exporting page 244 of the Classroom in a Book, open the folder that contains the site files and double-click the file named “sitemap.xml.” Do not edit this file.
There may be simple pages, like a thank you page, that you don’t need to include in the sitemap. Either open the page you want to exclude and choose Page > Page Properties, or right-click the page thumbnail in Plan mode and choose Page Properties. In the Page Properties dialog box, choose the Metadata content and deselect Include Page In Sitemap.XML. Click OK.