
In this chapter we will perform some basic editing:
- Basic adjustments
- Sharpening
- Cropping
- Tonal adjustments
- Conversion to black and white
- Straightening
While we are doing this, you will notice that the workflow presented in this book is radically different from what you expect and what you probably know from other software products. Don't worry about this because AfterShot Pro has an internal queue of tools that will be used once we are ready to develop the photos. The order in which we use the tools to manipulate the RAW image files does not interfere with this queue. Nor does it make a difference with which tool you start your work. You are free to use the workflow explained in this book for your photos or create and use a workflow that works for you.
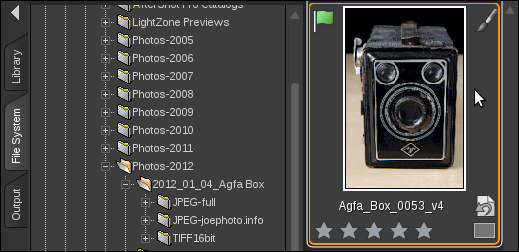
Just click on the File System tab in AfterShot Pro and navigate to one of your image folders. The thumbnail panel will then display all the images contained in the selected folder. Double-click on one of your photos and start working on your image.
To start with editing I've selected a photo of one of my older models of trusty cameras. Here is the photo without any post processing.
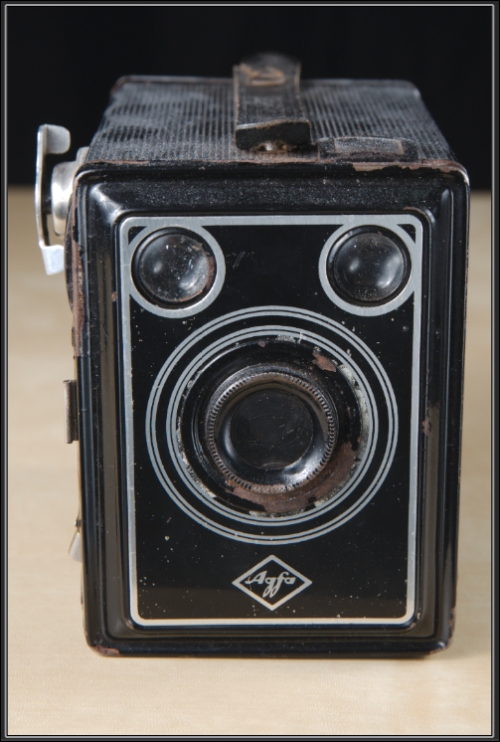
Pretty boring, right? So let's work on it.
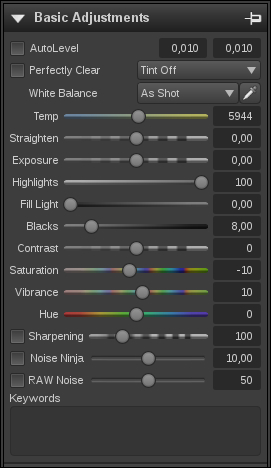
Basic editing starts with the Basic Adjustments tool on the Standard tab. Here we will find all the controls for a quick edit. In case we are not satisfied with the results, we can always use the more detailed tools on the other tabs. However, for most images the Basic Adjustments tools will work nicely.
The following two tools can make editing images a lot easier:

- AutoLevel: The AutoLevel tool will automatically adjust the black and white points of your image in a way that a fixed percent of the image will be pure black and pure white. You can control the tool with the two edit fields as shown in the preceding screenshot. The left-hand side field sets the percentage of the image to be pure black and the right-hand side field sets the percentage of the image to be pure white.
- Perfectly Clear: The Perfectly Clear tool claims to automatically lighten your images optimally while at the same time maintaining true color and not introducing any clipping. With the Tint Max and Tint Min settings, it will also remove tints and improve contrast and sharpness. The Tint Off setting will lighten the image optimally while keeping the original colors.
Tip
I've never been a fan of these tools because I like to have the colors as natural as possible, but perhaps it is just the right tool for your images.
A word of warning, though. A lot of plugins for AfterShot Pro require you to turn off both of these tools to work properly. So if you experience strange behavior while using a plugin, check if the Perfectly Clear and AutoLevel tools are turned on. If they are, turn them off and see if the plugins now work correctly.
White Balance is the next tool in our basic editing workflow. We have the choice of As Shot, Custom Kelvin, Click White, and several other presets. Whatever we select, we can fine tune the image by either using the Temp slider by simply dragging it towards the right-hand side or the left-hand side or by entering a value directly into the input field. Having said that, make sure that when you use the Click White tool you click on an area of the image that has a neutral gray tone. Do not click on pure blacks or pure whites because that would set off the white balance totally. In the case of our example photo, the white balance looks good as it is.
Let's continue editing the photo. We will discuss the other tools when need arises.