If you've ever photographed the horizon, you'll have come across something similar to the following photograph. In the image with just the right exposure, just the right clouds, and so on, you'll notice that either your main subject or the horizon is not straight. Here is one of my photos where this has happened:

I took care of the horizon and therefore tilted the subject, the lonely bank at the sea. Luckily, we can straighten that out with AfterShot Pro.
There are actually two ways to do this. First, there is the Straighten slider in the Basic Adjustments tool. This is nice and works quite well when you have either a very good eye or a very precise hand. In most cases it is better to use the second tool,he Straightening tool.
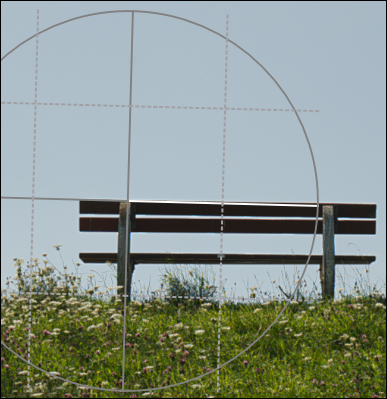
Just activate it and hover your mouse pointer on the image to see that the mouse pointer changes. Now click on the image and drag the pointer along. You'll notice that you'll draw a line. Keep this straight on the horizon or your subject. As seen in the following screenshot, the pointer has been placed right at the top of the bench:
The second you release the mouse button, the image will be rotated accrding to the drawn line.
You can see the angle used for rotation next to the Straighten slider of the Basic Adjustments tool. Now all that is left to do is cropping the image, because no one wants to see the gray areas introduced by the rotation.
The following photograph shows the desired result. The bench is now straight: