
Building and Connecting the Circuit
Using a Breadboard
A breadboard enables you to prototype circuits quickly, without having to solder the connections. Figure C-1 shows an example of a breadboard.
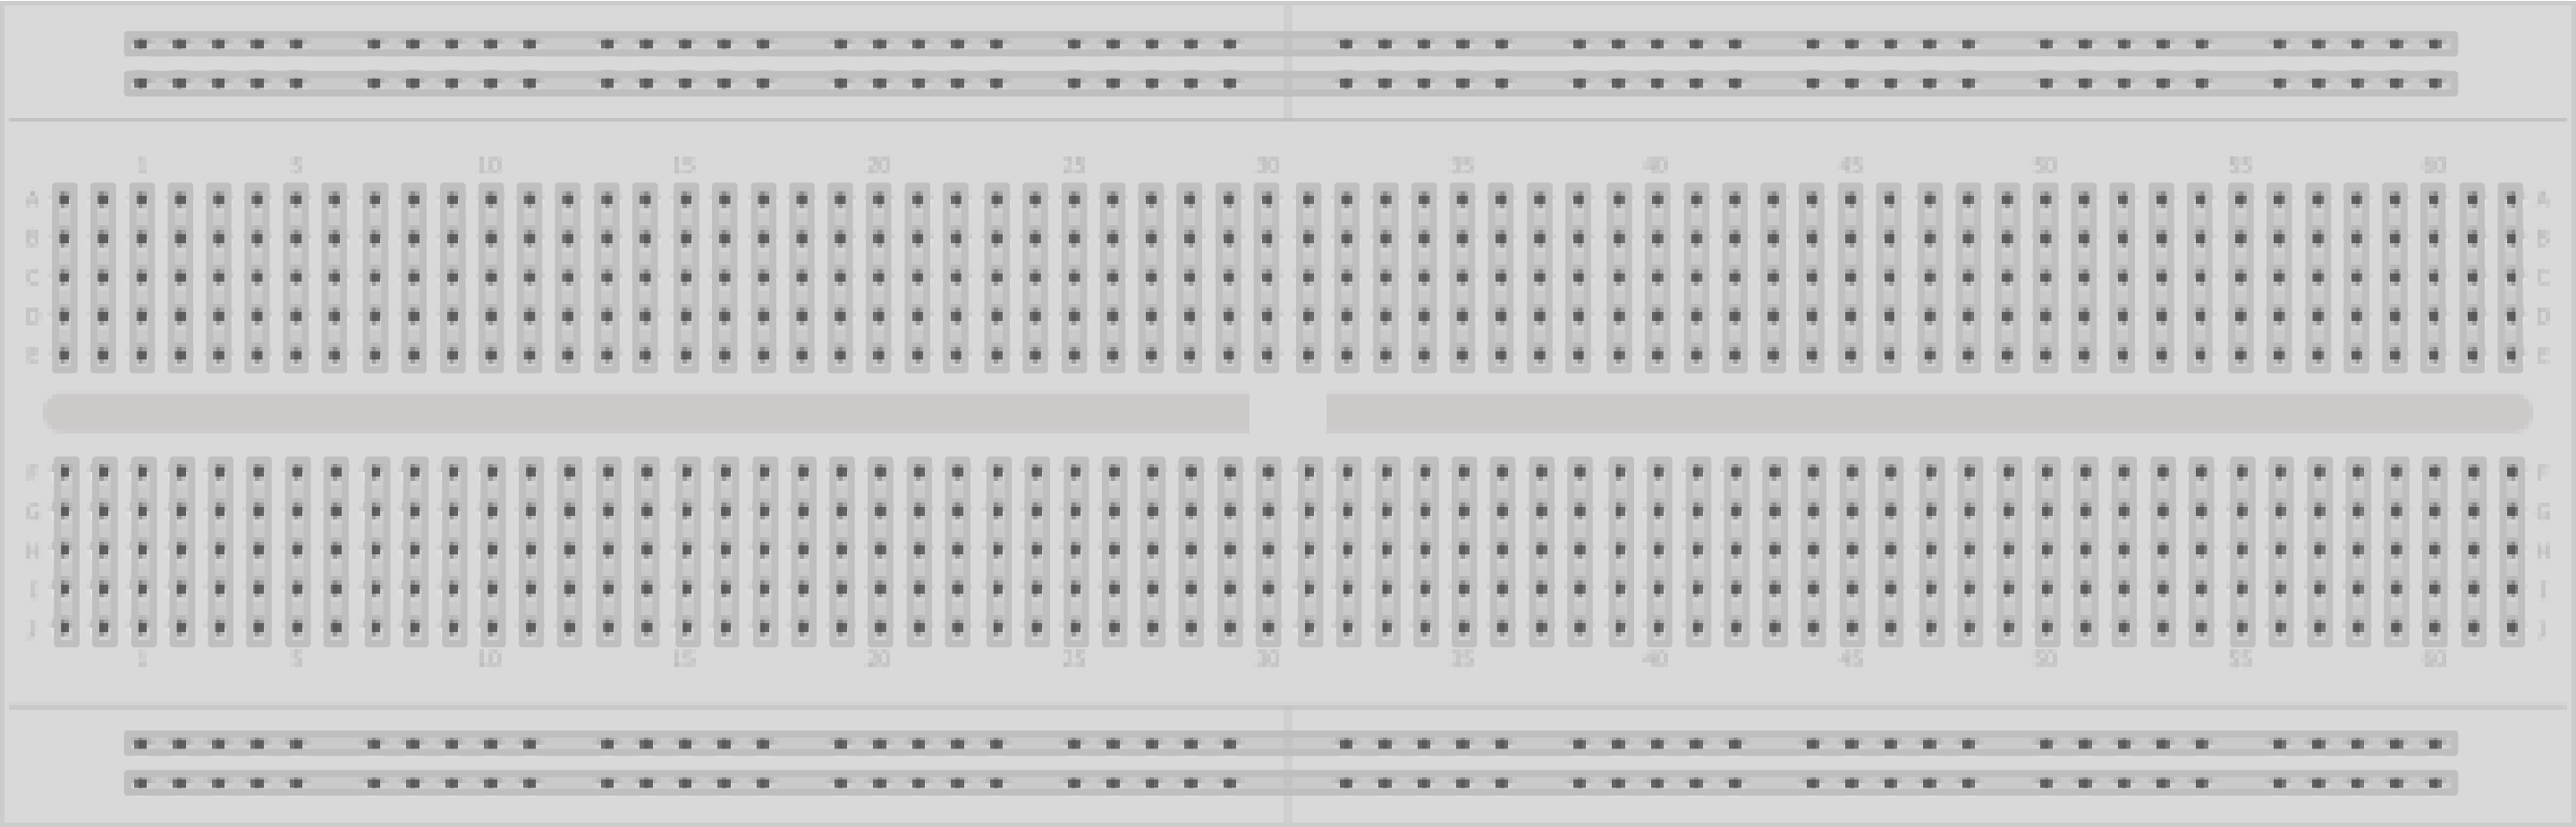
Breadboard for prototyping circuits
Breadboards come in various sizes and configurations. The simplest kind is just a grid of holes in a plastic block. Inside are strips of metal that provide electrical connections between holes in the shorter rows. Pushing the legs of two different components into the same row joins them together electrically. A deep channel running down the middle indicates that there is a break in connections there, meaning you can push a chip in with the legs at either side of the channel without connecting them together.
Some breadboards have two strips of holes running along the long edges of the board that are separated from the main grid. These have strips running down the length of the board inside, and provide a way to connect a common voltage. They are usually in pairs for +5 volts and ground. These strips are referred to as rails and they enable you to connect power to many components or points in the board.
While breadboards are great for prototyping, they have some limitations. Because the connections are push-fit and temporary, they are not as reliable as soldered connections. If you are having intermittent problems with a circuit, it could be due to a poor connection on a breadboard.
Connecting and Using External Power Supplies and Batteries
The Arduino can be powered from an external power source rather than through the USB lead. You may need more current than the USB connection can provide (the maximum USB current is 500 mA; some USB hubs only supply 100 mA), or you may want to run the board without connection to the computer after the sketch is uploaded.
The Arduino Uno board has a socket for connecting external power. This can be an AC-powered power supply or a battery pack.
Note
These details relate to the Uno and Mega boards. Other Arduino and compatible boards may not protect the board from reverse connections, or they may automatically switch to use external power and may not accept higher voltages. If you are using a different board, check before you connect power or you may damage the board.
If you are using an AC power supply, you need one that produces a DC voltage between 7 and 12 volts. Choose a power supply that provides at least as much current as you need (there is no problem in using a power supply with a higher current than you need). Wall wart–style power supplies come in two broad types: regulated and unregulated. A regulated power supply has a circuit that maintains the specified voltage, and this is a good choice to use with Arduino. An unregulated power supply will produce a higher voltage when run at a lower current and can sometimes produce twice the rated voltage when driving low-current devices such as Arduino. Voltages higher than 12 volts can overheat the regulator on the Arduino, and this can cause intermittent operation or even damage the board.
Battery voltage should also be in the range of 7 to 12 volts. Battery current is rated in mAh (the amount of milliamperes the battery can supply in one hour). A battery with a rating of 500 mAh (a typical alkaline 9V battery) should last around 20 hours with an Arduino board drawing 25 mAh. If your project draws 50 mA, the battery life will be halved, to around 10 hours. How much current your board uses depends mostly on the devices (such as LEDs and other external components) that you use. Bear in mind that the Uno board is designed to be easy to use and robust, but they are not optimized for low power use with a battery. See Recipe 18.10 for advice on reducing battery drain.
The positive (+) connection from the power supply should be connected to the center pin of the Arduino power plug. If you connect it the wrong way around on an Uno or Mega, the board will not break, but it will not work until the connection is reversed. These boards automatically detect that an external power supply is connected and use that to power the board. You can still have the USB lead plugged in, so serial communication and code uploading will still work.
Using Capacitors for Decoupling
Digital circuits switch signals on and off quickly, and this can cause fluctuations in the power supply voltage that can disrupt proper operation of the circuit. Properly designed digital circuits use decoupling capacitors to filter these fluctuations. Decoupling capacitors should be connected across the power pins of each IC in your circuit with the capacitor leads kept as short as possible. A ceramic capacitor of 0.1 uF is a good choice for decoupling—that value is not critical (20 percent tolerance is OK).
Using Snubber Diodes with Inductive Loads
Inductive loads are devices that have a coil of wire inside. This includes motors, solenoids, and relays. The interruption of current flow in a coil of wire generates a spike of electricity. This voltage can be higher than +5 volts and can damage sensitive electronic circuits such as Arduino pins. Snubber diodes are used to prevent that by conducting the voltage spikes to ground. Figure B-1 in Appendix B shows an example of a snubber diode used to suppress voltage spikes when driving a motor.
Working with AC Line Voltages
When working with an AC line voltage from a wall socket, the first thing you should consider is whether you can avoid working with it. Electricity at this voltage is dangerous enough to kill you, not just your circuit, if it is used incorrectly. It is also dangerous for people using whatever you have made if the AC line voltage is not isolated properly.
Hacking controllers for devices that are manufactured to work with mains voltage, or using devices designed to be used with microcontrollers to control AC line voltages, is safer (and often easier) than working with mains voltage itself. See Chapter 10 for recipes on controlling external devices for examples of how to do this.