
Touch gestures let the user control an augmented reality app through finger gestures alone such as taps, swipes, rotations, and pinches. Once you’ve added touch gestures to an augmented reality app, the next step is to use those touch gestures to manipulate virtual objects displayed in the augmented reality view.
In the previous chapter, we learned how to recognize when simple touch gestures occur on a virtual object such as a tap, long press, or swipe. In this chapter, we learn how to scale, rotate, and move a virtual object using a pinch, rotation, and pan touch gesture.
- 1.
Start Xcode. (Make sure you’re using Xcode 10 or greater.)
- 2.
Choose File ➤ New ➤ Project. Xcode asks you to choose a template.
- 3.
Click the iOS category.
- 4.
Click the Augmented Reality App icon and click the Next button. Xcode asks for a product name, organization name, organization identifiers, and content technology.
- 5.
Click in the Product Name text field and type a descriptive name for your project, such as RotatePinch. (The exact name does not matter.)
- 6.
Make sure the Content Technology popup menu displays SceneKit.
- 7.
Click the Next button. Xcode asks where you want to store your project.
- 8.
Choose a folder and click the Create button. Xcode creates an iOS project.
This creates a simple augmented reality app that displays a cartoon airplane. Now that we have the airplane displayed for us automatically, let’s start by learning to scale or resize the airplane virtual object in the augmented reality view using the pinch gesture.
- 1.
Click the Main.storyboard file in the Navigator pane.
- 2.
Click the Object Library icon to display the Object Library window.
- 3.
Type pinch in the Object Library. The Object Library displays the pinch gesture recognizer, as shown in Figure 10-1.

Finding the pinch gesture recognizer in the Object Library window
- 4.
Drag the Pinch Gesture Recognizer from the Object Library window and drop it on the ARSCNView on the user interface. Although you dragged and dropped the Pinch Gesture Recognizer on to the user interface, you won’t see any sign of it anywhere except in the Document Outline, as shown in Figure 10-2. If the Document Outline is not visible, click the Show Document Outline icon or choose Editor ➤ Show Document Outline.

The Document Outline displays any gesture recognizers you place on the user interface
- 5.
Click the Assistant Editor icon or choose View ➤ Assistant Editor ➤ Show Assistant Editor to display the Main.storyboard and the ViewController.swift file side by side.
- 6.
Move the mouse pointer over the Pinch Gesture Recognizer in the Document Outline, hold down the Control key, and Ctrl-drag above the last curly bracket at the bottom of the ViewController.swift file.
- 7.
Release the Control key and the left mouse button. A popup menu appears.
- 8.
Make sure the Connection popup menu displays Action.
- 9.
Click in the Name text field and type pinchGesture.
- 10.Click in the Type popup menu and choose UIPinchGestureRecognizer . Then click the Connect button. Xcode creates an IBAction method as shown here:@IBAction func pinchGesture(_ sender: UIPinchGestureRecognizer) {}
- 11.Edit this IBAction method pinchGesture as follows:@IBAction func pinchGesture(_ sender: UIPinchGestureRecognizer) {print ("Pinch gesture")}
- 12.
Connect an iOS device to your Macintosh through its USB cable.
- 13.
Click the Run button or choose Product ➤ Run. The first time you run this app, it will ask permission to access the camera so give it permission.
- 14.
Place two fingertips on the screen and pinch in or out. The Xcode debug area should display Pinch Gesture to let you know that it successfully detected the pinch gesture.
- 15.
Click the Stop button or choose Product ➤ Stop.
Scaling with the Pinch Touch Gesture
The pinch gesture is a common touch gesture for zooming in or out of an image displayed on the screen, such as while looking at a digital photograph. Likewise, this same pinch gesture can be used to scale the virtual plane that appears in the augmented reality view.
.began—Occurs when the app first detects a specific touch gesture
.changed—Occurs while the touch gesture is still going on
.ended—Occurs when the app detects that the touch gesture has stopped
If you run this code and pinch on the screen, you should still see “Pinch gesture” appear in the debug area of Xcode. This verifies that the app still recognizes the pinch gesture.

Pinching scales the virtual plane bigger or smaller
Rotating with the Rotation Touch Gesture
The rotation gesture uses two fingertips much like the pinch gesture. The big difference is that while the pinch gesture involves moving the two fingertips closer or farther apart, the rotation touch gesture involves placing two fingertips on the screen and rotating clockwise or counter-clockwise while keeping the distance between the two fingertips unchanged.
- 1.
Click the Main.storyboard file in the Navigator pane.
- 2.
Click the Object Library icon to display the Object Library window.
- 3.
Type rotation in the Object Library. The Object Library displays the rotation gesture recognizer, as shown in Figure 10-4.
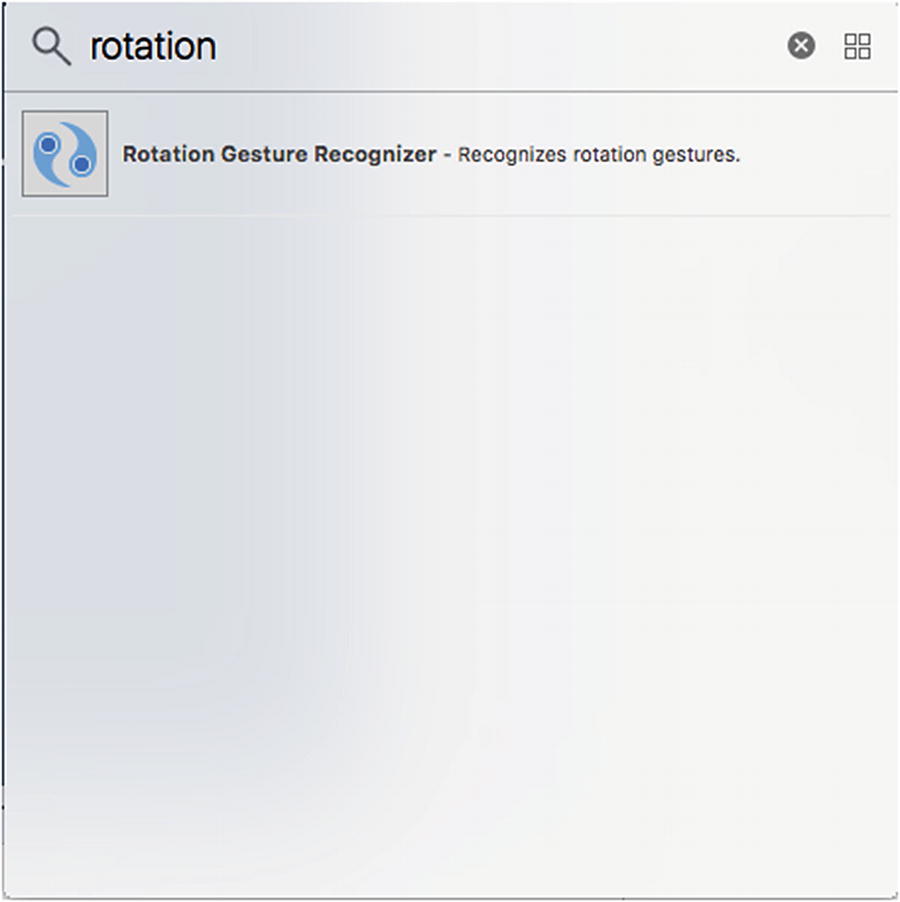
Finding the rotation gesture recognizer in the Object Library window
- 4.
Drag the Rotation Gesture Recognizer from the Object Library window and drop it on the ARSCNView on the user interface. Although you dragged and dropped the Rotation Gesture Recognizer on to the user interface, you won’t see any sign of it anywhere except in the Document Outline.
- 5.
Click the Assistant Editor icon or choose View ➤ Assistant Editor ➤ Show Assistant Editor to display the Main.storyboard and the ViewController.swift file side by side.
- 6.
Move the mouse pointer over the Rotation Gesture Recognizer in the Document Outline, hold down the Control key, and Ctrl-drag above the last curly bracket at the bottom of the ViewController.swift file.
- 7.
Release the Control key and the left mouse button. A popup menu appears.
- 8.
Make sure the Connection popup menu displays Action.
- 9.
Click in the Name text field and type rotationGesture.
- 10.Click in the Type popup menu and choose UIRotationGestureRecognizer. Then click the Connect button. Xcode creates an IBAction method as shown here:@IBAction func rotationGesture(_ sender: UIRotationGestureRecognizer) {}
- 11.Edit this IBAction method rotationGesture as follows:@IBAction func rotationGesture(_ sender: UIRotationGestureRecognizer) {print ("Rotation gesture")}
- 12.
Connect an iOS device to your Macintosh through its USB cable.
- 13.
Click the Run button or choose Product ➤ Run.
- 14.
Place two fingertips on the screen and rotate them clockwise or counter-clockwise. The Xcode debug area should display “Rotation Gesture” to let you know that it successfully detected the rotation gesture.
- 15.
Click the Stop button or choose Product ➤ Stop.
With the rotation gesture, we need to identify when the rotation is actually taking place and when the rotation finally stops. While the rotation gesture is occurring, we’ll need to rotate the virtual plane. As soon as the rotation ends, we’ll need to store the rotated angle as the virtual plane’s current angle.
In this example, we’ll be rotating the virtual plane around its z-axis so the currentAngleZ stores the virtual plane’s current angle. Then we’ll calculate a new angle, based on the rotation gesture, and store this new angle in the newAngleZ variable.
As soon as the rotation gesture ends, we want to store the new angle of rotation (newAngleZ) into the currentAngleZ variable .
The negative sign is necessary to coordinate the rotation gesture on the screen with the rotation of the virtual plane in the augmented reality view. Without this negative sign, the virtual plane would rotate in the opposite direction as the rotation gesture.
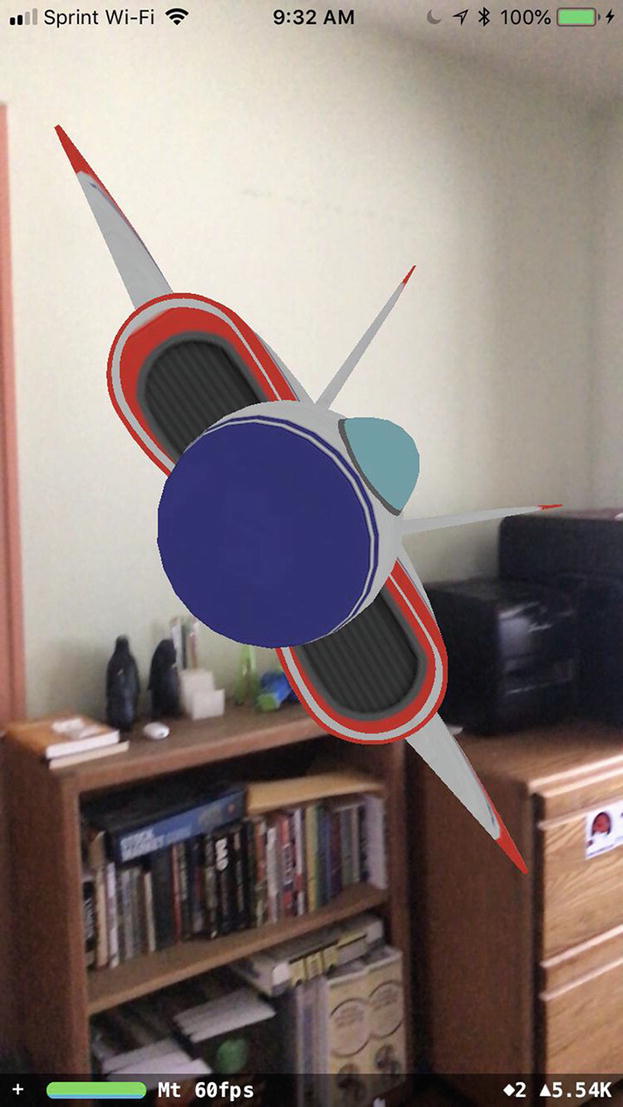
Rotating the virtual plane with the rotation gesture
Moving Virtual Objects with the Pan Gesture
The pan gesture occurs when the user slides one fingertip across the screen in any direction. You can define both the minimum and maximum number of fingertips for a pan gesture such as at least two fingers but not more than four. By default, the minimum number of fingertips to detect a pan gesture is 1.
Xcode offers two types of pan gesture recognizers. The one we’ll be using is simply called Pan Gesture Recognizer, which detects fingertip movement anywhere on the screen. The other pan gesture recognizer is called Screen Edge Pan Gesture Recognizer. If you’ve ever swiped up from the bottom of an iPhone screen to display options such as turning your iPhone into a flashlight, then you’ve used the Screen Edge Pan Gesture Recognizer that detects pans that start at the edge of a screen.
- 1.
Click the Main.storyboard file in the Navigator pane.
- 2.
Click the Object Library icon to display the Object Library window.
- 3.
Type pan in the Object Library. The Object Library displays the pan gesture recognizer, as shown in Figure 10-6.

Finding the pan gesture recognizer in the Object Library window
- 4.
Drag the Pan Gesture Recognizer from the Object Library window and drop it on the ARSCNView on the user interface. Although you dragged and dropped the Pan Gesture Recognizer on to the user interface, you won’t see any sign of it anywhere except in the Document Outline.
- 5.
Click the Assistant Editor icon or choose View ➤ Assistant Editor ➤ Show Assistant Editor to display the Main.storyboard and the ViewController.swift file side by side.
- 6.
Move the mouse pointer over the Pan Gesture Recognizer in the Document Outline, hold down the Control key, and Ctrl-drag above the last curly bracket at the bottom of the ViewController.swift file.
- 7.
Release the Control key and the left mouse button. A popup menu appears.
- 8.
Make sure the Connection popup menu displays Action.
- 9.
Click in the Name text field and type panGesture.
- 10.Click in the Type popup menu and choose UIPanGestureRecognizer . Then click the Connect button. Xcode creates an IBAction method as shown here:@IBAction func panGesture(_ sender: UIPanGestureRecognizer) {}}
- 11.Edit this IBAction method panGesture as follows:@IBAction func panGesture(_ sender: UIPanGestureRecognizer) {print ("Pan gesture")}
- 12.
Connect an iOS device to your Macintosh through its USB cable.
- 13.
Click the Run button or choose Product ➤ Run.
- 14.
Place one fingertip on the screen and slide it around the screen. The Xcode debug area should display “Pan Gesture” to let you know that it successfully detected the rotation gesture.
- 15.
Click the Stop button or choose Product ➤ Stop.
This code applies the translation from the pan gesture in the x and y directions to the virtual plane. Since we can’t detect any pan gesture on the z-axis, we won’t translate in any direction along the z-axis, so the z value of the SCNVector3 is 0.0.
Both the translate.x and translate.y values are divided by 10000 as an arbitrary value. Without dividing the translate.x or translate.y values by a large number, the actual movement of the virtual plane will appear choppy. Large values such as 10000 force the movement to occur more smoothly. Experiment with lower values to see how they create a choppy movement of the virtual plane when the user slides a fingertip across the screen.

Moving the virtual plane through the pan gesture
Summary
Touch gestures can interact with virtual objects and make them move, rotate, or scale. When using touch gestures to interact with virtual objects, you need to use the hitTest function to detect when the user’s touch gestures occur over a virtual object. Then you can modify that virtual object physical position.
Touch gestures provide a way for users to manipulate virtual objects within an augmented reality view and turn a static augmented reality view into an interactive one.