
Apple has its own database of places and addresses that you can use with your iOS application. Your code can call an instance of the MKLocalSearch class to get points of interest that you can then display on a map view. This makes it easy to implement search functionality based on what geographic region is currently displaying in the map.
Create a new Swift iOS project in Xcode with the Single View Application template. Name your application SearchingForPointsOfInterest. Go ahead and add a map view to the only screen in the storyboard, and connect it to an outlet called mapView on the ViewController class . Also import the MapKit framework, if you haven’t done so. These are the steps we’ve followed in the previous chapters, so they should be pretty straightforward.
Getting started with local search
Apple’s local search functionality for MapKit isn’t a web-accessible API that you can call with an HTTP request, unlike other integrations you may be using in your application. Apple provides two helper classes – MKLocalSearch and MKLocalSearch.Request – for working with local search. Use an MKLocalSearch.Request instance to define what to search for, and then use MKLocalSearch to execute the request and return the results.
naturalLanguageQuery – This is a word or phrase that the service will use to find results, such as “park” or “art museum”.
region – This is a map region, typically the region of a map on the current screen – useful for limiting search results to a geographic location.
pointOfInterestFilter – Only display points of interest that match one or more of the different types in the MKPointOfInterestCategory struct. For instance, beaches, restaurants, and stores are all different categories.
resultTypes – Local search can return addresses, points of interest, or both.
Not all of these need to be set to use local search – typically your map application would use naturalLanguageQuery and region. If you do not set the region, the local search will use the device’s location for the search. You do not need to ask for location permissions to use local search.
The search request object describes the search we want to do – the MKLocalSearch object will run the search. There are two steps to running a search – creating the MKLocalSearch instance with a search request object and then calling the start method on the local search. Listing 4-1 contains an example of each of these steps.
The start method takes a completion handler as the only argument. The completion handler will run on the main thread in your iOS app and has two optional arguments – a response of type MKLocalSearch.Response and an error of type Error.
Searching for points of interest with MKLocalSearch
Checking that the response is provided in the callback using guard let allows you to display an error to the user. For this code, the results will be found in the debug console, but you could display an alert message to the user.
Exploring the map items in the response
The local search results will consist of MKMapItem objects . Each of these map items in the result is a point of interest and contains location and address information in a placemark object, a point of interest category, and if available, the name, phone number, URL, and time zone for the map item. These MKMapItem objects are also used for directions and routing, as we will see in Chapter 5.
The placemark objects are from the MKPlacemark class and contain latitude, longitude, and street address information. These placemarks implement the MKAnnotation protocol discussed in Chapter 3. This means that you can add placemarks directly to a map view to display results.
Displaying the search results on a map
Now that you have learned the relationship between map items and annotations, it’s easy to see how these search results can be displayed on the map view. Be sure you have a map view on your storyboard and an outlet variable named mapView on your ViewController class before trying this code.
Displaying search results on the map
The changes in the preceding code listing accomplish a few things. The first change sets the region used in the search request to be the current region displaying in the map view. The second change adds the map item’s placemark as an annotation, instead of printing the name to the debug console. The last change sets the boundaries of the visible region on the map view to the region that contains all search results.
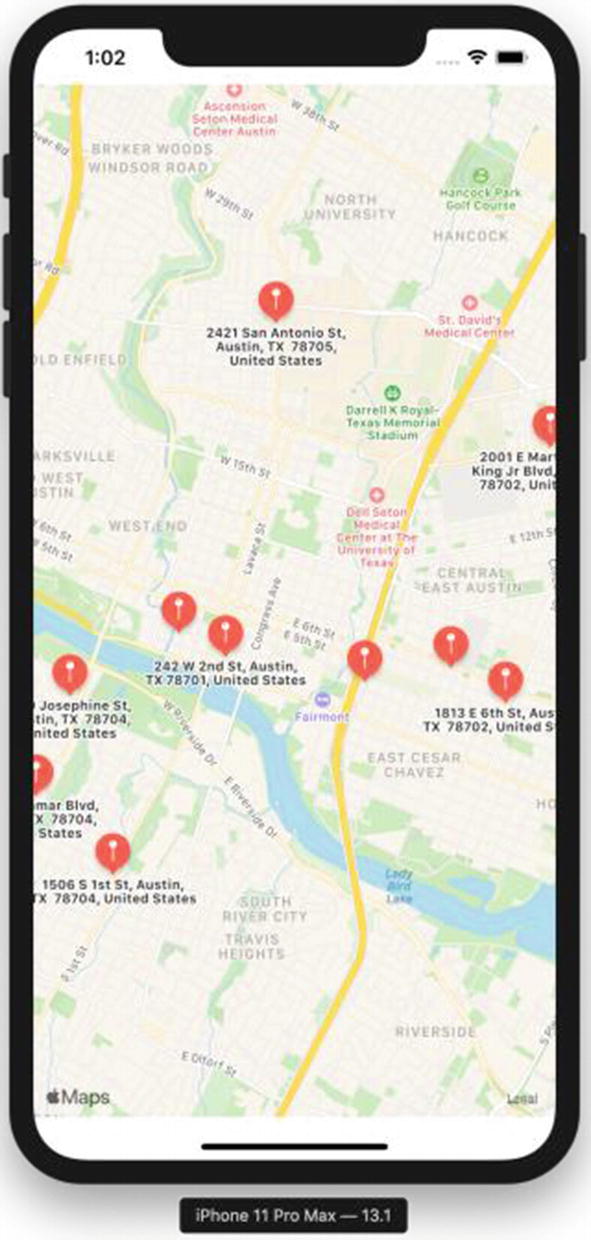
Displaying search results on a map view
Creating annotations for results
Create an annotation for each search result
Replace the existing for loop with the preceding code block, and you will see the names of the coffee shops, rather than just the street addresses.
Filtering with points of interest categories
Apple’s search works well with the natural language query, whether you look for something generic or something more specific. However, if your application will be looking for points of interest in categories that Apple has defined, then using the point of interest filter will improve your user’s experience.
Set the point of interest filter on the search request with an instance of the MKPointOfInterestFilter class . This filter is new to iOS 13 and isn’t available in previous versions of iOS. When you create a point of interest filter, you have two choices – you can create a filter that includes only one or more categories, or you can create a filter that excludes one or more categories. Typically, you would probably be using the inclusion filter, but if your search results are being populated with irrelevant results from categories that don’t fit your app, it’s certainly easy to exclude categories.
Airport
Amusement Park
Aquarium
ATM
Bakery
Bank
Beach
Brewery
And so forth, down to the zoo category. As you can see, if you are building an application that relies on local search, these filters could be quite useful.
Category filter with map annotations

Points of interest from a category filter with annotations
Working with local search is fairly straightforward, as the MKLocalSearch class that Apple provides does not have any advanced functionality, such as pagination of search results. Creating your own annotations from map items in the search results generally makes the most sense. Using the techniques in Chapter 3, you can create custom annotation views, for instance, to match the categories for the points of interest.
In the next chapter, we will use Apple’s directions API to create routes for driving or walking. The directions API also uses the MKMapItem class , and we will explore other functionality for map items that wasn’t covered in this chapter, such as user location and opening map items in the Apple Maps app.