In the previous chapter, we did all of the setup necessary to work with the Google Maps SDK for iOS. If you have not worked through Chapter 7, start there, as this chapter will pick up where that one left off.
In this chapter, we will explore the capabilities of the Google Maps map view. In particular, we will work with map types, map markers, and shapes.
Changing the type of map tiles
Get started by opening the application you built in Chapter 7. We are going to extend that project, so we do not have to repeat the setup process for Google Maps.
hybrid – Satellite tiles with labels
none – No tiles, no labels
normal – Default option, street map with labels
satellite – The satellite tiles, but with no labels
terrain – Useful for outdoor apps, has labels
Changing the map type for Google Maps
You can always allow your users to set the map type themselves if you want to let them switch between satellite, terrain, and street map options. The map type can be changed at runtime without a problem.
Displaying map markers
Displaying a map marker on Google Maps is straightforward – simply create a map marker as a GMSMarker object, specify the position and title, and then tell the marker which map it belongs to.
Adding a marker to the map
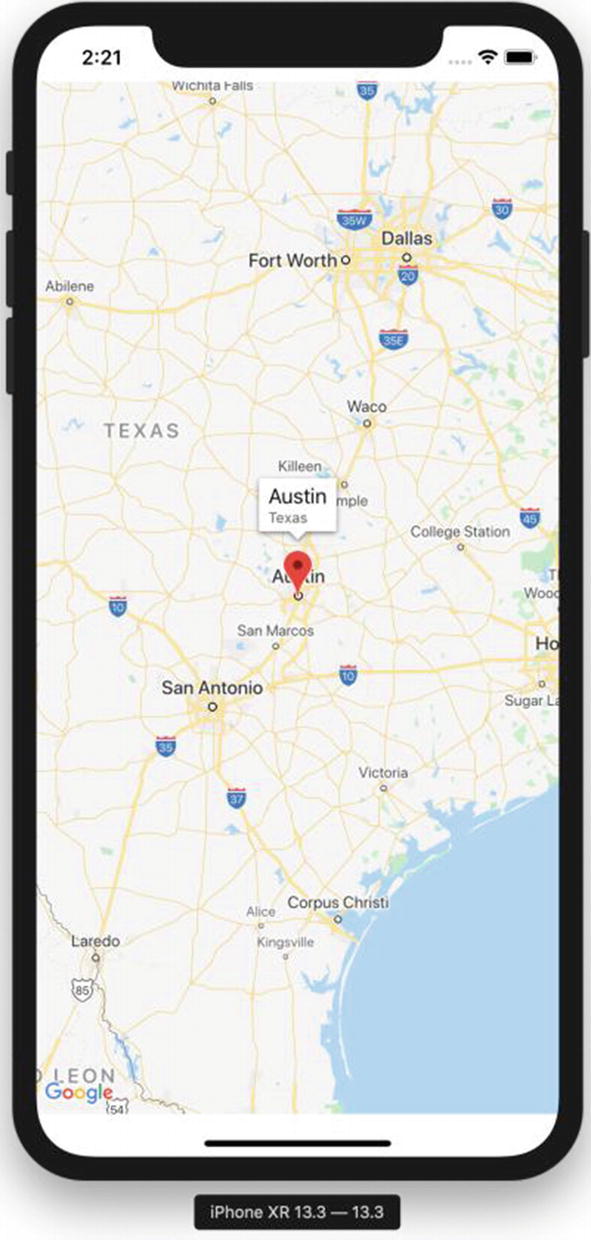
Showing a map marker and info window on the map
Changing the marker icon
By default, markers will show up as a red pin. The marker’s icon and iconView properties control how the marker displays. The icon property takes a UIImage object. The iconView property takes a UIView object. The iconView property takes precedence over the icon property – if you set an iconView, the icon property will be ignored.
You can pass any color in as an argument to the markerImage() method .
Responding to marker events
The GMSMapViewDelegate protocol contains many different callback methods you may end up using with your map application.
With respect to markers, the most common functionality you would implement would probably be to do something when a user taps on a marker or on an info window. Typically, if the marker has an info window, you would only do something if the user taps the info window, but it is possible to listen for taps on the marker, do something, and also still display the info window.
User data and markers
The preceding examples simply print out the marker’s title, if there is one. Typically, you’d want to present a new view controller with details about the place represented by the selected marker. That requires some kind of way to link the selected marker object with an identifier or a data object. The GMSMarker class has an optional userData property that can be used to store anything – strings, numbers, or your own objects. The Google Maps for iOS SDK will simply ignore it – your code is responsible for doing something with it. This makes passing in custom data very easy – if your map markers are showing City objects, for instance, simply set the user data property to the corresponding instance of the City class. You can also pass in an identifier, like an integer or a UUID, and then let your details view controller do the lookup from a data store.
Again, you would probably use this to present a new view controller with more details about the marker, but this illustrates how you might retrieve this user data from the marker.
Adding shapes to the map
You may want to add lines, polygons, or circles to your map. For instance, if you had driving directions from one place to another, you might want to show the entire path on the map. You might also want to do a data visualization using circles on the map, for instance, to illustrate magnitude of earthquake shocks or the number of people living in a city or town.
Circles
Generally speaking, all of these work similarly, so let’s start with the least complicated example – a circle. The GMSCircle class is like the GMSMarker class, in that you set its position with a latitude and longitude and then assign a map as a property. It differs from a marker because you have to set a radius that the circle covers on the map. This radius is in meters and corresponds to an actual geographic location. A marker would generally display at the same fixed size, no matter what zoom level you are at in the map. In addition to setting a radius, you also may set the fill color for the inside of the circle, the color used on the stroke outline of the circle, and the width of that outline.
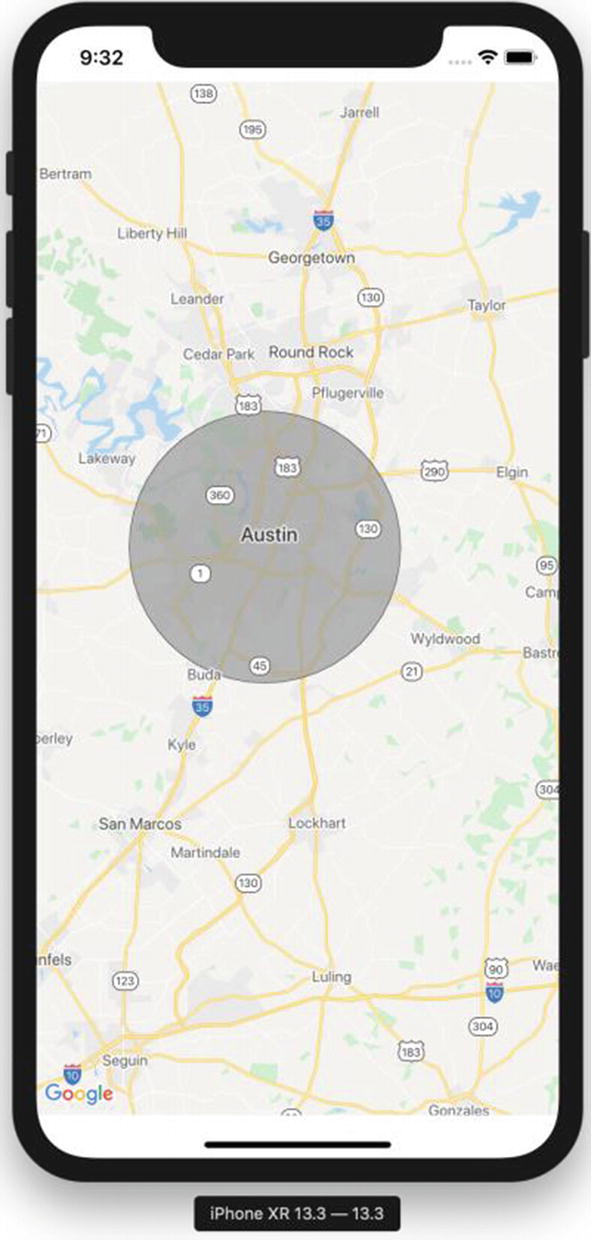
Displaying a circle on the map
Now that we’ve displayed a circle, let’s move on to the next type of overlay, a polyline.
Polylines and paths
If you are showing a route or a path in your application, you can use polylines to display one line that consists of one or more different segments. With the Google Maps SDK for iOS, the way this works is that you construct a path as a GMSMutablePath object with two or more location coordinates, in the order that they will be connected. You then construct a GMSPolyline object with that path. The path represents the data (latitudes and longitudes, as well as the order), and the polyline provides the rendering options for the map – line color and width. There is no fill color for the polyline with Google Maps – only a stroke color and a stroke width.

Displaying a polyline from a path of latitude and longitude pairs
Typically, you would probably construct the path in a loop, reading from a database, the JSON response of an API call, or some other data structure. If you are working with the Google Directions API, you can create the path from the encoded path that a valid route returns. We’ll build a driving directions application that uses the Google Directions API and Google Maps in the next chapter.
Polygons
The only differences between the preceding code and the polyline code are using the GMSPolygon class instead of GMSPolyline and being able to specify a fill color.

Displaying a polygon on the map
Now that you’ve seen how to draw shapes on the map, it’s time to discuss how to remove shapes after they are no longer needed.
Removing markers and shapes
You can now create any new markers or shapes that you need.
Conclusion
In this chapter, we discussed how to change the map tiles used in your map view, using the mapType property of the map view. We also added markers to our map and learned how to change the marker icon. When a user taps on a marker or info window, we also learned how to handle those events and how to pass custom data on a marker that we could use. Last, we looked at adding circles, polylines, and polygons and then how to remove markers and shapes.
In the next chapter, we build on our discussion of polylines and paths to provide driving directions from Google Directions API on a map view.