
Now, once you have uploaded your osCommerce files, you need to create a database and give an administrator access via a password. There are a number of ways this can be done in, so I will demonstrate on the demo site’s hosting package one of the ways for creating a database for our store. Hopefully the process you follow will be quite similar. If you get stuck, get help from your host’s support team; that’s what they are there for.
The demo site has an interface for MySQL database creation, like this (you might find that your host provides something quite similar):
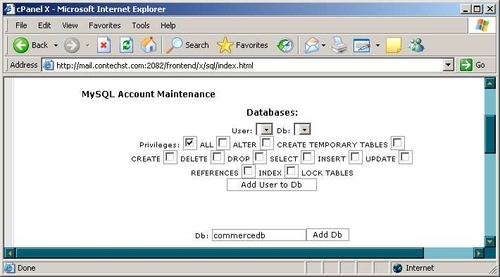
Entering a database name and clicking Add Db brings up a confirmation page. Now we have a database to work with, so we’re getting somewhere. Of course, we need to specify a user for this database. The following user is created and then added to the commercedb database:
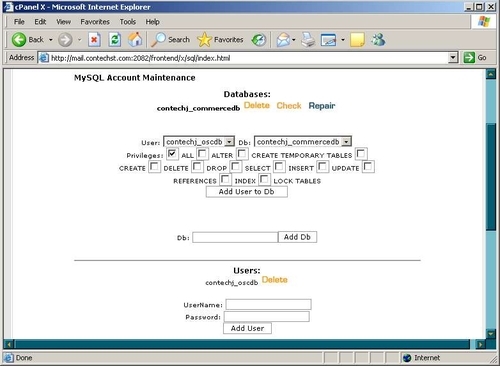
For the purposes of installing the database, we will use the oscdb user that we added to the newly create database. You’re free to choose whatever username you want depending on what suits you best.
Note
Notice in the previous screenshot that the host automatically prepends something (in this case contechj_) to all the user and database names. Your host will likely do this too if it is using a single MySQL RDBMS for multiple database accounts. If so, make a note of it, as you will need this when configuring your connection variables in osCommerce in a moment.
Perfect! We now have everything set up on the host server, so let’s look at the files on our development machine and ensure they are fit to be transferred across to the host.