
Between June 2015 and March 2017, Microsoft released a new version of Visual Studio Code every month (except for December 2016 because even Microsoft employees deserve a break for Christmas). Visual Studio Code has rapidly improved, and has surprised Microsoft with its popularity. Even if you plan to use Visual Studio 2017 as your primary development tool, I recommend that you learn how to use Visual Studio Code and the .NET Core command-line tool as well.
You can download Visual Studio Code from https://code.visualstudio.com/.
In this book, I will show examples and screenshots of Visual Studio Code by using the version for macOS. The steps for doing the same with Visual Studio Code for Windows and variants of Linux is very similar, so I will not repeat the instructions for every platform.
After downloading Visual Studio Code for macOS, drag and drop it to your Applications folder, as shown in the following screenshot:

You will now need to install the .NET Core SDK for macOS. The full instructions, including a video to watch, are described at the following link, and I have included the basic steps in this book for your convenience: https://www.microsoft.com/net/core#macos.
The first step is to install Homebrew (if you don't already have it).
Start macOS's Terminal app and enter the following command at the prompt:
/usr/bin/ruby -e "$(curl -fsSL
https://raw.githubusercontent.com/Homebrew/install/master/install)"
Terminal will prompt you to press RETURN to continue, and then prompt for your password, as shown in the following screenshot:

The second step is to use Homebrew to install OpenSSL, which is required by .NET Core.
At the prompt, enter the following commands:
brew update
brew install openssl
mkdir -p /usr/local/lib
ln -s /usr/local/opt/openssl/lib/libcrypto.1.0.0.dylib  /usr/local/lib/
ln -s /usr/local/opt/openssl/lib/libssl.1.0.0.dylib /usr/local/lib/
Terminal will output messages as shown in the following screenshot:

The third step is to download the .NET Core SDK installer for macOS (x64) from the following link: https://www.microsoft.com/net/download/core.
Note
The .NET Core SDK installer package installs .NET Core version 1.1.1 and the .NET Core Command Line Interface (CLI) tool version 1.0.1. Yes, the version numbers are confusing! A single CLI tool with its own version number is used for multiple versions of .NET Core runtime. .NET Core 1.1.1 is the Current branch and gets new features and bug fixes. .NET Core 1.0.4 is the Long Term Support (LTS) branch and only gets bug fixes. Both were released on March 7, 2017 with Visual Studio 2017.
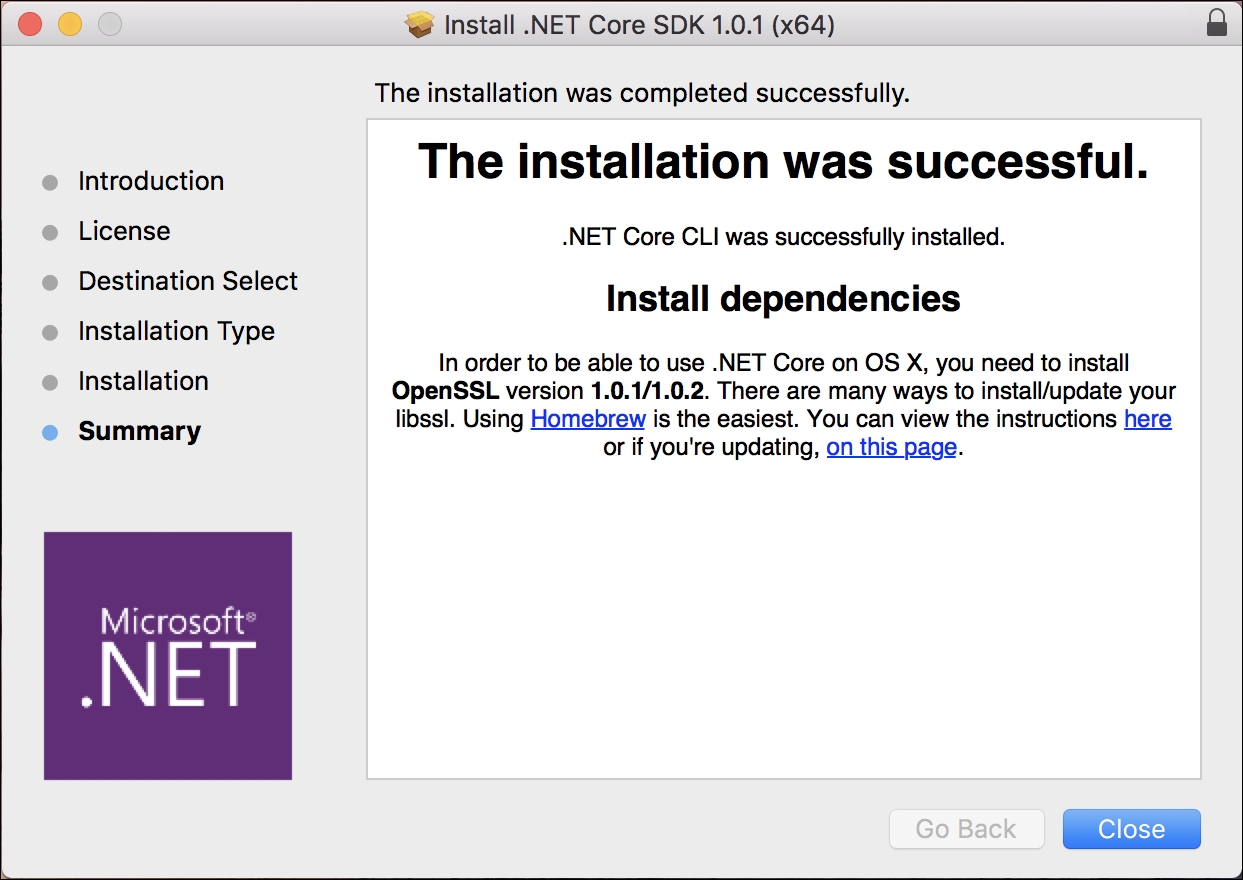
Run the dotnet-1.1.1-sdk-osx-x64.pkg installer package, as shown in the following screenshot:

Click Continue, accept the license agreement, click Install, and then, as shown in the next screenshot, click Close:
This extension is not necessary but it provides IntelliSense as you type, so it's very handy to install.
Launch Visual Studio Code and click the Extensions icon, or choose View | Extensions, or press Cmd + Shift + X .
C# is the most popular extension so you should see it at the top of the list, as shown in the following screenshot:

Click Install, and then click Reload, to reload the window and activate the extension.
Now that you have installed and set up your development environment, you will learn some background about .NET before diving in to writing code.