Class library assemblies group types together into easily deployable units (DLL files). Apart from when you learned about unit testing, you have only created console applications to contain your code. To make the code that you write reusable across multiple projects, you should put it in class library assemblies, just like Microsoft does.
Start Microsoft Visual Studio 2017. In Visual Studio, press Ctrl + Shift + N, or go to File | New | Project....
In the New
Project dialog, in the Installed | Templates list, expand Visual C# and select .NET Standard. In the center list, select Class Library (.NET Standard), type Name as Ch06_PacktLibrary, change Location to C:Code, type Solution name as Chapter06, and then click on OK.
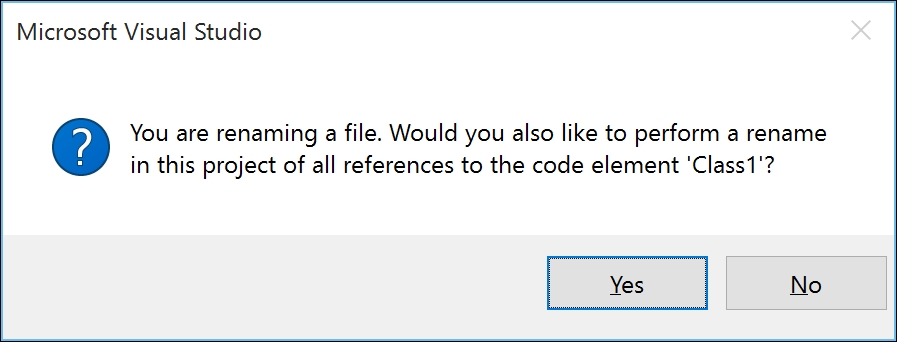
In Solution Explorer, right-click on the file named Class1.cs and choose Rename. Type the name as Person. When you are prompted to rename all other references to the class, click on Yes:
Create a folder named Chapter06 with a subfolder named Ch06_PacktLibrary.
Start Visual Studio Code and open the Ch06_PacktLibrary folder.
View Integrated Terminal and enter the following command:
dotnet new classlib
In the Explorer pane, rename the file named Class1.cs to Person.cs.
Click Person.cs to open it, restore packages, and change the class name to Person.
In either Visual Studio 2017 or Visual Studio Code, change the namespace to Packt.CS7 because it is important to put your classes in a logically named namespace. In this, and the next chapter, we will learn about OOP and most of the new language features of C# 7. Your class file should now look like the following code:
    using System;

    namespace Packt.CS7
    {
      public class Person
      {
      }
    }
Note that the C# keyword, public, is applied before class. This keyword is called an access modifier and it allows all code to access this class. If you do not explicitly apply the public keyword, then it would only be accessible within the assembly that defined it. We need it to be accessible outside the assembly too. This type does not yet have any members encapsulated within it. We will create some soon.
Members can be fields, methods, or specialized versions of both. They are described here:
- Fields are used to store data. These are the three specialized fields:
- Constants: The data in this field never changes
- Read-only fields: The data in this field cannot change after the class is instantiated
- Events: This refers to methods that you want to call automatically when something happens, such as clicking on a button
- Methods are used to execute statements. These are the four specialized methods:
- Constructors: These are the methods that execute when you use the
newkeyword to allocate memory and instantiate a class - Properties: These are the methods that execute when you want to access data
- Indexers: These are the methods that execute when you want to access data
- Operators: These are the methods that execute when you want to apply an operator
- Constructors: These are the methods that execute when you use the
In this section, we will make an instance of the Person class.
In Visual Studio 2017, add a new console application project named Ch06_PeopleApp to your existing Chapter06 solution.
Right-click the solution, choose Properties, and set the Startup Project to a single startup project, and choose Ch06_PeopleApp.
This project needs a reference to the class library we just made.
In Solution Explorer, in the Ch06_PeopleApp project, right-click on Dependencies and choose Add Reference....
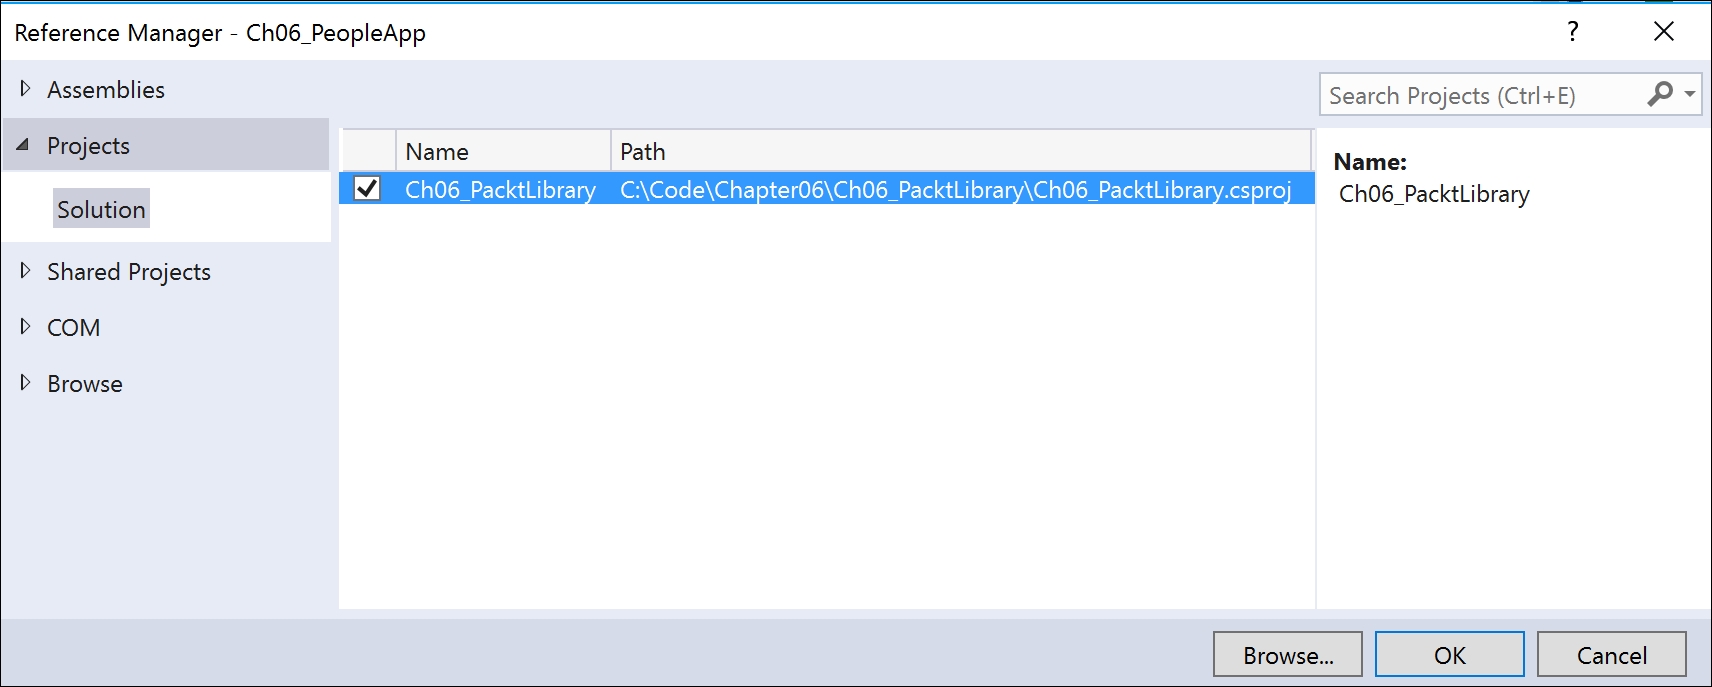
In the Reference Manager dialog box, in the list on the left-hand side, choose Projects | Solution, select the Ch06_PacktLibrary assembly, and then click on OK, as shown in the following screenshot:
In Solution Explorer, expand Dependencies to show the reference to the Ch06_PacktLibrary project, as shown in the following screenshot:

Create a subfolder under Chapter06 named Ch06_PeopleApp.
In Visual Studio Code, open the Ch06_PeopleApp folder.
In Integrated Terminal, enter the following command:
dotnet new console
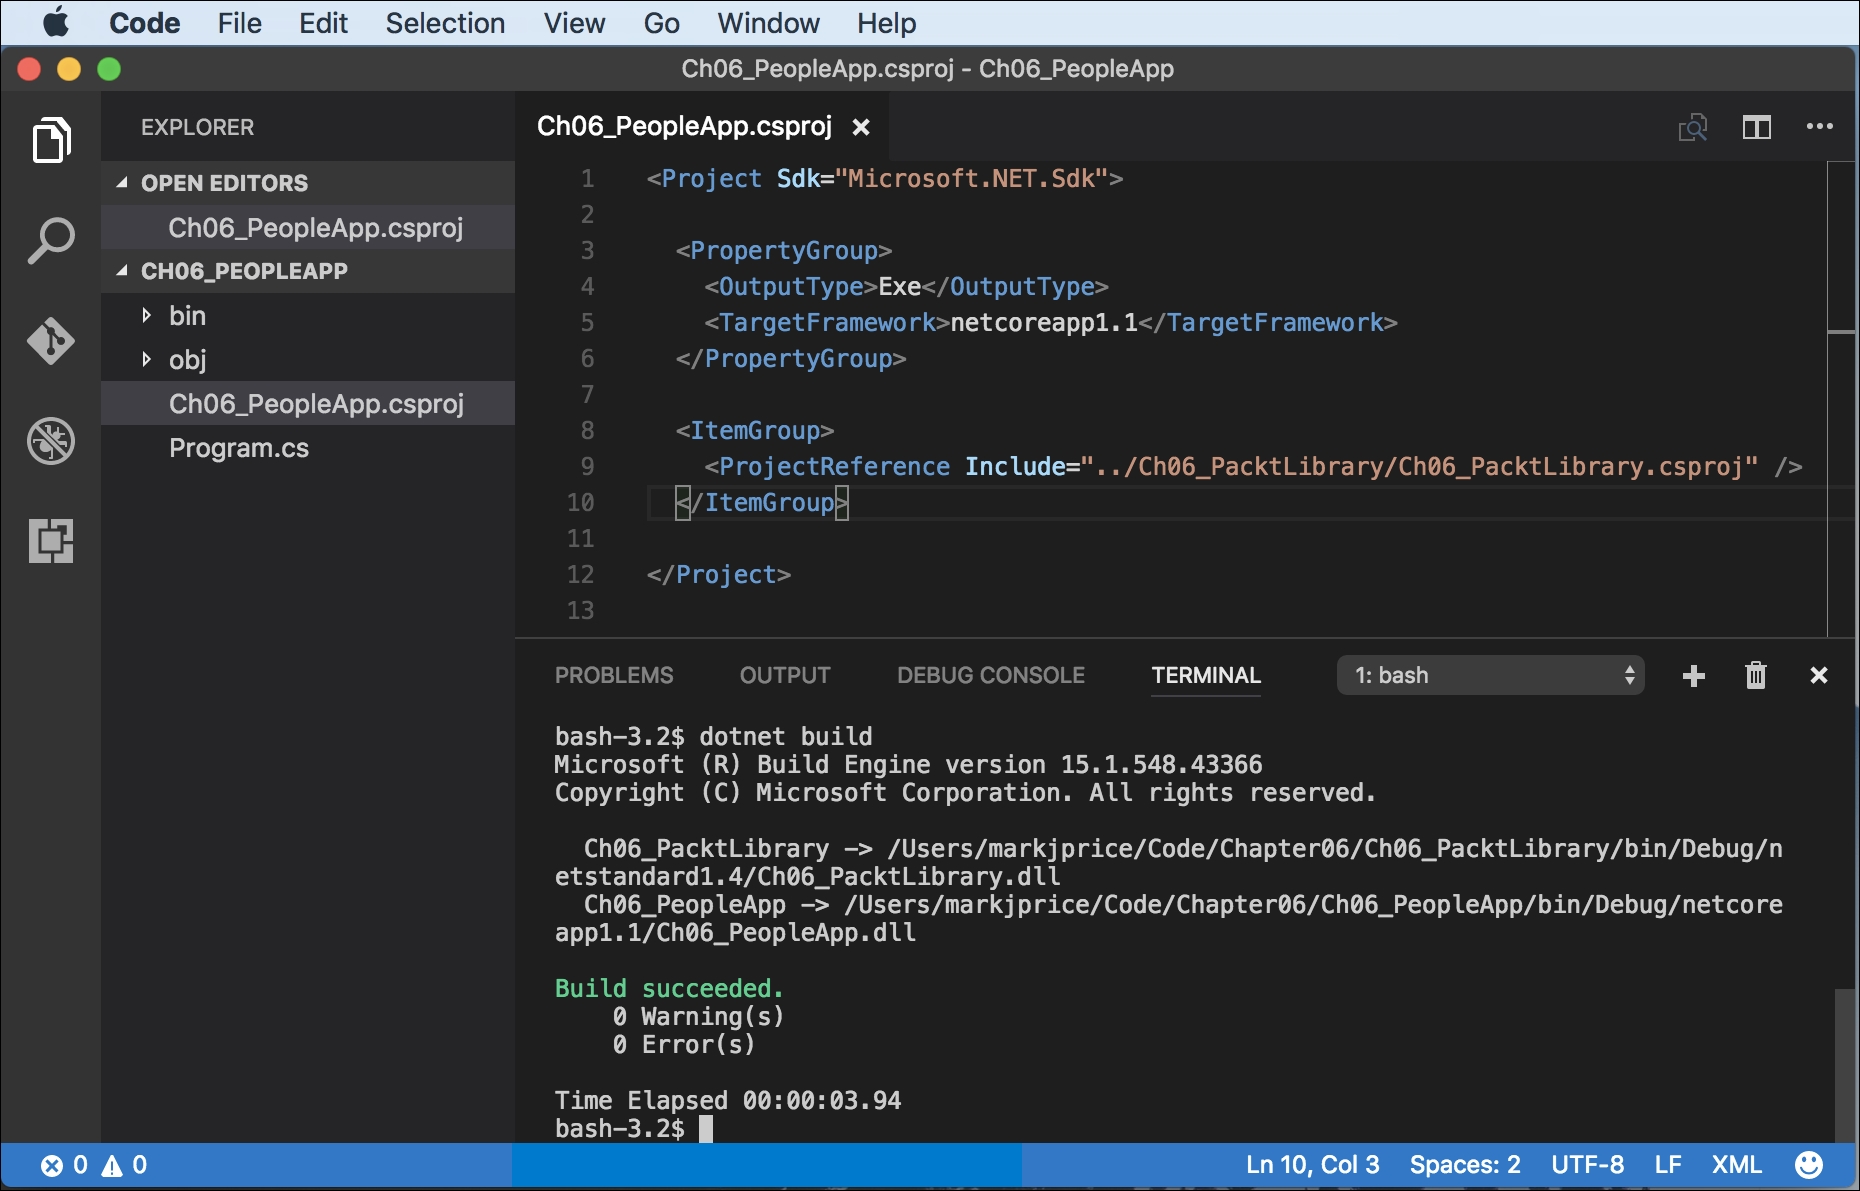
In the Explorer pane, click the file named Ch06_PeopleApp.csproj and add a project reference to Ch06_PacktLibrary, as shown highlighted in the following markup:
    <Project Sdk="Microsoft.NET.Sdk">

      <PropertyGroup>
        <OutputType>Exe</OutputType>
        <TargetFramework>netcoreapp1.1</TargetFramework>
      </PropertyGroup>

      <ItemGroup>
        <ProjectReference
          Include="../Ch06_PacktLibrary/Ch06_PacktLibrary.csproj" />
      </ItemGroup>

    </Project>
In Visual Studio Code, in Integrated Terminal, enter the following commands:
dotnet restore
dotnet build
Both the Ch06_PacktLibrary project and Ch06_PeopleApp project will compile into DLL assemblies, as shown in the following screenshot:
In both Visual Studio 2017 and Visual Studio Code, at the top of the Program.cs file, type the following code to import the namespace for our class and statically import the Console:
    using Packt.CS7;
    using static System.Console;
In the Main method, type the following code to create an instance of the Person type by using the new keyword. The new keyword allocates memory for the object and initializes any internal data. We could use Person in place of the var keyword, but the use of var involves less typing and is still just as clear:
    var p1 = new Person();
    WriteLine(p1.ToString());
Run the console application and view the output:
Packt.CS7.Person
If you have multiple projects that you want to work with at the same time, either open a new window by choosing File | New Window or press Shift + Cmd + N, or open a parent folder that contains the project folders that you want to work with.
If you choose to open a parent folder, be careful when executing commands in the Terminal because they will apply to whatever the current folder is.
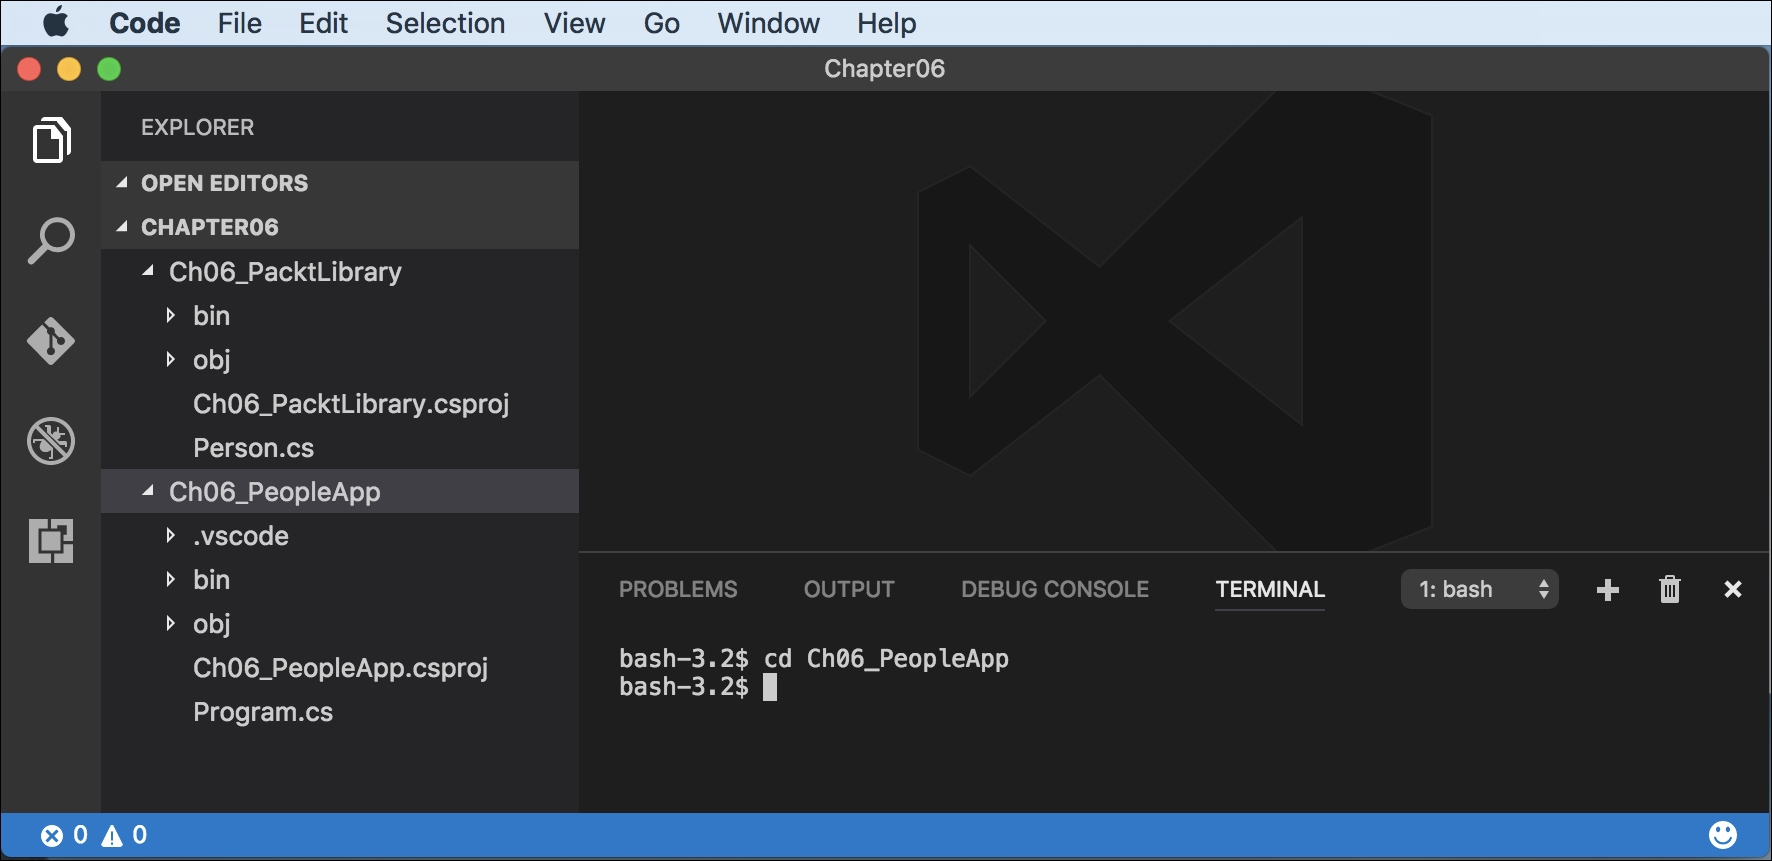
In Visual Studio Code, open the Chapter06 folder, and then in Terminal, enter the following command to change the directory to the console application project, as shown in the following screenshot:
cd Ch06_PeopleApp
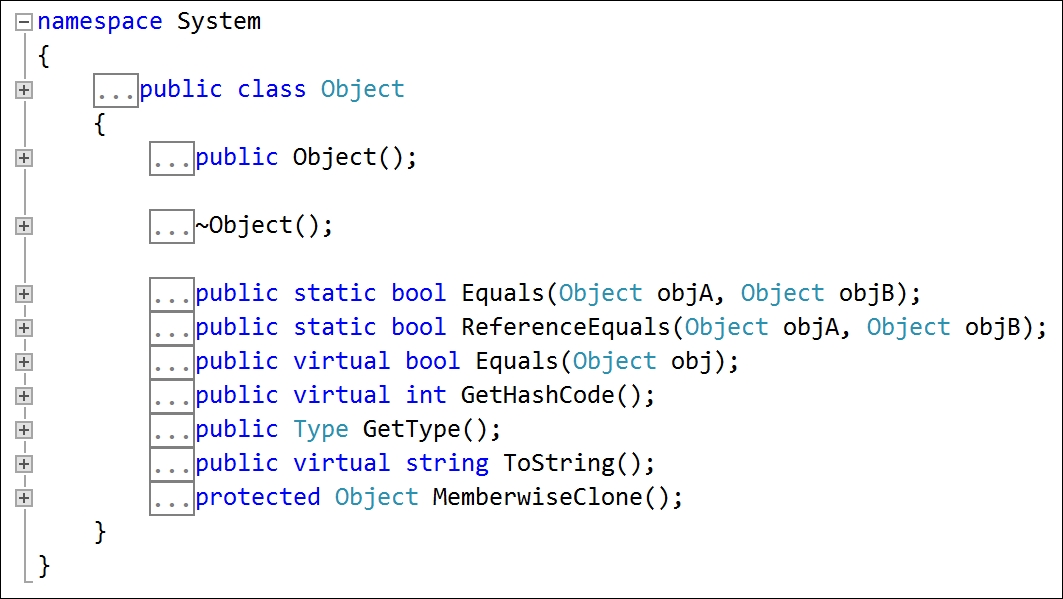
Although our Person class did not explicitly choose to inherit from a type, all types indirectly inherit from a special type named System.Object. The implementation of the ToString method in the System.Object type simply outputs the full namespace and type name, as shown in the preceding output.
Back in the original Person class, we could have explicitly told the compiler that Person inherits from the System.Object type like this:
public class Person : System.Object
You can also use the C# type alias keyword, object:
public class Person : object
Modify the code to explicitly inherit from object. Then, click inside the keyword and press F2. You will see the Microsoft-defined System.Object type and its members. You do not need to understand any of this yet, but notice that it has a method named ToString, as shown in the following screenshot: