To create and run a Cocos2d project, you have to install SpriteBuilder and Xcode. In this section, we will briefly cover how to do so.
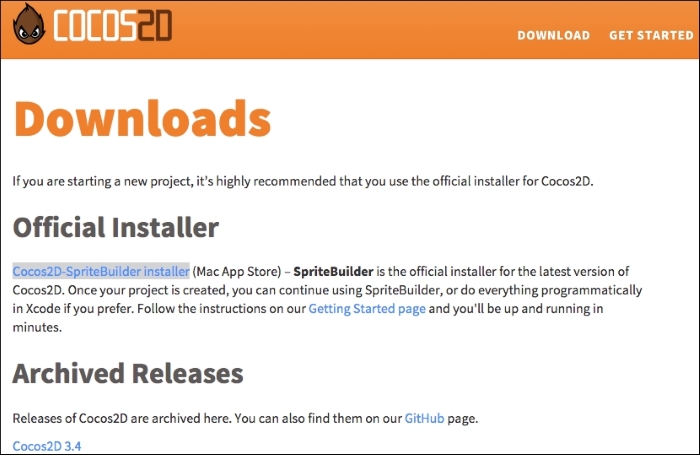
To download and install Cocos2d, go to http://cocos2d.spritebuilder.com/download.
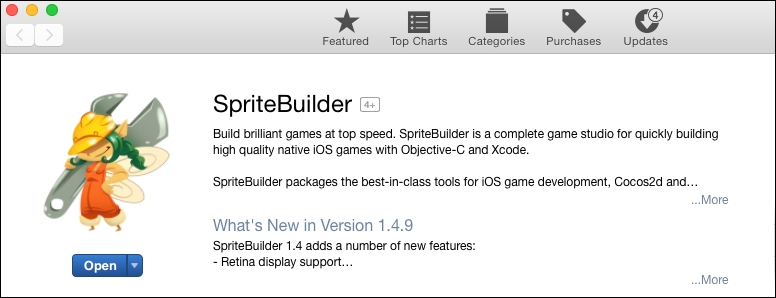
SpriteBuilder is the official installer of Cocos2d now. To install, click on the Cocos2d-SpriteBuilder installer link. This will open the Mac App Store Preview page.
If you would like to download an older version of Cocos2d, you can go through the links in the archive section of the page and download it from there as well.
Click on the View in Mac App Store link and then click on Launch Application when prompted.
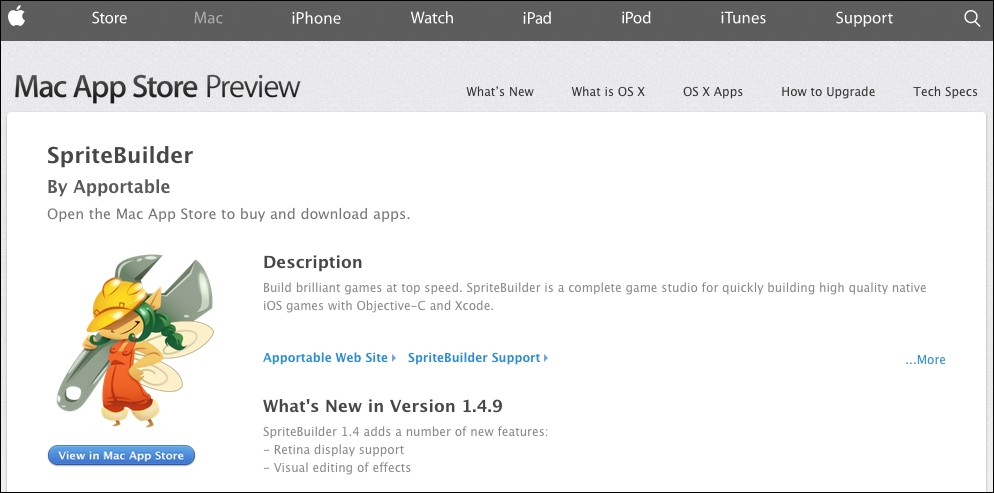
Once the App Store opens, click on Install to start the installation process. You will need to sign in to an account to download the file.
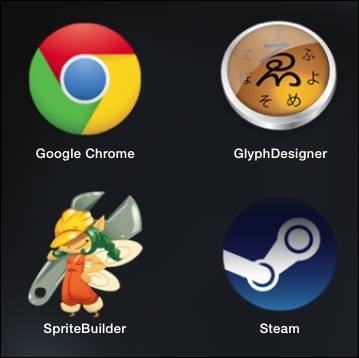
Once installed, it should be in your applications folder. Open up Launchpad and click on the application to open it.
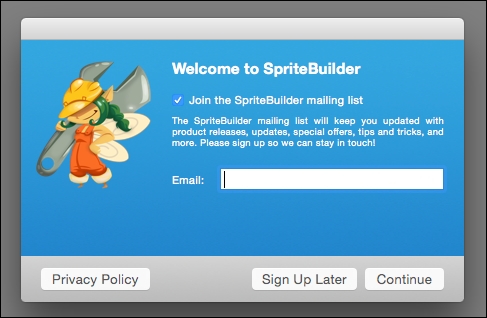
Once the application starts, you will be asked to join the SpriteBuilder mailing list. Add your e-mail address and click on Continue or select Sign Up Later.
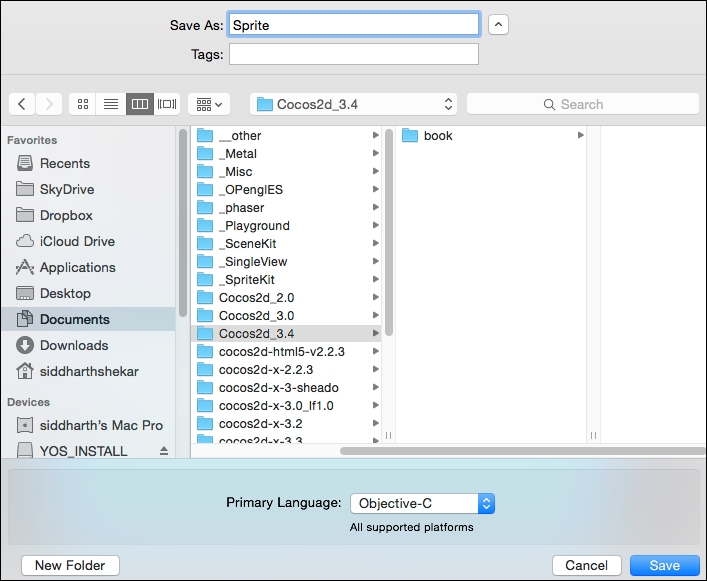
We will go through how to create a small project using SpriteBuilder later in the book. For now, we are ready to create a new project to work with. Navigate to File | New Project and select a location to create the project folder.
You can also select the primary language for coding. As we will use Objective-C, make sure that it is selected at the bottom.
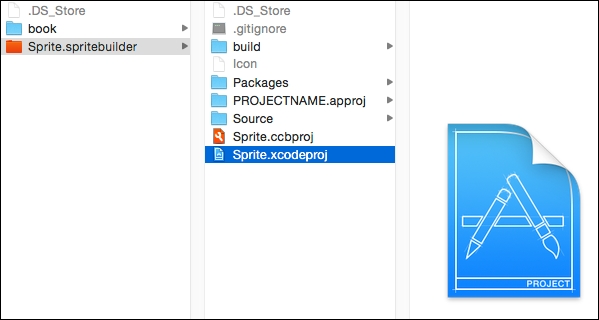
Once you have selected the location for the project, in the Save As box at the top, give the project a name. Remember the name and the location of the project folder as we will need it to open the project in Xcode.
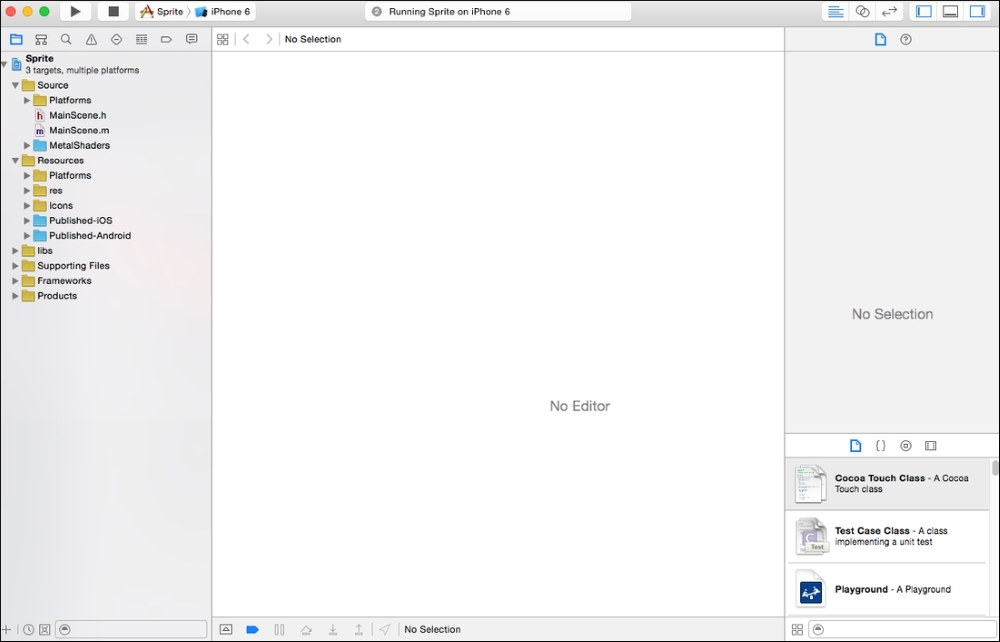
Next, we need to open the project in Xcode. We will first understand how to code using Xcode as it is essential to make more complex games. In later chapters, we will consider how to use SpriteBuilder to simplify our game development process.
You can close the SpriteBuilder project as it is not required anymore.
If you don't have Xcode, you can download it from the Mac App Store.
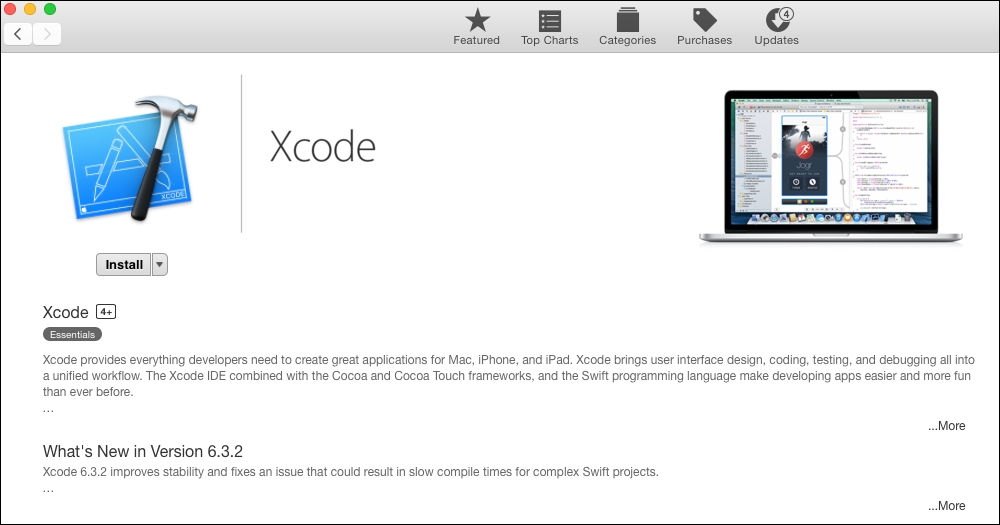
The installation process is very similar to any other app.