We just considered how to add a sprite to a scene; however, in the future, you may want a separate sprite class so that you can add your own behaviors to the class. In this section, we will discuss how to create our own custom sprite class by extending the base CCSprite class.
Let's take a look at how to create a custom sprite class so that it can have its own movement and update the function later.
For this, we will have to create new files.
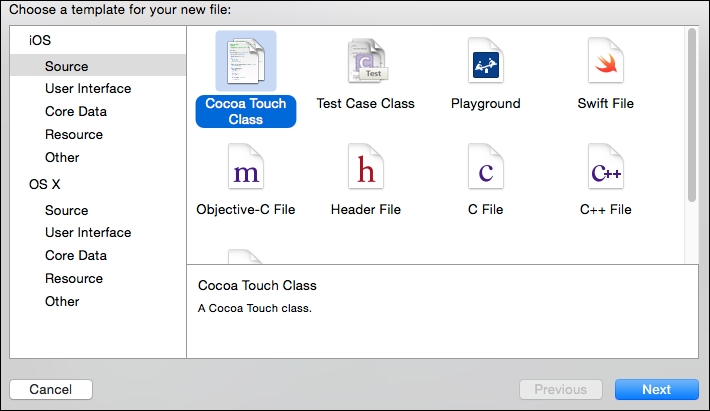
- Go to File | New | File. Under iOS | Source, select Cocoa Touch Class. Click on Next.
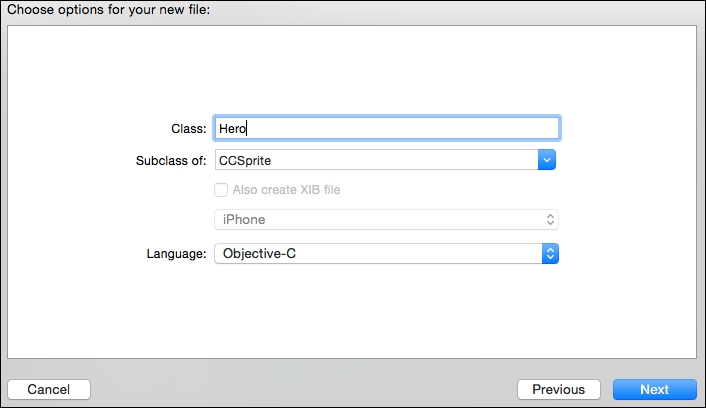
- Next, we will give it a class name. We will select CCSprite as Subclass of and Objective–C as Language. Click on Next.
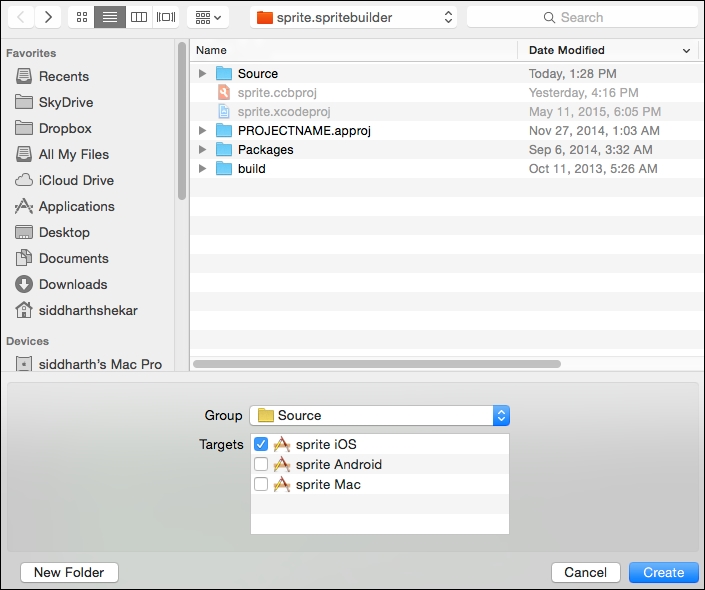
- Next, we will click on Create to add the files to your projects.
Now that the files are created, let's make some changes to them so that it can take a string as the filename and create the sprite from the file.
In the Hero.h file, we make the following changes:
#import "CCSprite.h"

@interface Hero :CCSprite{

  CGSizewinSize;
}

-(id)initWithFilename:(NSString *) filename;

@end
Now, we will change the Hero.m file as follows:
#import "Hero.h"

@implementation Hero

-(id)initWithFilename:(NSString *)filename
{
  if (self = [super initWithImageNamed:filename]) {

  }

  return self;
}
@endTo create an instance of the newly created custom sprite class, we will go to MainScene.h, import the Hero.h file, and create a new instance of the Hero type called hero with the following code:
#import "Hero.h"

@interface MainScene :CCNode{

  CGSizewinSize;
  Hero* hero;

}
In the MainScene.m file, we will add the following code right after the place we added rtSprite:
hero = [[Hero alloc]initWithFilename:@"hero.png"];
hero.position = CGPointMake(center.x - winSize.width/4, winSize.height/2);
[selfaddChild:hero];
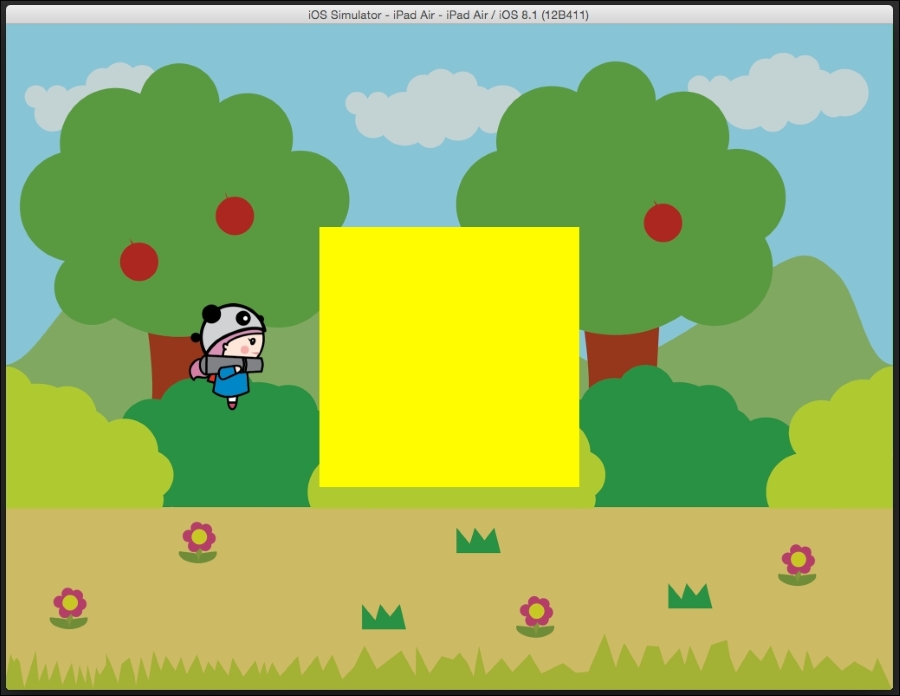
Here, we initialized hero with the hero.png file. In the Resources folder, we have to import the hero-ipad.png and hero-ipadhd.png files into the project in a similar way to how we added the Bg image files.
We will place hero at one-quarter the width of the screen, to the left of the center of the screen, and place it at half the height of the screen. Lastly, we will add the hero object to the scene.