
In the previous chapters, you learned how to leverage the power and versatility of Cocos2d-x to create an array of games. However, one of the reasons Cocos2d-x became so famous and versatile—aside from the fact that it is fast, powerful, and open source—is the fact that it is cross-platform. In this chapter, we'll leverage this awesome aspect of Cocos2d-x to build one of our games on Android and Windows Phone 8!
In this chapter, you'll learn about the following topics:
- Setting up the environment for Android
- Building one of our existing games on Android
- Setting up the environment for Windows Phone 8
- Building one of our existing games on Windows Phone 8
At this point in the timeline of technological evolution, Android needs no introduction. This mobile operating system was acquired by Google, and it has reached far and wide across the globe. It is now one of the top choices for application developers and game developers. With octa-core CPUs and ever-powerful GPUs, the sheer power offered by Android devices is a motivating factor!
While setting up the environment for Android, you have more choices than any other mobile development platform. Your workstation could be running any of the three major operating systems (Windows, Mac OS, or Linux) and you would be able to build to Android just fine. Since Android is not fussy about its build environment, developers mostly choose their work environment based on which other platforms they will be developing for.
As such, you might choose to build for Android on a machine running Mac OS since you would be able to build for iOS and Android on the same machine. The same applies for a machine running Windows as well. You would be able to build for both Android and Windows Phone. Although building for Windows Phone 8 requires you to have at least Windows 8 installed. We will discuss more on that later. Let's begin listing down the various software required to set up the environment for Android.
Since you already know that Java is the programming language used within the Android SDK, you must ensure that you have the environment set up to compile and run Java files. So go ahead and download the Java Development Kit (JDK) version 6 or later. You can download and install a Standard Edition (SE) version from the page available at the following link:
http://www.oracle.com/technetwork/java/javase/downloads/index.html
Mac OS comes with JDK installed and as such, you won't have to follow this step if you're setting up your development environment on a Mac.
Once you've downloaded JDK, it's time to download the Android SDK from the following URL:
http://developer.android.com/sdk/index.html
If you're installing the Android SDK on Windows, a custom installer is provided that will take care of downloading and setting up the required parts of the Android SDK for you. For other operating systems, you can choose to download the respective archive files and extract them at the location of your choice.
Eclipse is the most commonly used IDE when it comes to Android application development. You can choose to download a standard Eclipse IDE for Java developers and then install the ADT plugin into Eclipse, or you can download the ADT bundle, which is a specialized version of Eclipse with the ADT plugin preinstalled.
At the time of writing this chapter, the Android developer site had already deprecated ADT in favor of Android Studio. As such, we will choose the former approach for setting up our environment in Eclipse.
You can download and install the standard Eclipse IDE for Java Developers for your specific machine from the following URL:
Once you've downloaded Eclipse, you must now install a custom plugin for Eclipse: Android Development Tools (ADT). Visit the following URL and follow the detailed instructions that will help you install the ADT plugin into Eclipse:
http://developer.android.com/sdk/installing/installing-adt.html
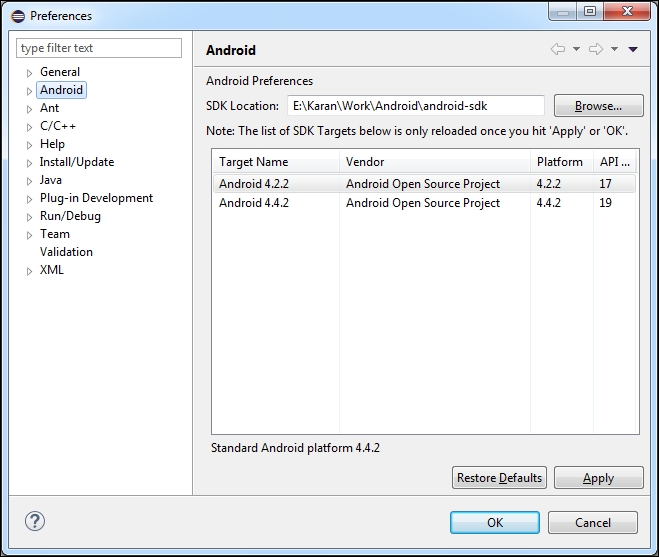
Once you've followed the instructions on the preceding page, you will need to inform Eclipse about the location of the Android SDK that you downloaded earlier. So, open up the Preferences page for Eclipse and go to the location where you've placed the Android SDK in the Android section.
With that done, we can now fire up the SDK Manager to install a few more necessary pieces of software. To launch the Android SDK Manager, select Android SDK Manager from the Windows menu in Eclipse. The resultant window should look something like this:
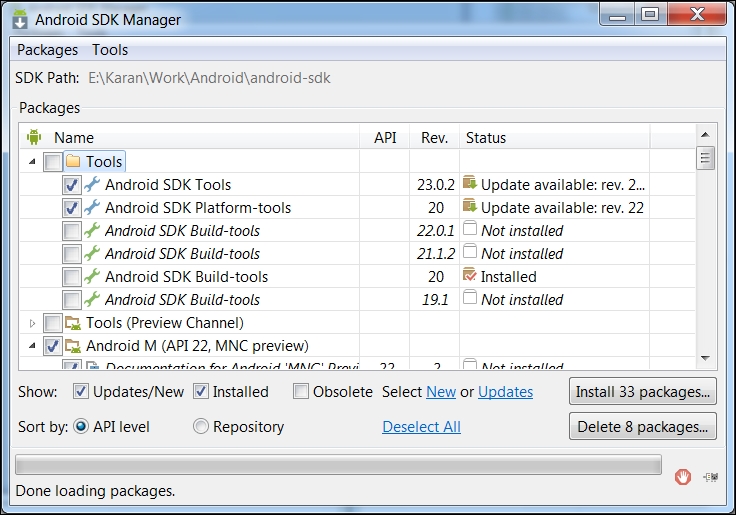
By default, you will see a whole lot of packages selected, out of which Android SDK Platform-tools and Android SDK Build-tools are necessary. From the rest, you must select at least one of the target Android platforms. An additional package will be required if you're target environment is Windows: Google USB Driver. It is located under the Extras list.
I would suggest skipping downloading the documentation and samples. If you already have an Android device, I would go one step further and suggest you skip downloading the system images as well. However, if you don't have an Android device, you will need at least one system image so that you can at least test on an emulator.
Once you've chosen from the various platforms needed, proceed to install the packages and you get a window like this:
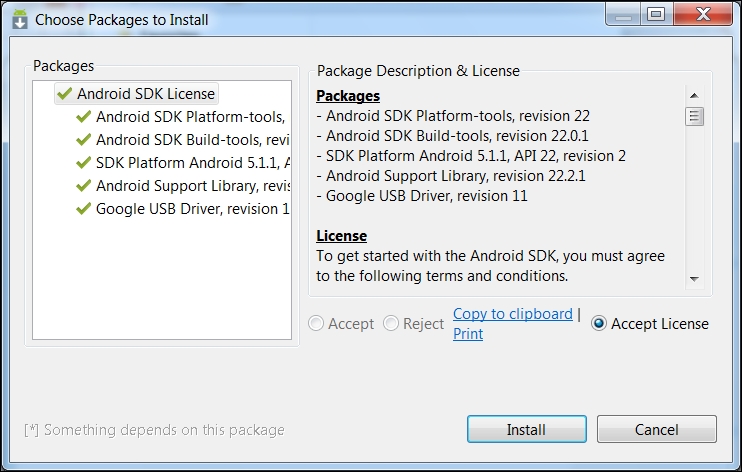
Now, you must select Accept License and click on the Install button to install the respective packages. Once these packages have been installed, you have to add their locations to the path variable on your respective machines.
For Windows, modify your path variable (go to Properties | Advance Settings | Environment Variables) to include the following:
;E:Androidandroid-sdkplatform-tools
For Mac OS, you can add the following line to the .bash_profile file found under the home directory:
export PATH=$PATH:/Android/android-sdk/platform-tools/
The preceding line can also be added to the .bash_rc file found under the home directory on your Linux machine. At this point, you can use Eclipse for Android development.
Developers working on Linux can skip this step as most Linux distributions come with the make utility. Also, developers working on Mac OS may download Xcode from the Mac App Store, which will install the make utility on their respective Macs.
We need to install Cygwin on Windows specifically for the GNU make utility. So, go to the following URL and download the installer for Cygwin:
http://www.cygwin.com/install.html
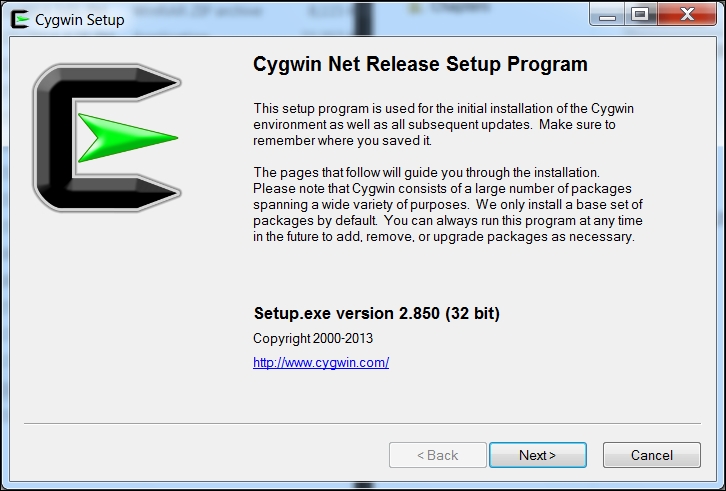
Once you've run the .exe file that you downloaded and get a window like this, click on the Next button:
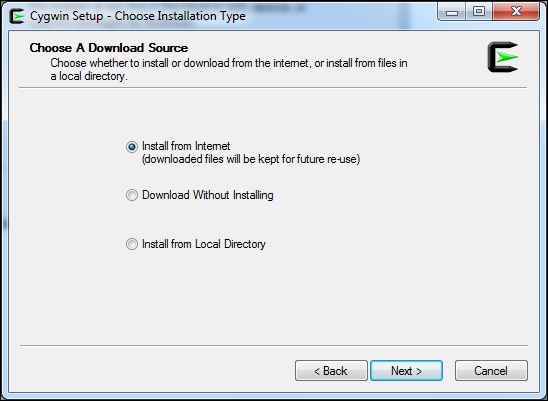
The next window will ask how you would like to install the required packages. Here, select option Install from Internet and click on Next:
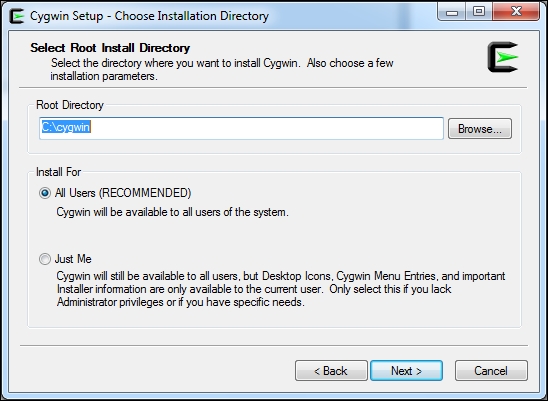
The next window will ask where you would like to install Cygwin. I'd recommend leaving it at the default value unless you have a reason to change it. Proceed by clicking on Next.
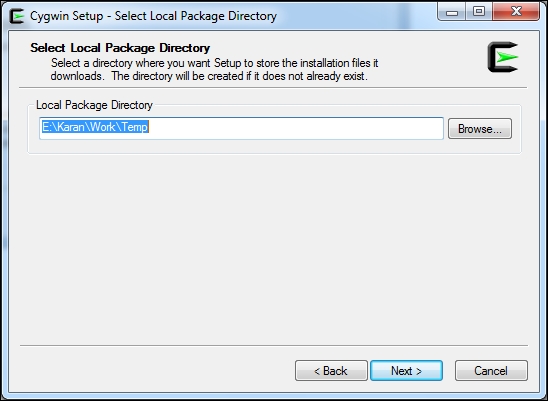
In the next window, you will be asked to specify a path where the installation can download the files it requires. You can fill in a suitable path of your choice in the box and click on Next.
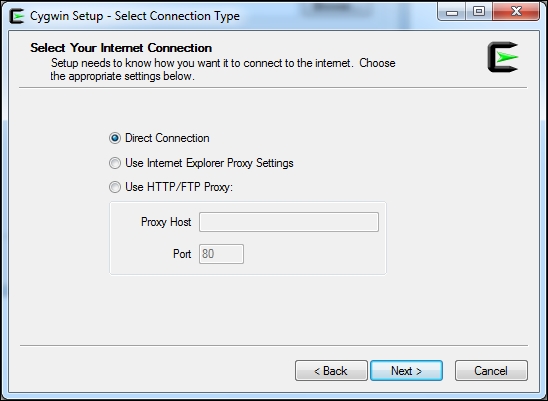
In the next window, you will be asked to specify your Internet connection. Leave it at the Direct Connection option and click on Next.
In the next window, you will be asked to select a mirror location from where to download the installation files. Here, select the site that is geographically closest to you and click on Next.

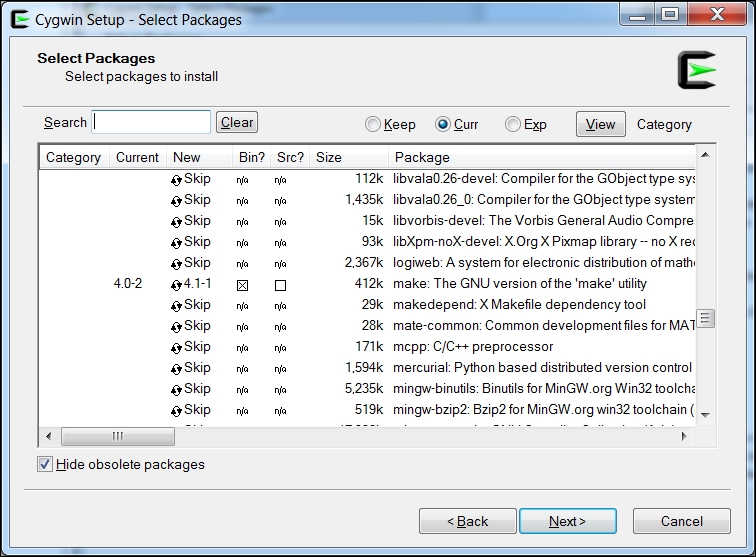
In the window that follows, expand the Devel section and search for make: The GNU version of the 'make' utility. Click on the Skip option to select this package. The version of the make utility that will be installed is now displayed in place of Skip. Your window should look something like this:
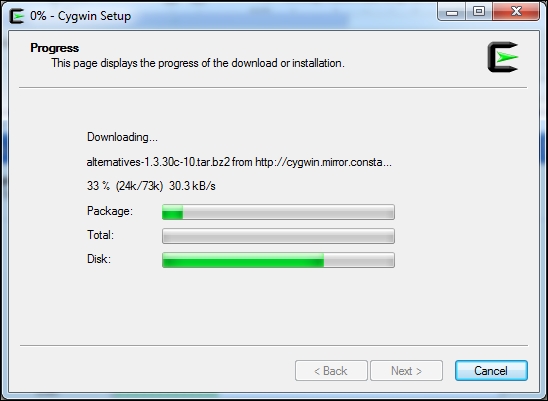
You can now go ahead and click the Next button to begin the download and installation of the required packages. The window should look something like this:
Once all the packages have been downloaded, click on Finish to close the installation. Now that we have the make utility installed, we can go ahead and download the Android NDK, which will actually build our entire C++ code base.
To download the Android NDK for your respective development machine, navigate to the following URL:
https://developer.android.com/tools/sdk/ndk/index.html
Unzip the downloaded archive and place it in the same location as the Android SDK. We must now add an environment variable named NDK_ROOT that points to the root of the Android NDK.
For Windows, add a new user variable NDK_ROOT with the location of the Android NDK on your filesystem as its value. You can do this by going to Properties | Advance Settings | Environment Variables. Once you've done that, the Environment Variables window should look something like this:

I'm sure you noticed the value of the NDK_ROOT variable in the previous screenshot. The value of this variable is given in Unix style and depends on the Cygwin environment, since it will be accessed within a Cygwin bash shell while executing the build script for each Android project.
Mac OS and Linux users can add the following line to their .bash_profile and .bashrc files, respectively:
export NDK_ROOT=/Android/android-ndk-r10
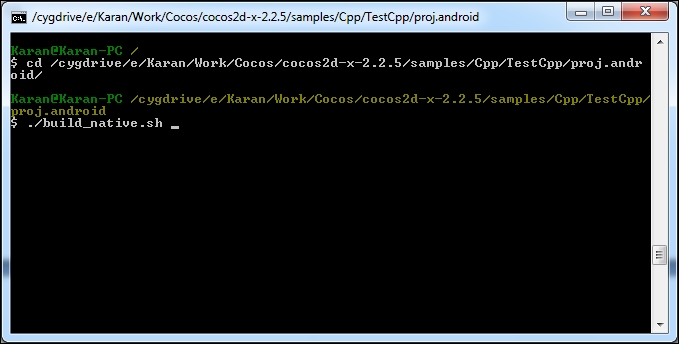
We have now successfully completed setting up the environment to build our Cocos2d-x games on Android. To test this, open up a Cygwin bash terminal (for Windows) or a standard terminal (for Mac OS or Linux) and navigate to the Cocos2d-x test bed located inside the samples folder of your Cocos2d-x source. Now, navigate to the proj.android folder and run the build_native.sh file. This is what my Cygwin bash terminal looks like on a Windows 7 machine:
If you've followed the aforementioned instructions correctly, the build_native.sh script will then go on to compile the C++ source files required by the TestCpp project and will result in a single shared object (.so) file in the libs folder within the proj.android folder.