
Construct 2 allows you to either customize your own mechanics, or you can use the readymade ones that come with the software. You can even code your own custom behaviors with JavaScript, if you want to. This option is more advanced, but as very few non-programming engines will allow you to do so, it's a useful feature.
So, where do we start? Let's open up a new project and save it as game mechanics. Go ahead and add a sprite to the project as well. We will be using this sprite for many game mechanics. Your project should look like the one shown in the following screenshot:
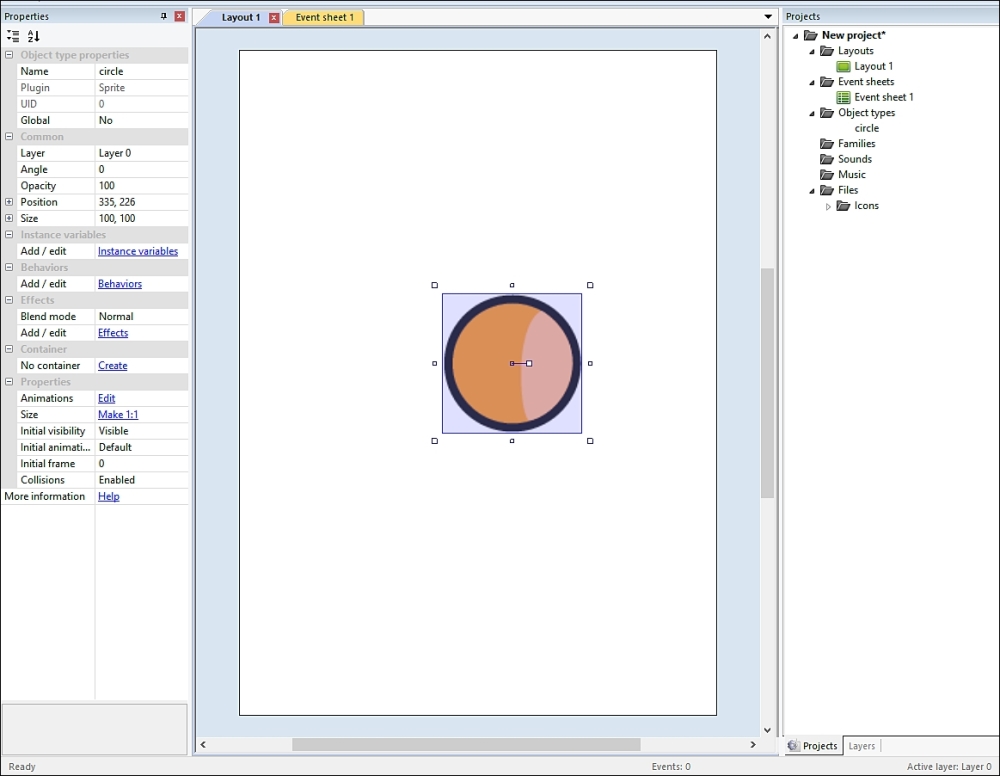
We now have a sprite that we can play around with to add game mechanics. Let's start off with the readymade game mechanics and after that we will move on to custom game mechanics.
Without game mechanics, sprites are just images. In order to make them interactive in your game, you have to add mechanics to them.
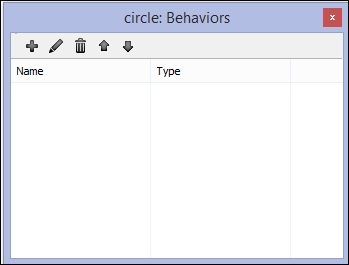
Click on Behaviors on the left-hand side in the Properties window pane. You should get a window that looks like the following screenshot:
In the Behaviors window, click on the plus sign. The Add behavior window will appear, as shown in the following screenshot:
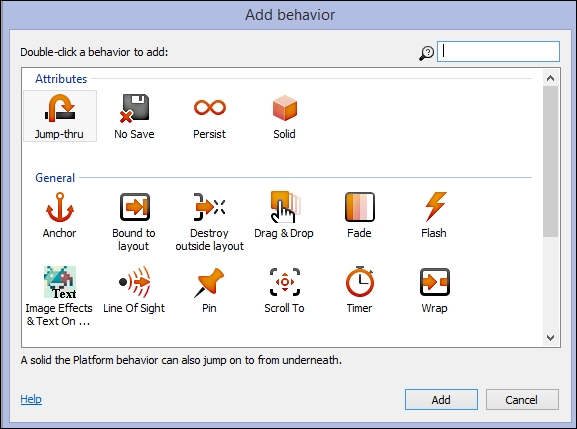
Here, you can see a lot of behaviors that you can add. Not all of these are game mechanics, but a lot of them are. In Construct 2, we can add behaviors to the sprite. Most of these are game mechanics.
Making a moving sprite is important for most games. Construct 2 has a fantastic behavior that easily adds the moving game mechanics to your sprite/player.
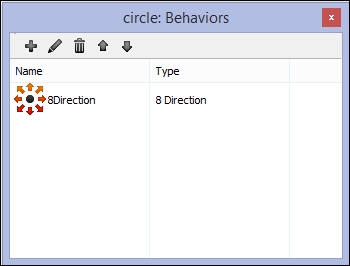
Go ahead and scroll the behaviors list, you should reach the 8Direction behavior. Select that and you should see it appear in your sprite's Behaviors window.
Some of the behaviors have properties, and some do not. Behavior properties exist to make changes to the behavior if necessary. For example, if you want your player to move faster, you can go edit the Behaviors property. When you give an object a behavior, you have added extra functionality to that object and can now edit more properties in the event list as a result. In the following screenshot, you can see some of the properties that you can edit in the layout editor:
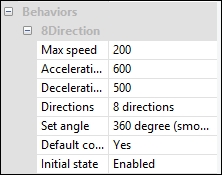
Let's take a look at all of these properties and how they affect the game play.
Let's take a look at the first one, Max speed. If you run the game, you will see that the player moves around the game in eight directions. Max speed is the maximum amount of speed of this movement.
Let's imagine for a moment that we want to add a power-up to the game. This power-up will make the player move twice as fast for a small period of time.
Right now, when we collide with the power-up box, nothing happens. That's because we have to add the mechanics for it.
- Go to the event sheet and click Add event to bring up the Add event window, which is shown in the following screenshot:
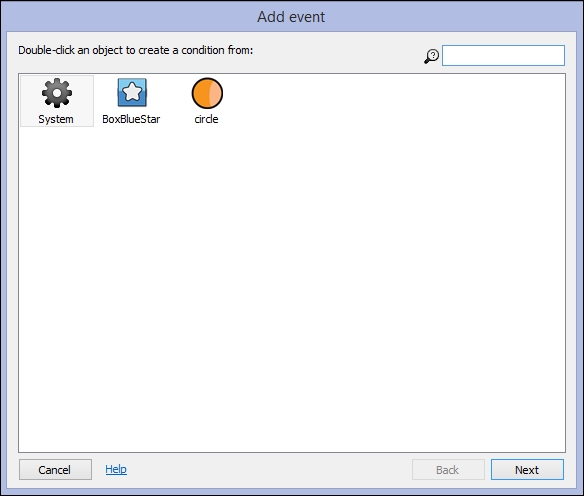
- Go ahead and click on circle or whatever you have named your sprite. This should bring up the Add event dialog box for the circle, which should look like the following screenshot:
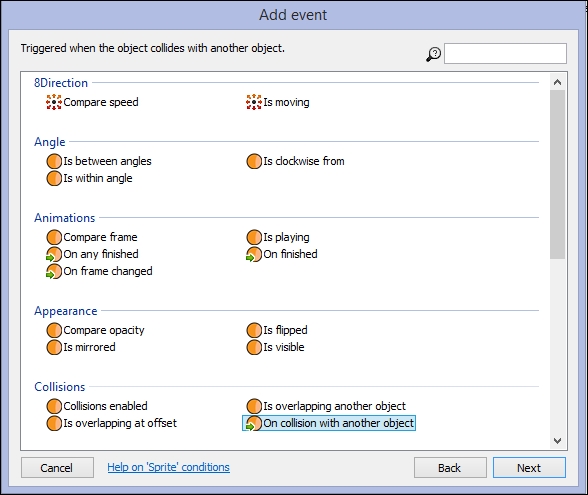
- Click on On collision with another object. When the player collides with a specific object (the box), an action will happen.
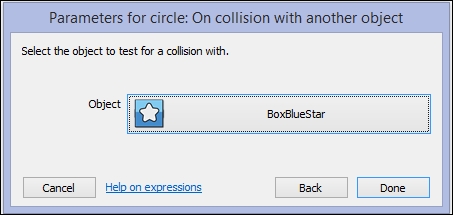
- Once you select this, the Pick an object window should pop up. Select the BoxBlueStar, or whatever you have called your power-up object, as shown in the following screenshot:

- After selecting BoxBlueStar in the Pick an object window, the following window should appear:
- Click on Done and the event sheet should look like the following screenshot:

Now, we need to add a few actions. The first action is going to be destroying the box. If we don't do this, the box will not be destroyed and it will look weird to the player. Add an action and click on the power-up box.
Go ahead and click on BoxBlueStar.
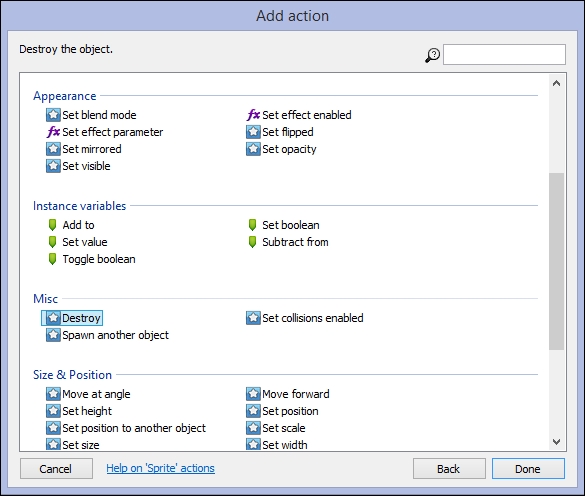
Click on Destroy, and your event sheet should look like the following screenshot:

Run the game and test to see whether the box does indeed get destroyed.
We are almost finished. The next thing we need to do is change the settings so that the player speed is doubled for a short period of time. This is actually really simple to achieve! Add an action, select the player sprite, and click on Next.
Go ahead and select the circle. You should see a window similar to the following screenshot pop up:
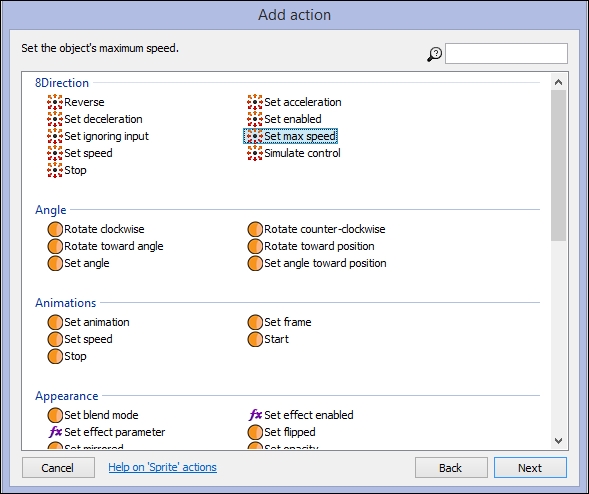
Here, you can see that by adding the 8Direction functionality, we have added more options for actions. Select Set max speed. It should bring up the Set max speed dialog box, which is shown in the following screenshot:
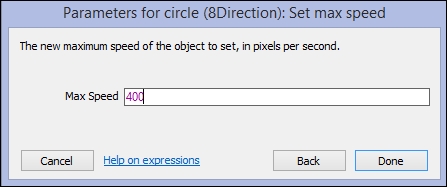
We need to set it to 400, or whatever you want your power-up to increase the speed to. Once you are finished, click on Done.
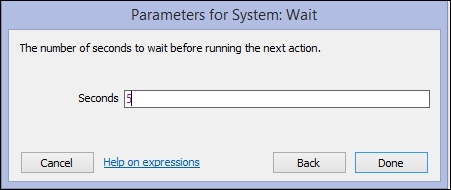
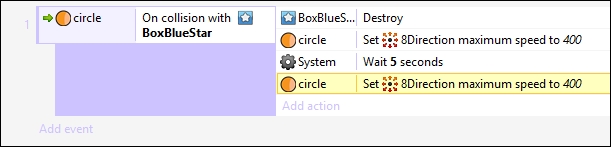
The last thing we need to do is set the duration for the increased speed. Add another action from the Add action window and select System, as shown in the following screenshot:

Then, we need to select the Wait function in order to insert a small timer. After the Wait command is finished, the power-up will end and the player sprite will return to a normal speed of 200. Once you select Wait, the Parameters for System dialog box will appear. Type the number of seconds you want the power-up effect to last, as shown in the following screenshot:
After that, select the first Set maximum speed event and press Ctrl + C to copy. Then, select the Wait command and press Ctrl + V to paste. The second Set maximum speed command should be after the Wait command, as shown in the following screenshot:
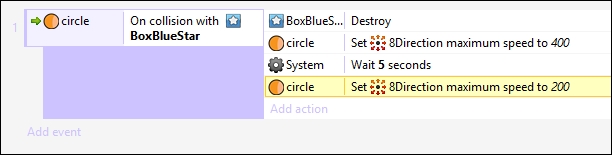
Double-click the second Set maximum speed action and set it to 200—the original speed. Your event sheet should look like this:
Go ahead and try it out. You have just made your first game mechanics!