
Shooters are one of the best places to start when making games. Most people like to play a shooter, so they are a recognizable game archetype. The best part is that they are generally easy to make. So let's construct one!
In this chapter, we are going to learn:
- How to control the sprite with the keyboard
- How to rotate the sprite about the mouse position
- How to add bullet behavior
Once you have started a new project, you need to change the layout size to 640, 480. Then, we need to add some art. The first thing we need to add is the player. Find a circular graphic and add the sprite. Make your sprite 50 by 50 pixels and change its name to Player.
Your layout should look like the following screenshot:
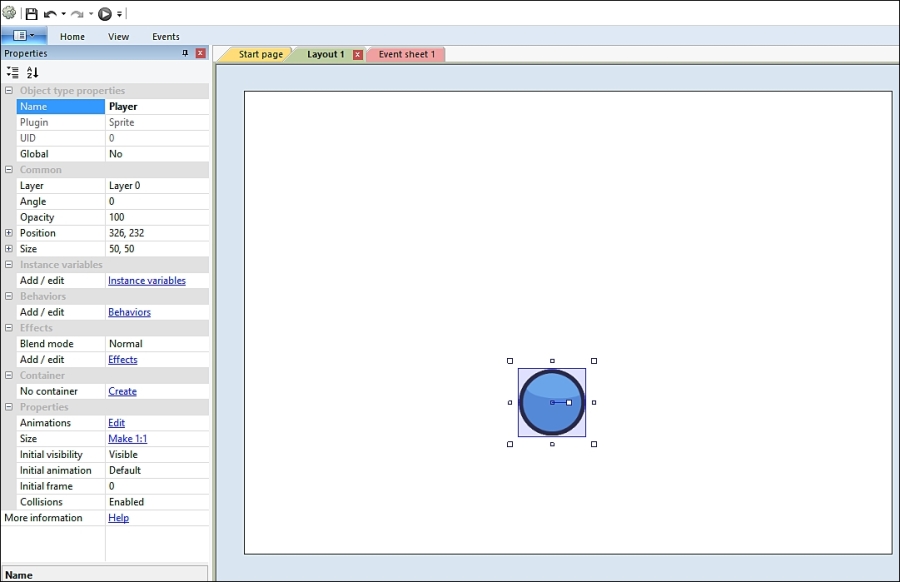
It's really important that you name the player as well as set the size, because when you make a lot of sprites, it can get confusing later on. Imagine if you had a game with 200 sprites and they were all called sprite1, sprite2, and so on; it would get confusing really fast. Whenever you set the size of an object, it is best to set the size in Photoshop or another program. When you change the size of images in game engines, the images can be distorted and as a result, they do not look good.
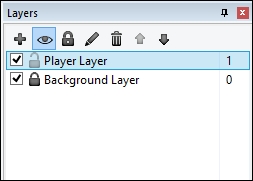
The next thing we need to do is create a background. In order to do this, we need to add another layer to the game. This can be done by performing the following steps:
- Click on the Layers tab and then click on the plus sign (+).
This will create a new layer on top of the other layer. Move Layer 1 to the bottom; to do this, select Layer 1 and press the down arrow.
Layer 1 is now at the bottom and we can add our background image. While you do not need to have a background image, it is good practice to put one in because most games have them. Also, it improves the quality of the game. Add the background image. At this point, we need to change the background transparency. Currently, you have something like the following screenshot:
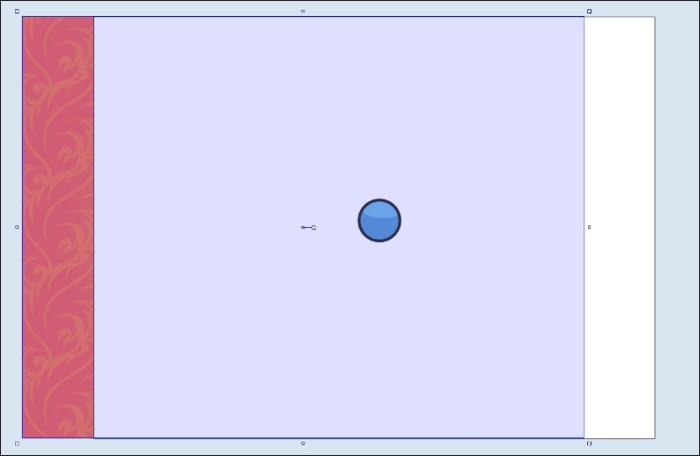
- At the moment, the top layer isn't transparent. In order to make it transparent, select the layer and move it over to the left side of the screen where it says Transparent. Then, select Yes.

The top layer should now be transparent and you can see the background.
- There is one more thing left to do: locking the background layer. This is done so that when we are editing the game, we do not make any accidental changes to the background. Since the background layer is static and will not be moving during the game, it is best to make it a locked layer. In the Layers tab, click on the lock icon at the top (as shown in the following screenshot); the background layer is now locked.
Now, we have two layers and we can start programming some of the game mechanics. We have two layers, but we will need to add more as the game goes on.