16. Troubleshooting and Recovering from Problems
In this chapter, you find out how to deal with any potential problems you may encounter with your Chromebook.
Your Chromebook is much more reliable than a traditional personal computer. The lack of any moving parts (no hard drive or optical drive) enhances reliability, and the technical compactness of Chrome OS (no legacy stuff to support) means there’s less stuff to go wrong.
That doesn’t mean you’ll never encounter any problems, however; there are still times when a particular app or web page or even your entire Chromebook might freeze. Fortunately, your Chromebook’s inherent simplicity makes it easy to troubleshoot and recover from even the most significant issues.
Dealing with a Frozen App or Web Page
Perhaps the most common problem you’re likely to encounter is a frozen application or web page—that is, the tab you’re currently on doesn’t respond to anything you do. Sometimes you can navigate off this tab to another tab or window, sometimes not, but in any case you’re left with one nonresponsive tab.
When this happens, you can undertake the following steps, in order, to close the tab and resume your other work:
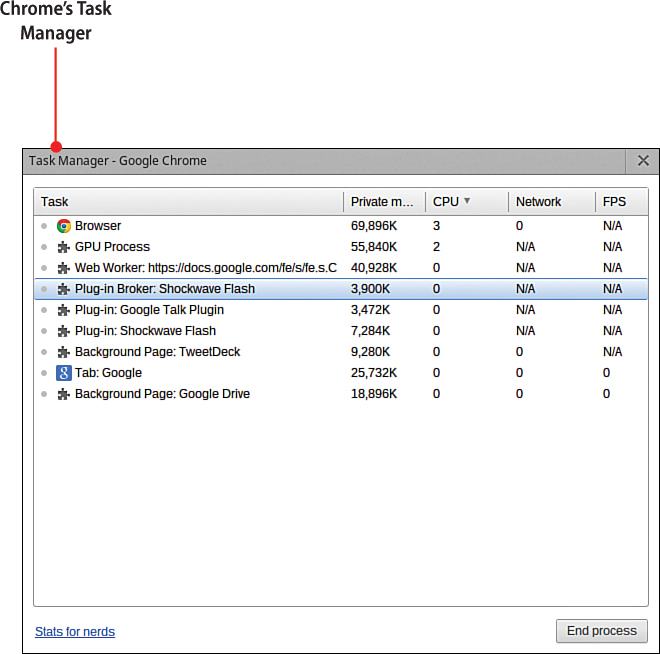
1. Start by simply trying to close the tab. Click the X on the tab itself, or select the tab and then press Ctrl+W (or do both).
2. If the tab is still frozen, you can try shutting down the window it’s in by pressing Ctrl+Shift+W. (This only works if you have more than one window open.)
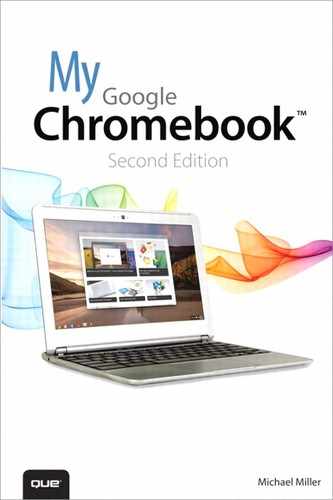
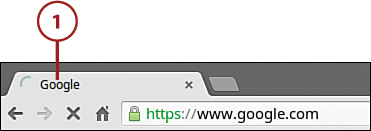
3. If that doesn’t work, press Shift+Esc (or click the Customize and Control button and select More Tools, Task Manager) to open the Chrome Task Manager. All running tasks (apps, pages, extensions, and so forth) are listed in the Task Manager window. To close the frozen task, click that task and then click the End Process button.
Task Manager
Chrome OS features a Task Manager, similar to the one in Microsoft Windows. You use the Task Manager to review all running tasks and services—and to shut down tasks that won’t close of their own accord.
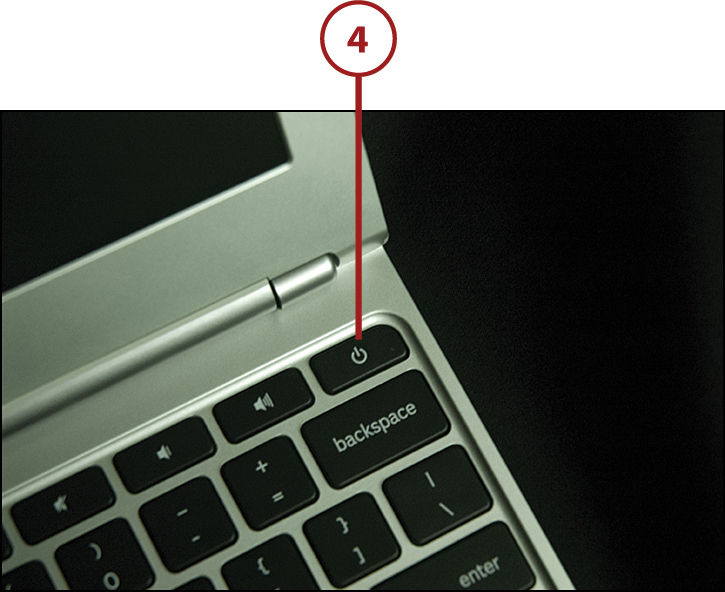
4. If the tab still won’t close, you need to shut down and then restart your Chromebook. Press and hold the Power button for about 8 seconds until your Chromebook completely powers off—then restart your Chromebook and get back to work.
Resetting Your Chromebook
Although most of the data you use on your Chromebook are stored in the cloud, some personal data (primarily about user accounts) are stored locally. Sometimes this locally stored data can become corrupted, causing your Chromebook to misbehave.
When this happens, you can often get things working again by resetting your Chromebook to its original condition. This in effect clears all your local data from the Chromebook, leaving you with a factory-fresh machine.
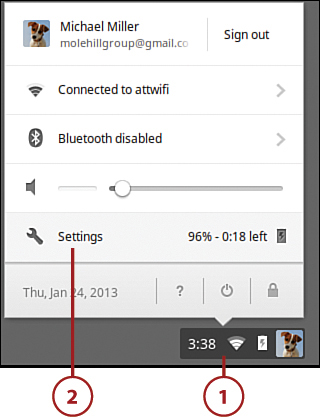
1. Click anywhere in the status area to display the Settings panel.
2. Click Settings to display the Settings page.
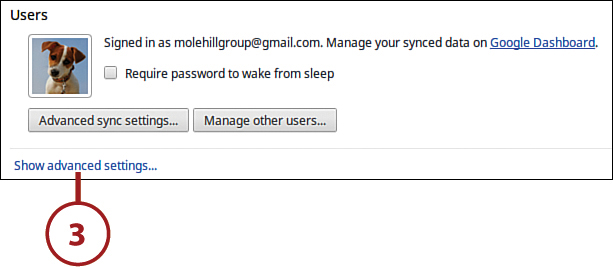
3. Scroll to the bottom of the page and click Show Advanced Settings.
4. Go to the Factory Reset section and then click the Reset button.
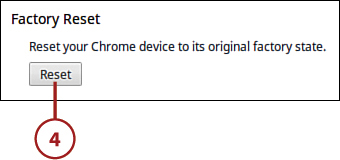
5. Click the Restart button in the Factory Reset dialog box.
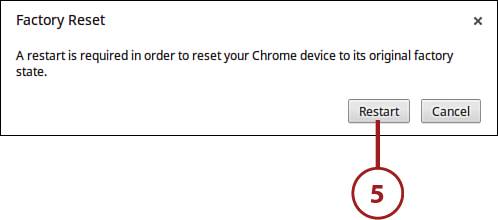
This restarts your Chromebook, with all local data deleted. Follow the instructions in Chapter 1, “Unboxing and Setting Up Your Chromebook,” to create a new user account and set up your Chromebook from scratch.
Reset from the Sign-In Screen
You can also reset your Chromebook from the sign-in screen. Just press Ctrl+Alt+Shift+R and then click Restart.
Recovering from Severe Problems
Some Chromebook problems are not so easy to recover from. If your Chromebook constantly freezes or otherwise exhibits significant chronic problems, you might need to wipe the current version of Chrome OS from your machine and reinstall the operating system from scratch.
Reinstalling Chrome OS on your Chromebook is called the recovery process, because you have to recover the operating system from a system image you save to an external USB storage device. To create this recovery drive, you must have access to a Windows, Mac, or Linux computer to which you have administrative privileges; you also need a USB flash drive with at least 4GB of free space.
1. On your non-Chromebook computer, insert a blank USB flash drive, and then open your web browser and go to https://dl.google.com/dl/chromeos/recovery/chromeosimagecreator.exe.
2. Download and run the chromeosimagecreator.exe file and then follow the onscreen instructions to run the recovery tool and create a recovery flash drive.
3. On your Chromebook, press the Power button for 8 seconds to power off.
4. Insert the recovery flash drive into your Chromebook’s USB port.
5. Insert one end of a paper clip into the small hole on the bottom of your Chromebook. (Different manufacturers may place this recovery hole in different places; on the Samsung Chromebook, it’s pretty much in the middle of the unit.)
6. Hold the paperclip in this hole while you press the Power button to power on your Chromebook.
7. When you see the Chrome OS Is Missing or Damaged screen, follow the onscreen instructions to update your Chromebook’s system.
8. When your Chromebook restarts, remove the USB recovery drive.
This restarts your Chromebook, with the operating system reinstalled. Follow the instructions in Chapter 1 to create a new user account and set up your Chromebook from scratch.
Updating Chrome OS
One of the nice things about Chrome OS is that it automatically updates itself every time it’s turned on. That is, when you power up your Chromebook, Chrome goes online to check for updates; if any are available, they’re automatically downloaded and installed.
If Chrome detects a new update while you’re using your Chromebook, you can manually update Chrome OS without waiting for the next time you shut down and then restart your machine. If an update is available, a special version of the Customize and Control (wrench) icon appears.
1. Click anywhere in the status area to display the Settings pane.
2. Select Restart to Update.
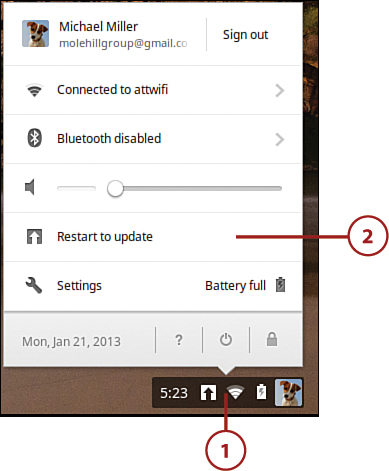
Chrome now downloads the update and restarts your Chromebook. Log back in as normal to resume work.