The interface for Adobe Premiere Pro is made up of different work areas, each inside its own window. A two-monitor computer desktop is handy, though not required. Premiere Pro has many windows, and without two monitors, you may find yourself juggling windows a bit. Using the preset workspaces, as well as developing your own, can help you make the most efficient use of screen space.
Personally, I have a hectic travel schedule, and I use a laptop to do much of my postproduction work. I use Premiere Pro on its single screen quite often with no issues. For the purposes of this book, we will work with single-screen workspaces.
One bit of important information: There are windows and there are palettes in the Premiere Pro interface. The Tool, History, and Info palettes stay in front of everything so that they can be easily accessed. Windows can be brought to the front or back, like most software windows. Try to keep your palettes off to the side a bit, or you will constantly be moving them out of the way when you’re trying to do other things.
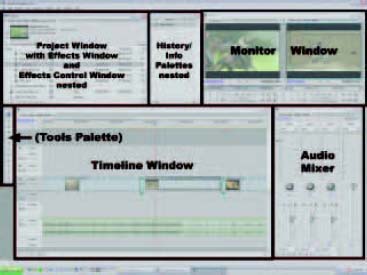
My laptop workspace. I’ve opened every window to show an overview. It isn’t always practical or efficient to work with this many windows open.
Project Window
The Project window is where the elements of your project are stored. Video, audio, or graphics clips, titles, and sequences can be organized in separate folders called bins. The Project window can be searched for media using specific criteria and can be used to visually preorder, or storyboard, clips for rough layout purposes.
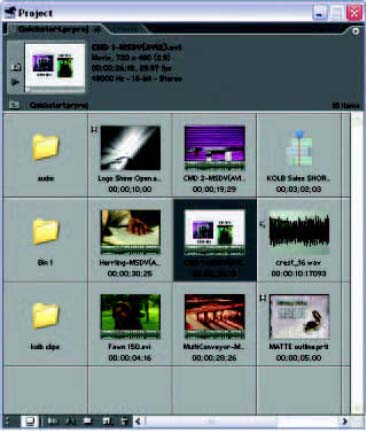
The Project window.
The Monitor Window
The Monitor window contains the Source Monitor and the Program Monitor.
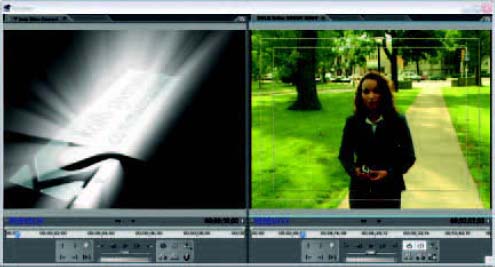
The Monitor window.
The Program Monitor, on the right side, shows the video from the sequence open in the Timeline window. As you scrub or play back from your Timeline window, the Program Monitor will show you the video that corresponds to the position of the CTI, or current time indicator. The CTI is the large sliding “cursor” in the Timeline window. Multiple Sequences will be available from tabs in both the Timeline window and the Program Monitor.
The Source Monitor lets you preview your source material and trim a clip before laying it on the timeline.
Each monitor pane can be assigned a display mode from the wing menu. Test displays are available here, as well as image quality adjustment to scale performance to your system.
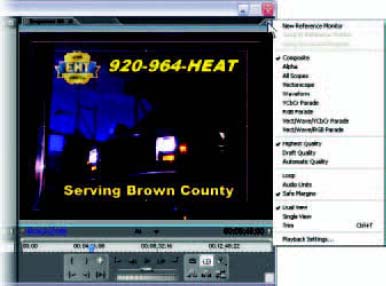
Monitor window with wing menu.
The Timeline Window
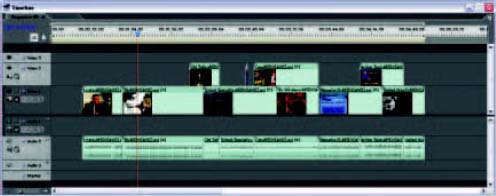
The Timeline window contains your edited sequences. Each sequence is a self-contained edit “timeline” in itself. Multiple sequences are useful for creating multiple versions of your program, or as submaster sequences, where each segment of your program can be worked on separately and multiple sequences assembled in a final master sequence.
The Timeline window.
The Effects Window
The Effects window contains four folders:
• Audio Effects
• Audio Transitions
• Video Effects
• Video Transitions
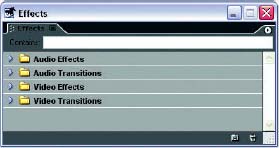
The Effects window.
Use the effects and transitions in these folders by opening the appropriate folder and dragging the filter or transition to the timeline. The filters are typically dropped on a clip; the transitions must be dropped on an edit point, or the in or out point of a clip.
The Effect Controls Window
The Effect Controls window is where you will customize the settings for each filter or transition. The intrinsic or Fixed Effects controls—opacity, motion, and audio volume—are easily accessed from here. Attributes for nearly anything can be fully keyframed for each clip and filter from this window.
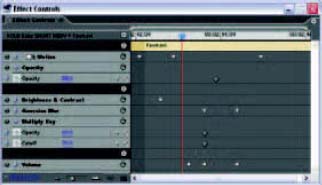
The Effect Controls window.
The Audio Mixer Window
The Audio Mixer window is where adjustments can be made to the audio track volume, and effects can be added to each audio track. Premiere Pro can use mono, stereo, and channel surround sound audio tracks in the same project, and each track will have a channel on the audio mixer. Each track will accept files of the designated type. Stereo clips will only go to a stereo track, mono to a mono track, etc.
There are several configurations that you can use. The Audio Mixer is a large window when it is completely open, so it can take up valuable space on a single-monitor system. There are three basic choices for displaying the Audio Mixer:
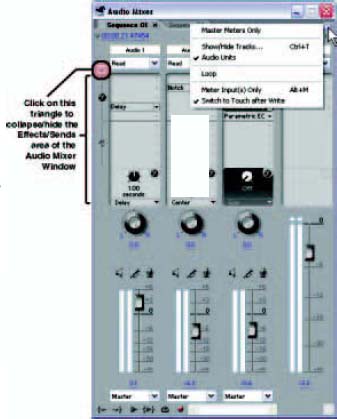
The Audio Mixer window.
1 When fully open, the Audio Mixer can display the Effects/Sends section in the top half of the window.
2 The Effects/Sends area can be hidden, leaving only the VU meters and volume controls, by clicking on the triangle to the left of the automation options.
3 To minimize the space taken up by the Audio Mixer window, yet maintain a view of the master VU meters, select Master Meters Only from the wing menu. Master meters can be helpful for continuous monitoring of the overall audio level, without consuming as much screen space as the Audio Mixer.
The Tool Palette
The Tool palette contains the various tools that change the cursor’s function to accomplish the many tasks necessary to edit video and audio. The Tool palette can be oriented vertically or horizontally by right-clicking outside of a tool button (but inside the window) and choosing Arrange Vertical or Arrange Horizontal from the context menu. Because the horse is just there to remind us of the logo, I like to use the horse as an easy area to click on to make this change.
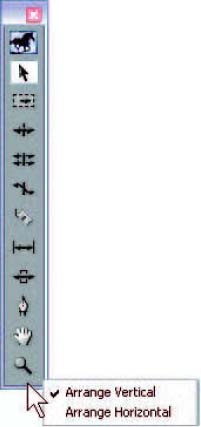
The Tool palette.
Tabbed Windows and Palettes
Some Premiere Pro windows contain tabs, which look like small file folder tabs in the upper part of the window, starting on the left. Many of these windows can be combined, or docked, within one workspace window. To combine two or more windows as tabbed combinations, simply drag one window (by clicking and dragging the tab portion of the window) into another window.
Tabs can’t be randomly combined. Here are the possible combinations:
1 The Monitor, Timeline, and Audio Mixer windows contain tabs for multiple sequences. Clicking a tab activates that tab’s sequence in all three windows. The Timeline tabs representing multiple sequences can be dragged away to form separate timeline windows for each sequence.
2 The Effect Controls window can be docked in the Source view of the Monitor window, or it can be docked in the Project and Effects windows. I prefer it in the Project window, myself, because it gives me more room to work than the Source Monitor does.
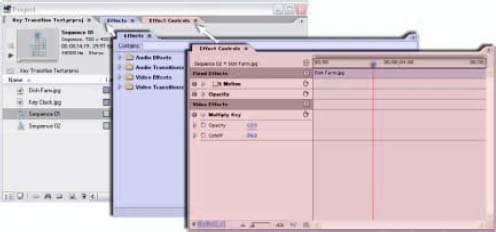
The Effects and Effect Controls windows can be docked inside the Project window to conserve workspace.
3 The History palette works like the Photoshop History tab. It keeps a list of your commands and can be used to step back to an earlier stage of your project if you need to undo a considerable amount of work. It can be combined with the Info palette.
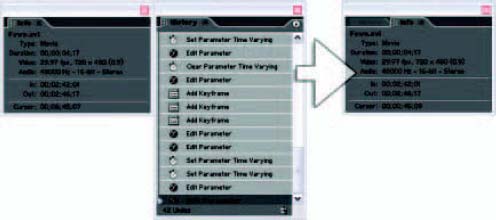
The Info and History palettes.
4 The Info palette shows information that changes as you work, such as clip duration, timeline position, and start and end timecodes for the clip you have selected.
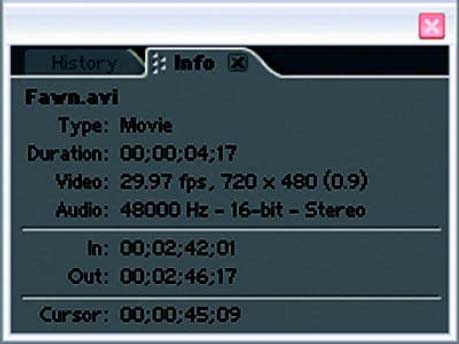
The Info palette.
If the Premiere Pro window isn’t wide enough to display all tabs inside a docked window, there will be a slider above the tabs to scroll the tabs left or right so you can access them.

Use the slider above the tabs to scroll to a tab that is hidden due to a narrow window.
Arranging the Workspace
The workspace is completely adjustable, and you can move and size windows to your own preferences.
There are several default workspace choices in the Window ![]() Workspace
Workspace ![]() pulldown menu.
pulldown menu.
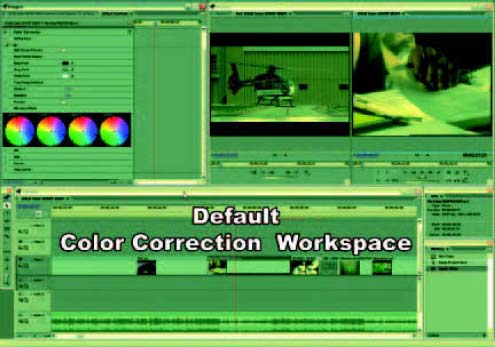
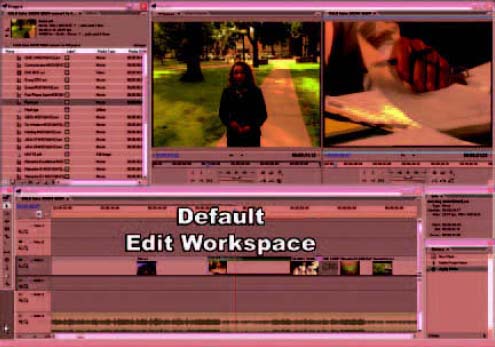
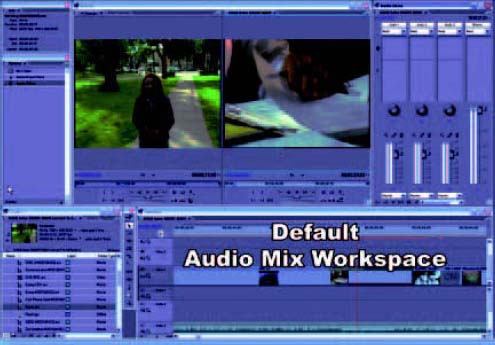
Premiere Pro default workspace layouts.
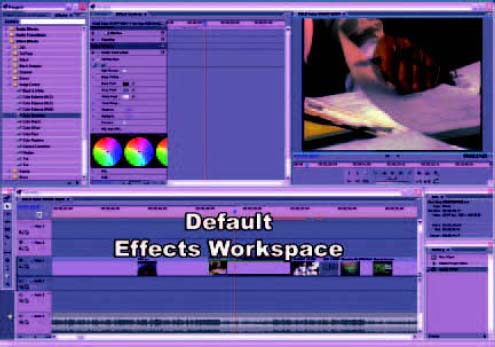
These workspaces—for Editing, Color Correction, Audio Mixing, and Effects—are optimized to those functions. The windows you will need are organized efficiently, and the ones you are less likely to need are closed and not taking up valuable screen space.
You can change workspaces through the course of editing your project because rearranging your workspace strictly reorganizes your desktop display and does not affect your content.
Creating a Custom Workspace
Many users find they prefer a custom workspace layout to suit their own needs. You can adjust the windows and palettes in an arrangement that makes sense to you. Choose Window ![]() Workspace
Workspace ![]() Save Workspace to save the setting. Your custom setting will now be in the list with the default settings in the Window
Save Workspace to save the setting. Your custom setting will now be in the list with the default settings in the Window ![]() Workspace menu.
Workspace menu.
As in the case of the default settings, you may want to consider creating workspaces for each major step in the editing process to maximize efficiency for each task.
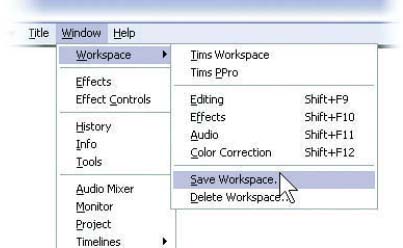
Name and save your custom workspace.
For instance, when you are working on effects, you need the Effect Controls window to be accessible and large enough to work with. On the other hand, you may not need the Effect Controls window at all during the audio mixing phase of your edit.
Creating separate workspaces for each of these steps can streamline your workflow and make the process easier on your eyes, using larger windows when you need them the most. Look at each default workspace as a starting point, and customize from there.

