To use Adobe Premiere Pro, you will need a computer with Microsoft Windows XP or Windows XP Pro operating system. The minimum processor and configuration necessary is an Intel Pentium III 800 MHz or an AMD Athlon MP or XP. In order to run Adobe Premiere Pro comfortably, however, you will need a computer outfitted with a relatively fast Pentium 4. Adobe recommends a 3.0 GHz processor. Adobe Premiere Pro is designed to make excellent use of hyperthreading CPUs.
You will also need a way to capture video and audio to, and output video and audio from, your computer. Many of us use a basic FireWire card with our DV equipment; others may use add-on boards or even software plug-ins that can handle many types of analog and digital video, standard definition, high definition, etc.

Adobe Premiere Pro works with several hardware and software options to expand its capabilities. Two cards that accelerate DV video production are (left to right) the DVStorm2 from Canopus and the RT.X100 Xtreme Pro from Matrox. Also pictured is Aspect HD, a software plug-in from CineForm that allows Premiere Pro to edit HDV format high-definition video.
The procedures and behaviors of each of these boards are different, and covering every possibility is beyond the scope of this book. We will cover setup for a basic FireWire card (also referred to as an IEEE-1394 card or an iLink interface) and will assume this configuration when referring to hardware. If you use a third-party video capture/output card with Adobe Premiere Pro, please refer to the documents that came with your video card for setup instruction.
When setting up your system, in the case of DV video and FireWire, there are several things to keep in mind.
There are two types of FireWire connectors: one is usually referred to as a six-pin and the other as a four-pin. The six-pin connector is the one most likely to exist on your computer and on any external FireWire hard drives you may use. The smaller, four-pin connector would most likely be seen on videotape decks and camcorders.
The two can be mixed in a system where you need to hook up both, but the correct cables must be used (six to six-pin, four to four-pin, and a six to four-pin).
If you are using DV video in your production and your computer has only one hard drive (the C drive), I would recommend that you get additional hard drives for video and audio. IDE hard drives continue to come down significantly in price and are more than fast enough for DV’s relatively low data rate. External FireWire hard drives are a slightly more expensive option for cases in which you might need to transport large amounts of data from machine to machine or are working on a laptop, but they aren’t as fast as IDE drives mounted internally in a desktop machine. An 8 MB buffer is recommended for the best performance with the fewest playback hiccups.
IDE drives should be fast enough for most uses, possibly including even uncompressed video. Other types of drive arrangements may be recommended by some companies that manufacture third-party cards, for performance reasons. For most purposes, however, the more expensive SCSI hard drives and multiple-drive RAID configurations are becoming far less necessary than they once were.
I would also recommend that you set up your system to include an NTSC or PAL video monitor to view your work. This can be done by converting the FireWire out to an analog video signal through a camcorder or VCR by outputting FireWire to the device and taking analog video and audio out to the video monitor. This can also be done with a variety of specialized converters that are available to convert FireWire to analog video and audio, minimizing wear on your camcorder. Using a video monitor will give you a better idea of how your finished video will actually look on a television, as opposed to how it may look on your computer monitor.
Loading Adobe Premiere Pro on your Windows XP or Windows XP Pro computer system is as easy as inserting the CD-ROM and following the prompts. One difference that many current users may notice is that Apple’s QuickTime is no longer installed with Premiere Pro. Premiere Pro is capable of working with QuickTime files, but you will have to install the latest version of QuickTime on your system yourself if you don’t already have it.
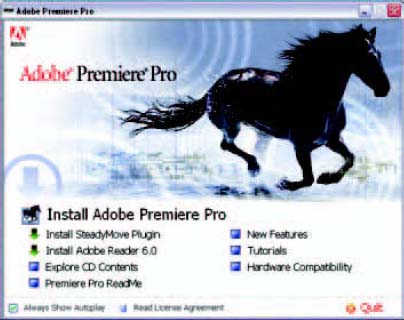
Premiere Pro’s install CD dialogue.
Project Setup
When you launch Premiere Pro, you will be asked to choose between creating a new project or opening an existing project. Once you’ve been working with Premiere Pro for a while, a list of recently saved projects will appear in the upper part of the dialogue as a convenience.
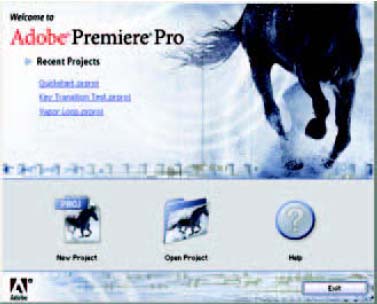
Premiere Pro will ask you to launch an existing project or create one. “Untitled” projects are a thing of the past.
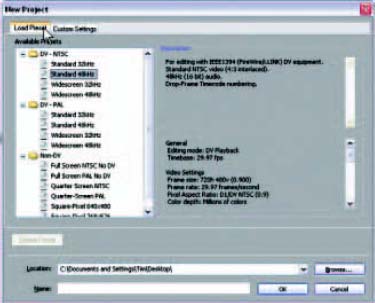
If you choose to start a new project, you will find yourself in the New Project dialogue. Most of us will use a common preset for our work. The presets are listed on the left, and they cover most common formats in NTSC and PAL standards.
New Project window.
If you have a hardware card or specialized software plug-in installed that has a specific Project Preset of its own, you should see that setting listed among the standard presets. (Check the documentation that came with your third-party software or hardware for details.) The system being pictured in this instance is using the standard DV NTSC project presets.
If none of the standard presets meets your needs, you can create a custom preset by clicking on the Custom Settings tab on the top left of the window. From here, you can access frame size, video codec (COmpressor/DECompressor), pixel aspect ratio, and other technical setup parameters for your project. Make sure you familiarize yourself with the necessary specifications for your project before you make adjustments in the Custom Settings window.
Past users of Premiere will notice that you can no longer change your project settings in the course of working on a project. This is to increase speed and minimize configuration conflicts.
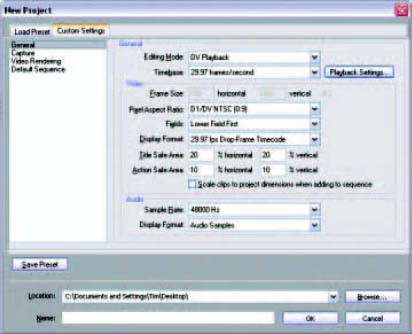
The general settings panel in the New Project Custom Settings window.
A couple of the settings are worth noting in these dialogues. They don’t necessarily have much to do with the technical video processing setup, but with your preferred ways of working. Check the following settings:
Under General:
• The Title Safe and Action Safe window sizes are adjustable here if you find it necessary. Make sure to check both dimensions.
• The Playback Settings button will take you to the Settings dialogue, which allows you to set how the video and audio you are editing will play back. If you have external hardware or sound cards that you wish to use for playback, or if you want to gain speed and increase real-time playback on your system by disabling some playback options, this is where you do it.
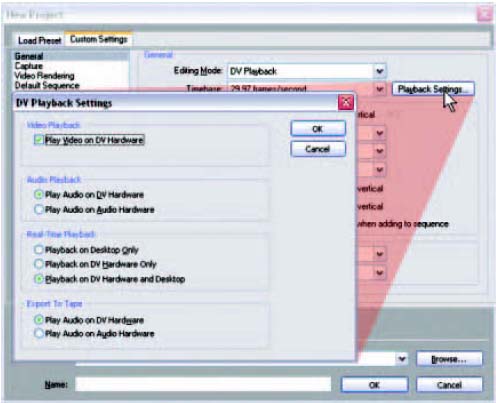
Click on the Playback Settings button to set up real-time video and audio playback.
• You can choose what video capture device you want to use if you have more than one. The default for most of us using DV will be DV/IEEE 1394 Capture (FireWire card).
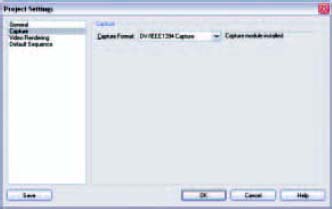
Choose your capture card.
Under Video Rendering:
• Compressor and Color Depth are accessible from here if your Project Preset supports options.
• Optimize Stills can help you save data space and rendering time by processing a still frame held for a period of time on the timeline as a still frame “frozen,” instead of handling it like a video clip. The default for this is checked.
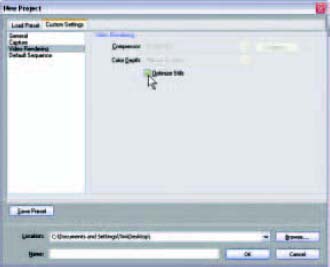
Under Video Rendering, the compressor and color depth may not be adjustable if the Project Preset doesn’t support multiple codecs.
• All these settings determine what your New Project will look like when you create one. Number of video tracks and type and number of audio tracks can be specified here so that you start with a sequence in the Timeline window that makes the most sense to you. Audio tracks are specific, so you will want to create the type of audio tracks you will use. Stereo clips can’t be placed on a mono track, mono clips can’t be placed on a 5.1 track, etc.
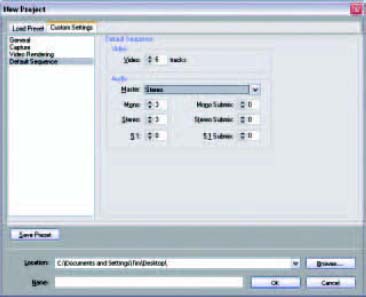
Set up the track structure of your default project, designating the number and type of tracks.
If the settings you have chosen in the Custom Settings dialogue are going to be a common setup for you, you can choose to save your settings with the Save Preset button at the bottom of the window. The name you give the preset when you save it will be available to you the next time as a profile in the Settings menu with the standard presets, selectable with a single click.
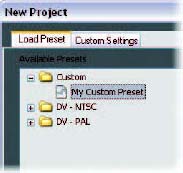
Your saved custom Project Preset will be available under Available Presets.
Once you have set up the Project Settings, you will need to specify what the project will be called and where you will save it. How you store and organize your files is up to you, and optimal methods may be different, depending on your circumstances. In general, keeping a project and its associated files (video, audio, graphics, etc.) in order will always pay off later.
1 Keep your Premiere Pro Project files on a separate hard drive from your C drive, and keep your conformed audio files on a separate drive from your video and audio files, if possible.
2 Video or audio files should be kept off the C drive or system drive of your computer. It will help your system to run more efficiently.
3 Rule #2 becomes even more important if you use a laptop. Even though the internal laptop drives are getting faster, there are still many that spin at 4200 rpms. Even in the case of DV, which is a relatively small datastream, this will almost certainly not be fast enough for even basic real-time playback.
Preferences
Once you’ve launched the program, you’ll need to set up the preferences. From the pulldown menu, select Edit ![]() Preferences.
Preferences.
General
In/out points show media offset:
This option allows you to choose whether Premiere Pro shows timcode for each clip as starting at zero or shows the timecode from the source tape.
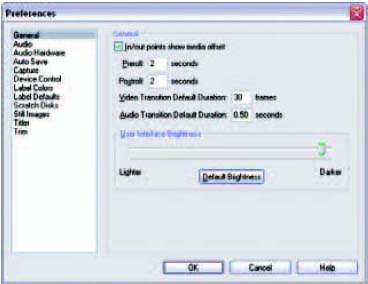
The General heading in Edit ![]() Preferences.
Preferences.
Preroll and Postroll
This setting controls the preroll and postroll of your video device during capture. For most DV devices, 2 to 5 seconds should be fine. You may want to adjust to your specific equipment if necessary.
Video Transition Default Duration
This setting controls the starting duration of all your transitions when you first place them on the timeline. The default is set to 30 frames, or 1 second. I typically run mine at 10 frames, as I find myself usually using significantly less than a second for most dissolves—which make up 99% of the transitions I do in my daily work.
Audio Transition Default Duration
This setting controls the starting duration of your audio transitions. The default is 0.5 seconds.
User Interface Brightness
Slide the slider to lighten or darken the screen interface. Where you like this best will probably be somewhat dependent on room lighting.
Audio
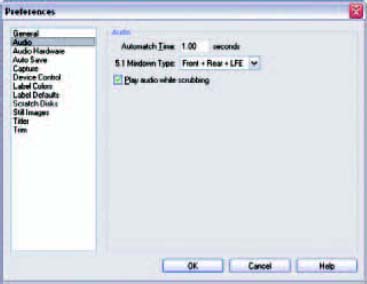
Automatch Time
Set this to affect the time the slider takes to return to its previous position when using Touch record mode in the audio mixer. (More on this on page 142.)
Use this to set up the way Premiere Pro will mix down the six channels of surround sound to stereo for mastering to video devices or file types that don’t support surround sound. Left/right channel assignments can get a little muddy if you include the low frequency effects (LFE) channel in the mixdown. You may want to experiment with whether or not you want to include it in the mixdown.
Play Audio While Scrubbing
You have the option not to hear the audio on the timeline while you’re moving the CTI back and forth on the timeline. I prefer to leave this checked, but if your system is hesitant when you are scrubbing the timeline, you may want to uncheck this box to improve performance.
Audio Hardware
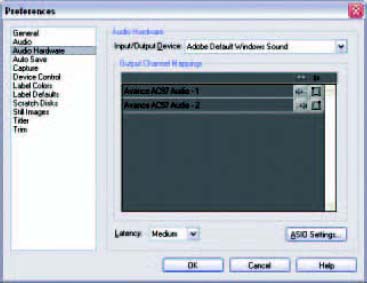
You should see your audio card in the Input/Output Device pop-up menu. Be sure it is selected. Below that is the Output Channel Mappings control, where each surround sound channel is sent during playback on a stereo sound card.
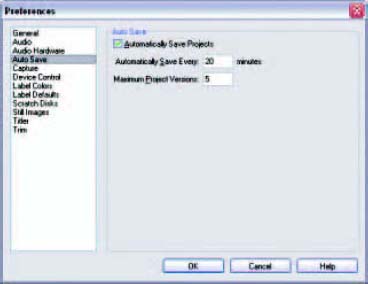
You can have the box checked to save projects automatically as you work. Under the check box, set the time increment between automatic saves and the maximum number of project versions Premiere Pro keeps in archive. These files can be found in the folder [current user]/My Documents/Adobe/Premiere Pro/7.0/Project-Archive.
Capture
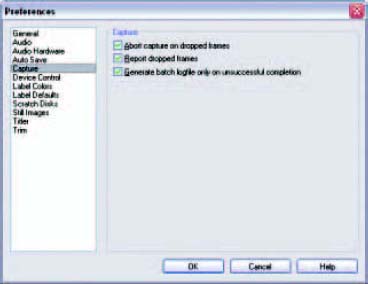
Select the check boxes to Abort capture when a dropped frame is detected and to Report any dropped frames. You can also elect to have Premiere Pro create a batch log if a batch capture doesn’t finish successfully.
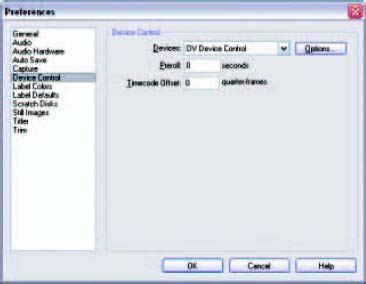
Pick the proper device control from the pop-up. If you are using a DV device, options for model and manufacturer of each device can be accessed with the Options button. Preroll controls how far a video device backs up to get up to speed before capturing a section of video. Timecode Offset compensates for slight errors some equipment may cause by a slight delay between reaching a timecode point and actually starting or stopping a capture or an export to tape.
Label Colors
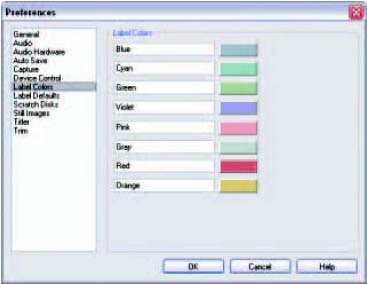
You can use color labels to help organize your media. This area of Preferences allows you to customize these colors.
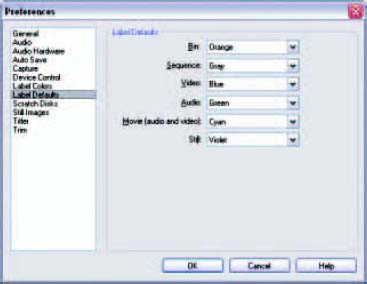
You can make certain colors the assigned color for certain types of media in the Project window and on the timeline.
Scratch Disks
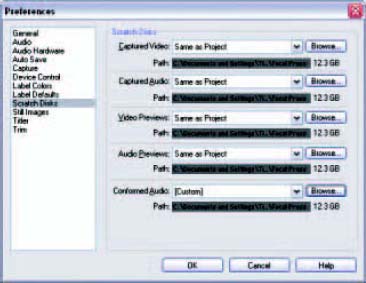
Set the scratch disks to target where certain media gets saved on your system.
Captured Video and Captured Audio are the settings for where the media you capture from your video device are stored.
Video and Audio Previews are the files created when you render a sequence.
Conformed Audio is audio material that Premiere Pro creates in an uncompressed format to speed editing. Adobe recommends that this go to a different drive from the rest of your video and audio, if possible.
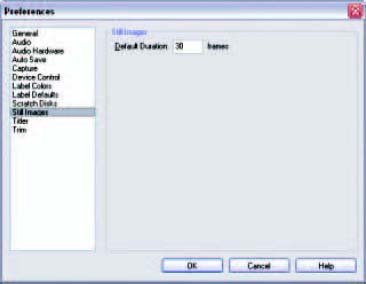
Set the Default Duration for a still image when it loads. The default is 30 frames.
Titler
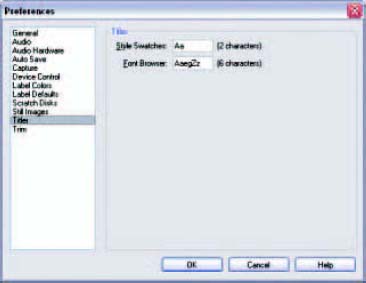
These preferences are for setting how the style swatches and the font browser show you your options. After we have discussed the Title Designer in more detail, you may want to customize these displays.
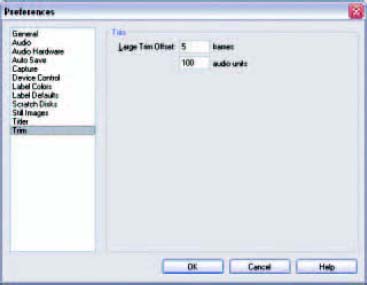
You can set the Large Trim Offset for use in the Trim window. We will cover the Trim window in more detail. Leave this setting at the default values until you have used the Trim window and determined whether you would like to change these settings.
