
Through most of this book, I work with a demonstration data set called AdventureWorks. It's a multidimensional data warehouse and Analysis Services project based on a fictional bicycle company, which has both retail and Internet sales.
I really enjoy working with this data set. It's true that it's a bicycle store, and as I've often commented, "just about wholly unrelated to anything anyone does." However, although it may not be related to the business of various SSAS users, it is something that just about everyone can understand.
If you've downloaded sample databases from Microsoft before, you've gotten them from Microsoft.com. A few years ago, Microsoft moved all the samples to www.codeplex.com, their open source community, so they would be covered by the open source licensing there.
The sample databases are located at the following site:
www.codeplex.com/MSFTDBProdSamples
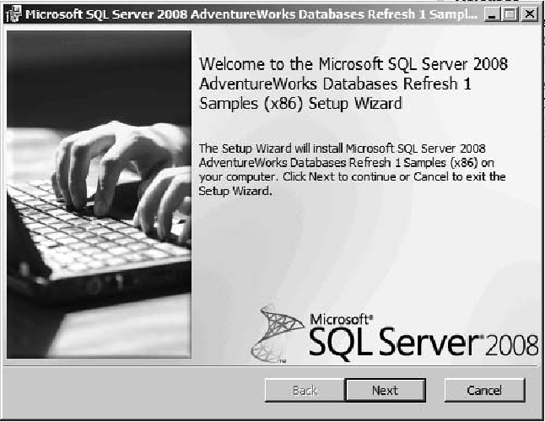
Click the Downloads link in the top-right corner. Then download SQL2008.AdventureWorks_All_Databases—either x64 or x86, depending on the architecture you're running. (There's a .zip file that has the same contents.) Then run the MSI on your SQL Server (Figure A-1).
Note
CodePlex uses a Silverlight applet for the download prompt. So if you try to download from a locked-down server, the link won't do anything. To enable it, add *.codeplex.com to your trusted sites. Alternatively, download the file from a desktop PC and copy it to the server.
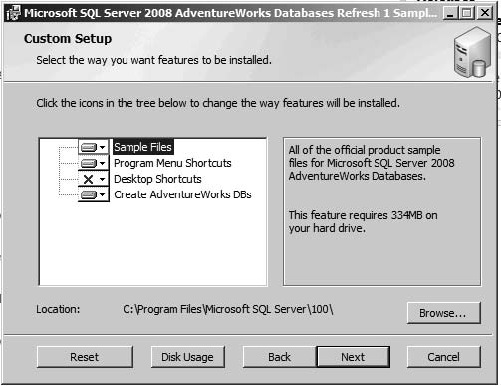
The wizard prompts you for the location to install the files (Figure A-2). The default installation location is C:Program FilesMicrosoft SQL Server100. The Program Menu Shortcuts option will add shortcuts to the Start menu. The Create AdventureWorks DBs option will generate the databases in the server you select in the next step.
Note
You must have Full Text Search and FileStream installed on the server to create the databases, or the wizard will error out.
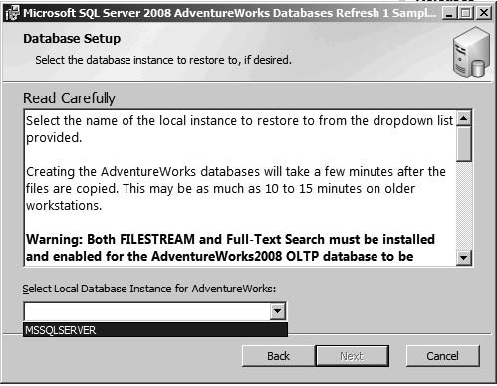
The final step is to select the SQL Server instance to install the databases into (Figure A-3).
If you don't use the wizard, you can always install the databases yourself with the script files installed. To do this, open the ToolsSamplesAdventureWorks 2008 Data Warehouse folder from where you installed it. (If you installed the shortcuts with the MSI, there will be a shortcut to the folder in the Start Menu.)
Note
If you use the wizard to install the databases, do not run the scripts afterward. The first thing the script will do is drop the existing database, and if you haven't set up the script properly, it will error out immediately afterward. It's a very confusing state to be left in, because it will look like the script created all the databases but one, when in fact the databases were already created and the script dropped that one.
Open the instawdwdb.sql file. If you have the SQL client tools installed, double-clicking the file should open SQL Server Management Studio. If you don't have the SQL client tools installed, you can copy the scripts to a PC where the client tools are available, or you can use the SQLCMD command-line parameter to run the scripts. If you installed the files into the default location, you should be able to run this query file, and it will create the database and populate it. After the database is created, verify that it's in place on the server.
To build the cubes necessary for reviewing some of the examples in the book, you'll need to open the OLAP projects and build the cubes (these were not automatically created by the wizard). Open ToolsSamplesAdventureWorks Analysis Services Project. You'll see two folders, enterprise and standard. Choose the folder that matches the edition of SQL Server Analysis Services you have installed. In that folder, you'll find an Adventure Works.sln file; double-click that to open the solution in BIDS.
After you have the solution open in BIDS, you'll need to make two changes. First, in the Solution Explorer, double-click the AdventureWorks data source, and enter the server name for where you installed the AdventureWorks DW database. Next, right-click on the solution (the topmost Adventure Works in bold), and select Properties. Click Deployment in the list on the left. Find the Server entry under Target and change that to the server name you want to deploy the cubes to when you process them. Click OK.
Deploy the project, process the cubes (see Chapter 8), and you're all set!