When creating a physics game that has even the most minimal level of design involved, it is often feasible to use a physics editor. Getting a physics game to feel real is a challenge that is often more time consuming than it should be. This is especially the case if you're using a physics engine that you have not created by yourself.
Out of the many physics editors that I came across, I found RUBE to be the most versatile one. RUBE was created by Chris Campbell, also known as iforce2d. If you've ever searched for queries about Box2D, more often than not, you will see Chris' name (iforce2d) in forums answering the OP's questions. You can download a trial version of RUBE at: https://www.iforce2d.net/rube/. At the time of writing this chapter, the latest version of RUBE was 1.6.1.
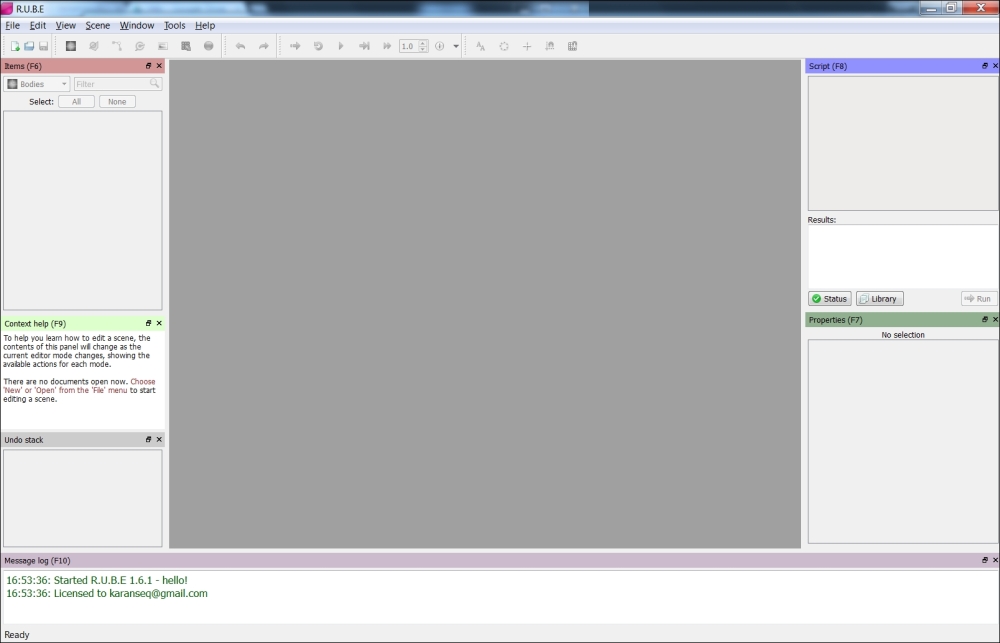
The preceding website has all the information you need on the features and setting up of RUBE. It even has a complete set of video tutorials that will tell you exactly how to use it. Nevertheless, I will collate the necessary information to get us going in this chapter. Once you've downloaded the trial version and have run the executable, this is what it should like:
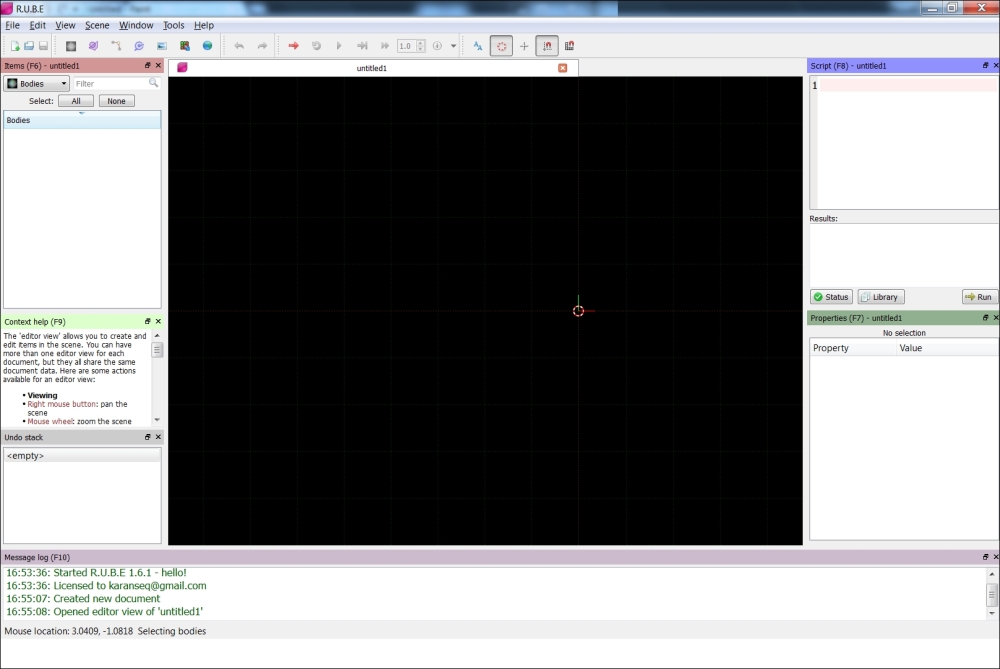
So, go ahead and select the New button from the toolbar, or go to File | New scene, and you should have something like this:
You now have an empty physics world in front of you, with the origin at the center of the editor. You can zoom in and out by scrolling the mouse and pan the world by dragging on it with the right mouse button pressed. On the toolbar, you have a set of buttons that will take you into a particular editing mode. You can edit bodies, fixtures, vertices, joints, images, samplers, and the world.
In the editor, you will notice a red and white circle around the origin that is RUBE's cursor. Most manipulations that you will do in any of the editing modes are all done with respect to the cursor. Enough reading, let's create a few bodies!
To create your first body, hit the spacebar or go to Scene | Actions to see the Actions menu. Now go to Add | Add body and you will see the many default fixtures that a body can be created with. Go ahead and create one of each type and see what the editor looks like.
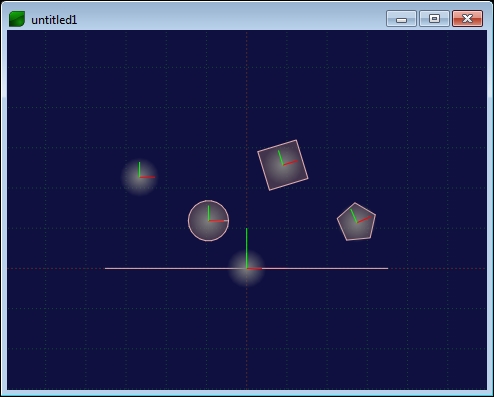
I added bodies in the order they were listed in the actions menu and this is what my editor looked like:
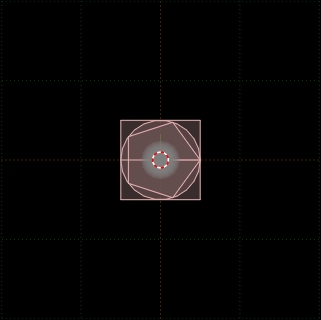
Notice how all the bodies are stacked one on top of each other. This is because when bodies are created they are placed wherever the cursor is. Since I didn't move my cursor, all the bodies I created are at the same place. Press C to move the cursor wherever you want and try adding the bodies away from each other this time. This is what my editor looks like now:
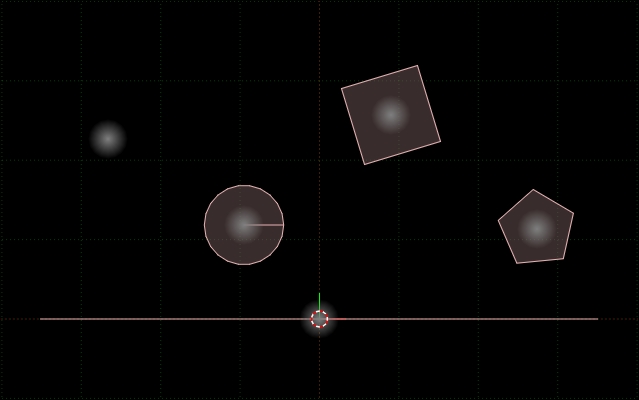
That awkward, shapeless, glowing thing on the left is how a body looks with no fixtures applied to it. I'm sure you're noticing how the edge body is much larger in the screenshot than the default edge created by RUBE, and how the square and the pentagon are rotated. That is because in the body editing mode I selected the edge body and scaled it up. Similarly, I selected the square body and the pentagon body, and rotated them.
While we're on the topic of selecting bodies, let's take a look at the properties of a body that we can set within the Properties window inside RUBE. This is what it looks like with the circle fixture selected:
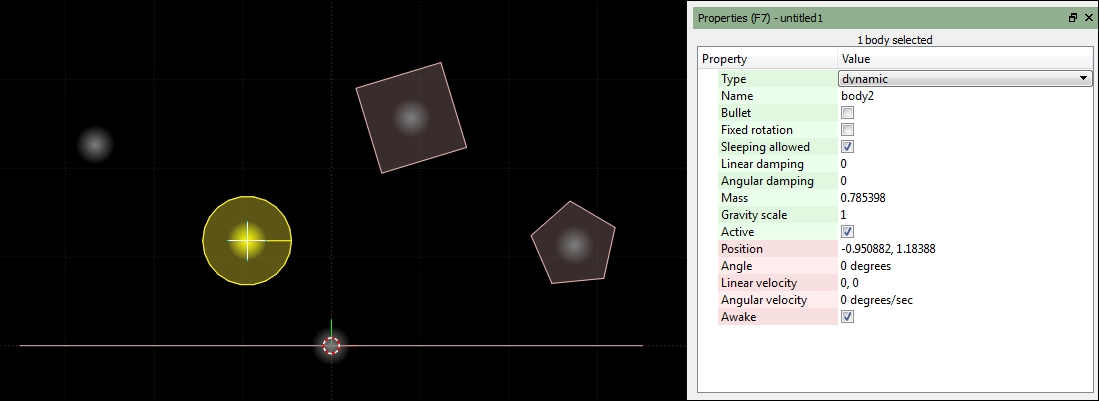
As you can see for yourself, these properties are the same as what we have seen in the b2BodyDef structure and b2Body class. The same applies for fixtures and joints as well. Well, it's now time to see the physics in action by running the scene.
To run the scene, you can either hit Ctrl + R or click the red colored arrow on the toolbar. This will open a player for the currently selected editor. This is what it should look like for our current scene:
To run the simulation, hit the spacebar. You can now see the bodies fall under gravity into an infinite abyss. Why don't you change the type of that edge body to static and give it another go?
I'm sure you can appreciate what a great advantage it is to have a simulator within the editor itself. It immensely saves time that would be wasted in exporting the data and running it within the game. Of course, there is a limit to how much can be done within the simulator. You cannot apply forces or listen for contacts, but this simulator is powerful enough to tweak your level, and the many moving bodies and motors that it might have. The simulator also provides a mouse joint that you can use to fling bodies around, quite the same way that you would in a Box2D game.
In our next section, we will import images into the editor to help us shape our bodies more effectively. We will also create a basic template for a level of Angry Fish. That is quite a bit of work so why don't you take a break, build as many things as you like with RUBE, fling them around in the simulator, and come back when you've had enough. Make sure to read the descriptive Context help whenever you have a doubt.
Many a times you may want your physics bodies to have shapes more like the characters or entities that they will be representing within the game. In such cases, an editor can be extremely beneficial in defining the shape for your physics body's fixture. RUBE allows us to import an image and trace the vertices for the fixture of the underlying physics body. In version 1.6, this process has been automated with the addition of samplers!
To import an image into RUBE, simply drag it into the editor. You can use the cat.png image from the Resources directory of the source bundle for this chapter. Once dragged into RUBE, go to image editing mode by clicking on the Edit images button in the toolbar or pressing I on your keyboard.
Now select the image of the cat that you just dragged into the editor, bring up the actions menu and select Sampler | Create body + fixture from image. Notice that if you don't have an image selected, the option will be disabled. In the prompts that followed, I left in the default values and this is what the editor looked like:

You can run the scene and play with the resultant physics body that is created. If you enter the vertices mode, you will notice that the fixture for the cat's body—although quite accurate—has way too many vertices. You can manually edit/remove the vertices or tweak the inputs to the sampler in the prompts that you faced to get fewer vertices for a more lightweight fixture.
In this way, you can use RUBE to effortlessly create bodies and fixtures for the various entities in your game. Next up, we will create a basic primer or template level for our game.