
We will take a look at how to implement the different effects in Cocos2d using the CCEffects class in this section.
The assets for this chapter are included in the resources. Import them into the iOS-Published folder in Finder.
For this chapter, I created a new project; so, if you want to create a new project, go ahead and make the necessary changes.
Once we create the project, we will add in the following code to the MainScene.h file:
@interface MainScene : CCNode{

  CCSprite* hero;

}

+(CCScene*)scene;

@end
Here, we want to keep the hero as a global variable. The rest is as usual.
Next, in the MainScene.m file, we will add the following:
#import "MainScene.h"

@implementation MainScene

+(CCScene*)scene{

  return[[self alloc]init];

}

-(id)init{


  CCLog(@" **** init **** ");

  if(self = [super init]){

    CGSize winSize = [[CCDirector sharedDirector]viewSize];

    self.contentSize = winSize;

    //Basic CCSprite - Background Image
    CCSprite* backgroundImage = [CCSprite spriteWithImageNamed:@"Bg.png"];
    backgroundImage.position = CGPointMake(winSize.width/2, winSize.height/2);
    [self addChild:backgroundImage];

    //hero sprite
    hero = [CCSprite spriteWithImageNamed:@"hero.png"];
    hero.position = CGPointMake(winSize.width/4, winSize.height/2);
    [self addChild:hero];

    [return self]

  }

}

@end
Here, we just added the background and hero image to the scene.
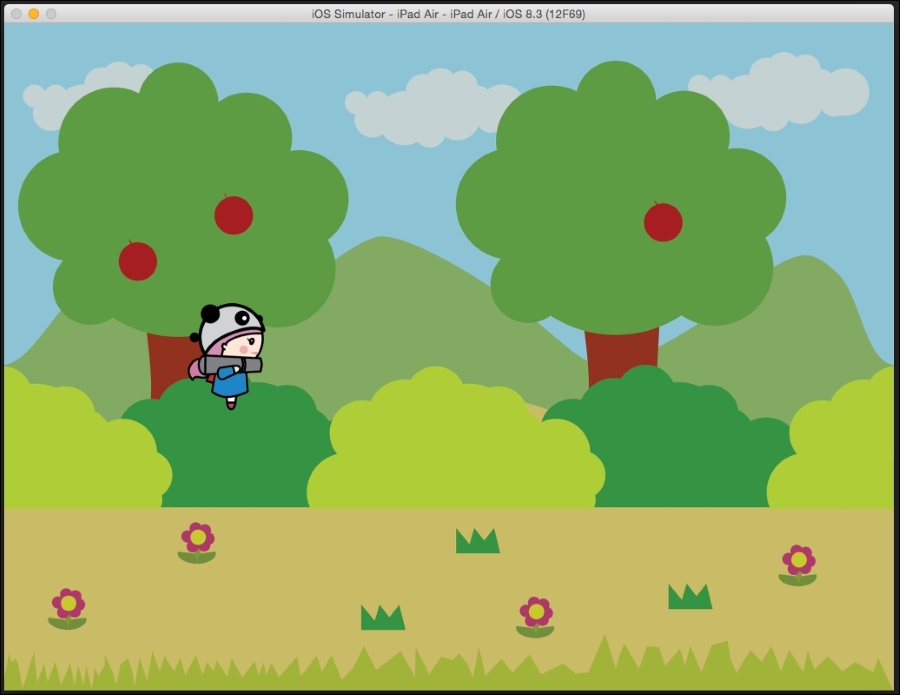
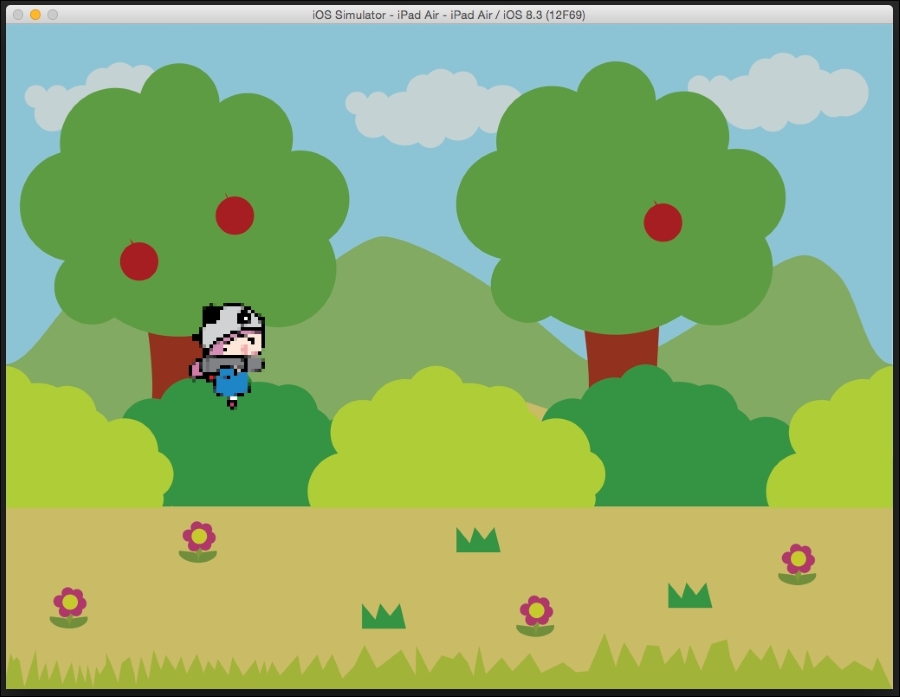
We will add the effects as we go along the scene. So, here is the scene without any of the effects in it:
To add the bloom effect, we will add the following code after the point where we added the hero:
hero.effect = [CCEffectBloom
effectWithBlurRadius:2
intensity: 0.5f
luminanceThreshold: 0.5f];
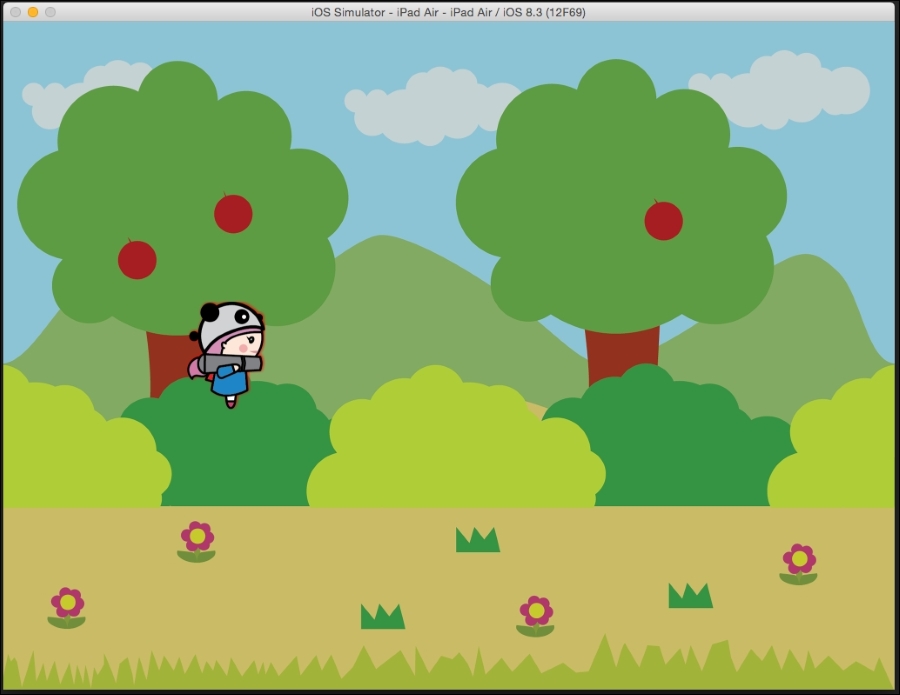
Here is the output:
We can also control the amount of bloom by changing the values of BlurRadius, intensity, and luminanceThreshold.
Next, we will look at BlurEffect.
We will replace the code with the following to add the blur effect:
hero.effect = [CCEffectBlur effectWithBlurRadius:2];
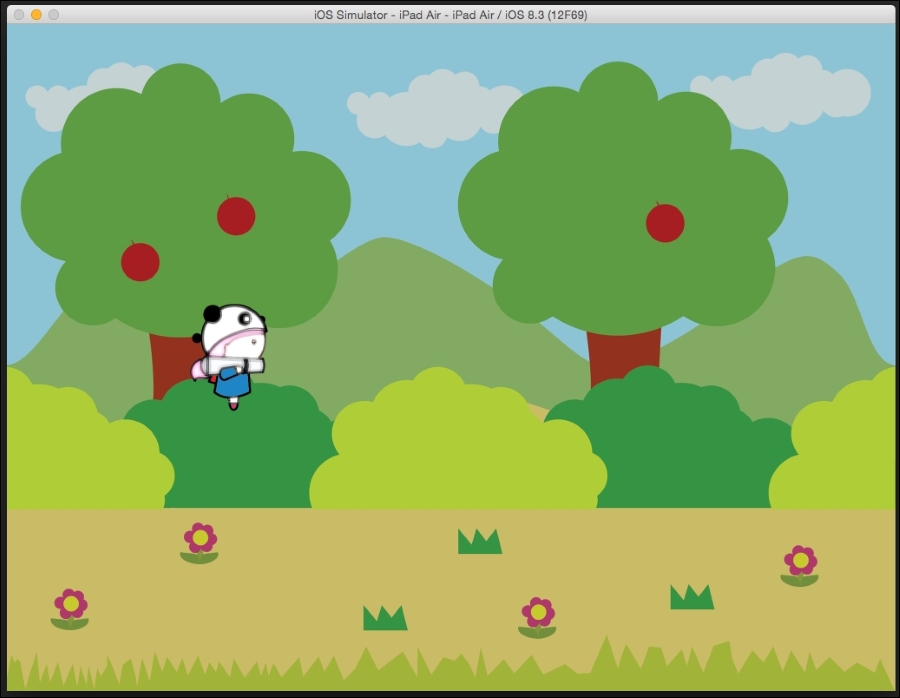
This is all! You just need to pass in the radius of the blur, and the effect will be added to the sprite.
If your image is too dark, then you can adjust the brightness of the image with this effect. To add brightness to an image, we will replace the effect code with the following:
hero.effect = [CCEffectBrightness effectWithBrightness:0.5f];

Here, obviously, the amount of brightness is a bit too high, but this can be adjusted with the effectWithBrightness parameter.
We can also add a drop shadow effect in the code using CCEffect, as follows:
        hero.effect = [CCEffectDropShadow effectWithShadowOffset:GLKVector2Make(0.5f, 0.5f)
          shadowColor: [[CCColor alloc]initWithRed:1.0f
          green:0.0f
          blue:0.0f]
          blurRadius: 1];
The first parameter is ShadowOffset, which tells how far the shadow is with respect to the anchor point of the hero sprite.
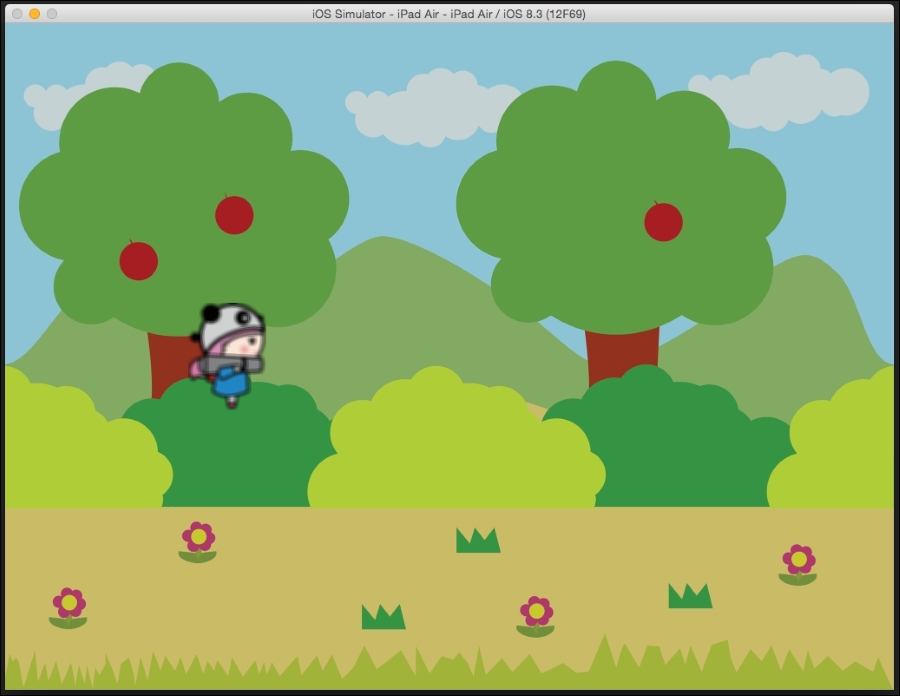
The next parameter is the color of the shadow, and finally, the last parameter is the blur radius. The result is as follows:
Adding the pixelate effect is as easy as adding any other effect. We will add the following code to see the character change into a character from the 8-bit era:
hero.effect = [CCEffectPixellate effectWithBlockSize:2.0f];
It is also possible to stack our effects. This means that we can add effects and combine them as a single effect. Here's how we will do this:
        CCEffectBloom* bloomEffect = [CCEffectBloom effectWithBlurRadius:2 intensity: 0.5f luminanceThreshold: 0.5f];

        CCEffectBlur* blurEffect = [CCEffectBlur effectWithBlurRadius:2];

        CCEffectStack* stackEffect = [CCEffectStack effects:bloomEffect,blurEffect,nil];

        hero.effect = stackEffect;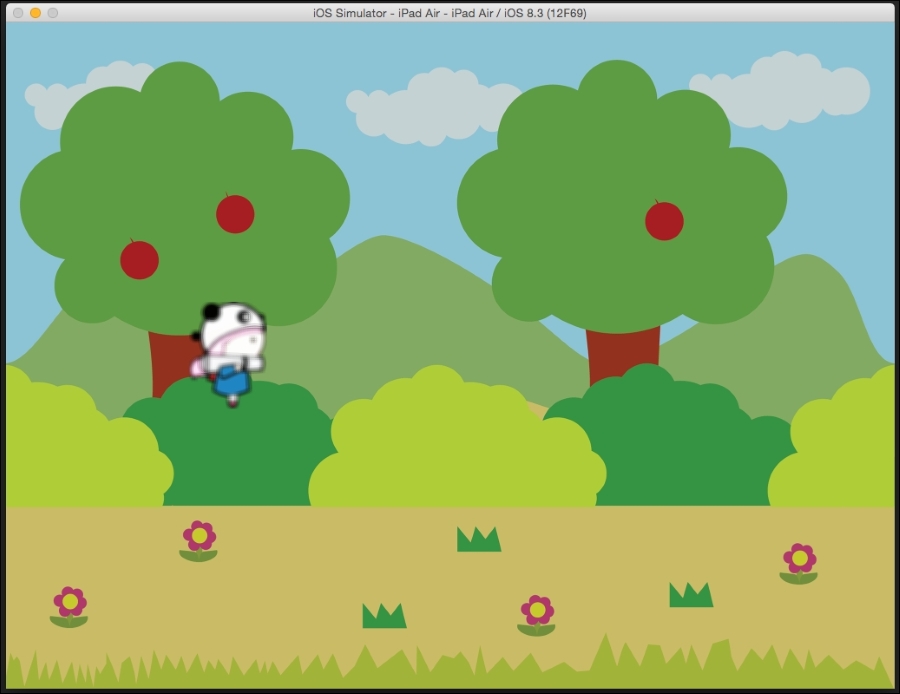
These are some of the simple effects that can be achieved with the CCEffects class. Here's a list of some more effects in Cocos2d:
- Bloom
- Blur
- Brightness
- ColorChannelOffset
- Contrast
- DropShadow
- Hue
- Pixelate
- Reflection
- Refraction
- Saturation
- Stack
For a more comprehensive list, refer to the Cocos2d documentation on their website.