Glyph designer is an application that can be used to make fonts that can be used in a game. However, don't we already have CCLabel for this? That is true. But what CCLabel does is it takes the font from the system, converts the font files into an image at runtime, and then displays it onscreen. So, whenever the score needs to be incremented, the system will need to convert the font into an image and then display that onto the screen.
Although you can use system fonts, for bigger games it is better to use a Bitmap font, in which the letters and numbers are already converted to images rather than converting them every time. So, with Glyph Designer, we can create a Bitmap font and use it to make the game more optimized.
Bitmap fonts are similar to a spritesheet, which has an image with all the letters, numbers, and symbols in it. This image file is accompanied with a data file, which has the locations and sizes of the symbols and letters. Whenever a letter needs to be displayed on screen, the data file will be referred to and the location of the letter will be retrieved and then displayed on the screen.
The trial version of the application can be downloaded from https://71squared.com/glyphdesigner.
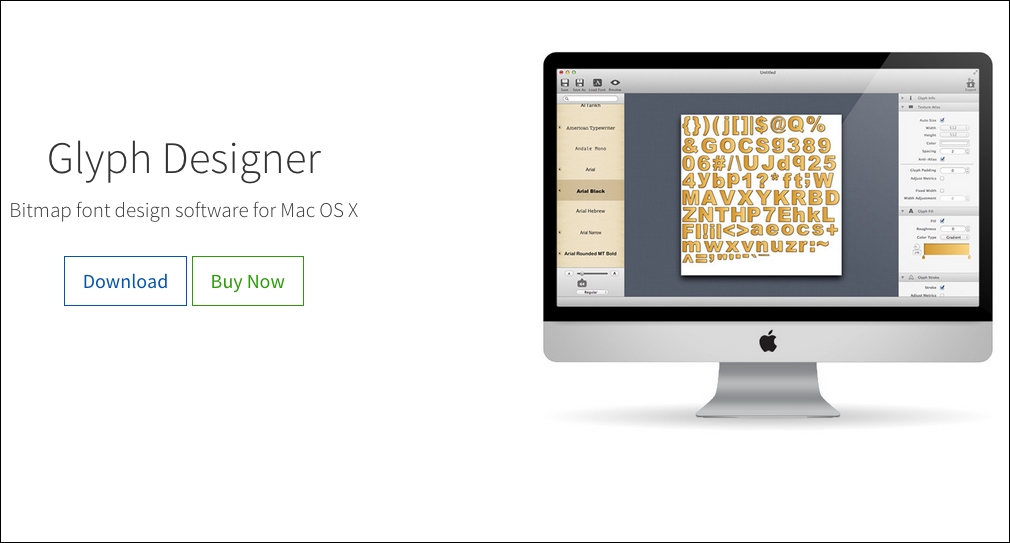
After downloading the application, you can open it and it will create a new untitled project. On the left-hand side panel, you will see a list of all the fonts that are present in the system. The center view shows the spritesheet of the file that will be created. This is a preview window, and it will dynamically change according to the changes you make.
The right panel is where you will do most of the changes after selecting the font that you want to modify to the left. On the right-hand side panel, you will find the following headings:
- Glyph Info
- Texture Atlas
- Glyph Fill
- Glyph Stroke
- Glyph Shadow
- Included Glyphs

You should be mostly concerned with Glyph Fill, Glyph Stroke, and Glyph Shadow:
- Glyph Fill: We can select the type of fill, which may be Solid, Gradient, or Image. So, basically, we can select the color of the font here.
- Glyph Stroke: This is will create a new stroke effect around the alphabet. We can select the color and the size of the stroke here.
- Glyph Shadow: Here, we can select the color and direction of the shadows. There are two types of shadows: inner and outer. This effect will give a bit of depth to the characters.
Once we are satisfied with the changes, we will click on the Export button and select the .fnt format. You can select the fnt format from the drop-down menu.
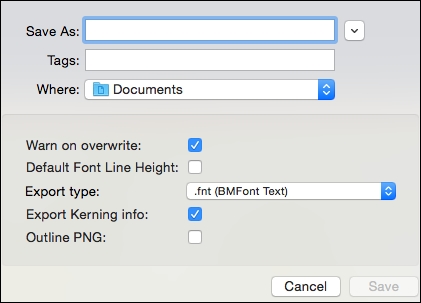
Make sure you select .fnt in the export type. This will create a file with .png at the end with all the characters and symbols in it and a .fnt file, which is the data file associated with the font.
For the filename, I chose pixrlfont. So, the filename with extension would be pixelfont.fnt.
We will then drag both the .png folder and the .fnt file into the project.
Now, we are ready to implement the Bitmap font in the game.
In the init function, we will add the following lines after adding the Bg image to the scene:
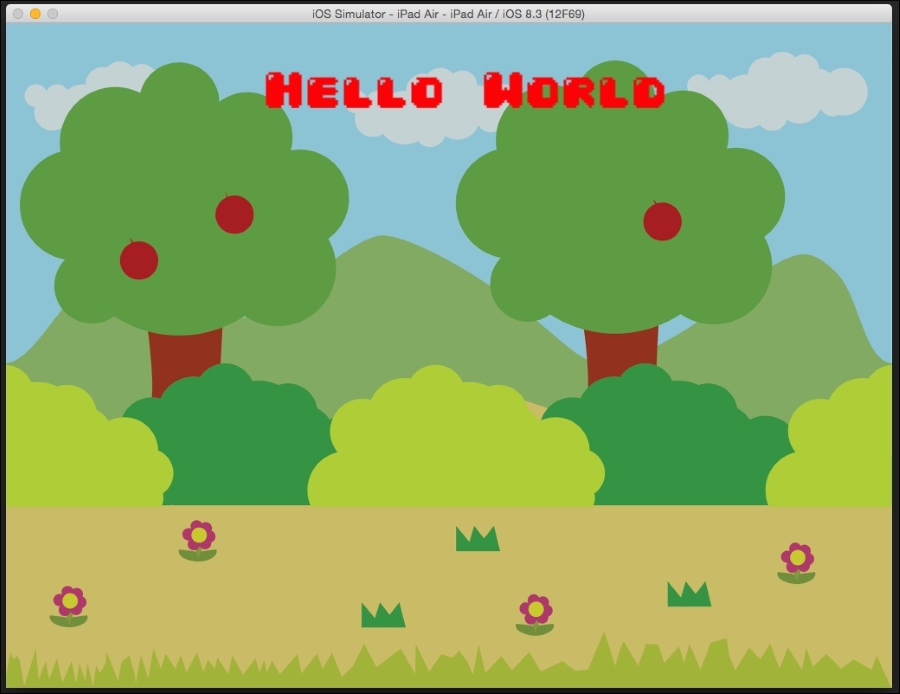
CCLabelBMFont* label = [CCLabelBMFontlabelWithString:@" Hello World" fntFile:@"PixelFont.fnt"];
label.position = CGPointMake(winSize.width * 0.5, winSize.height * 0.9);
[selfaddChild:label];
That is all! We will use the CCLabelBMFont class, initialize with the text that we want to show onscreen—which in this case is "Hello World"—and then specify the name of the font that we want to use.
We will then position the label in the middle widthwise and place it at 0.9 times the height of the screen.
Finally, we will add the object to the scene.