Previously, while adding physics objects, whenever we wanted to add an object with an odd shape, we had to get the vertices and make sure that all the angles were convex. However, with PhysicsEditor, we don't have to worry about this. PhysicsEditor takes care of such cases automatically. Let's take a look at how to implement it.
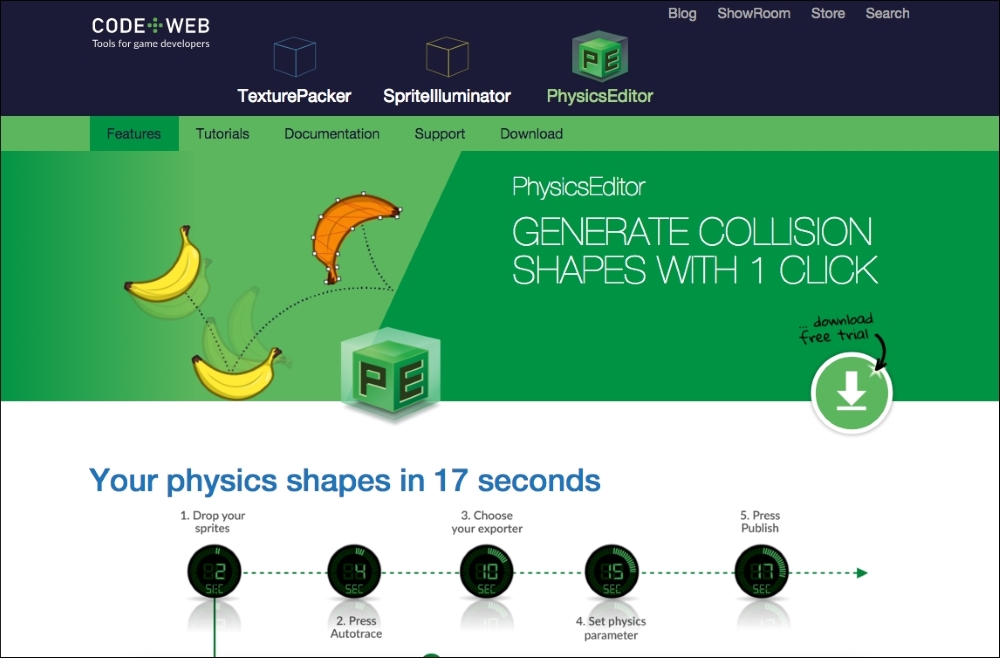
The trial version of PhysicsEditor can be downloaded from the CodeAndWeb website at https://www.codeandweb.com/physicseditor.
Once downloaded, open the application.
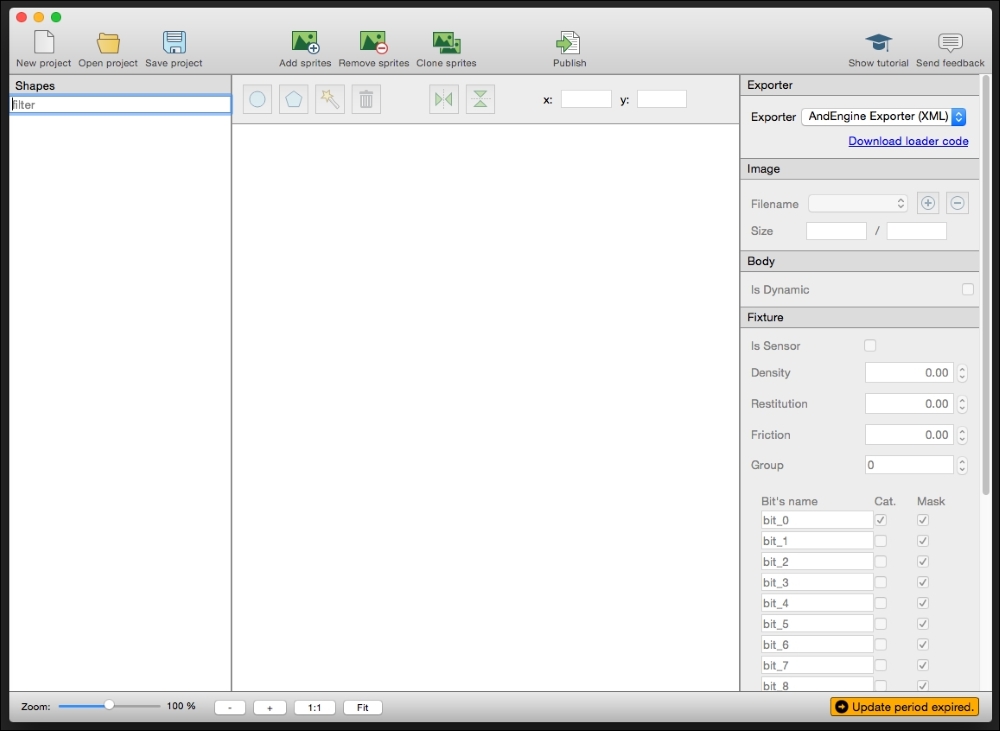
PhysicsEditor has three panels, which are as follows:
- The Shapes panel is where we will drop the images that we want to create the shape for
- The panel in the middle is the Preview panel that will show a preview of the shape that is created for the object
- The Exporter panel on the right-hand side is where we will specify the exporter file type. As we are on the Mac, we will use the Plist format for Cocos2d.
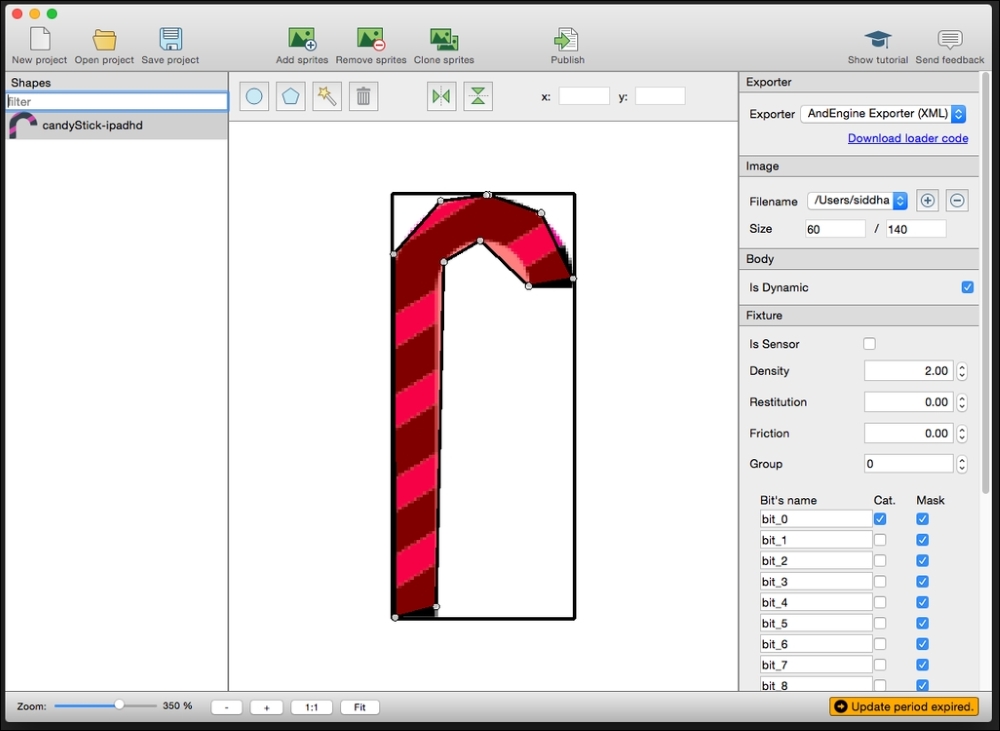
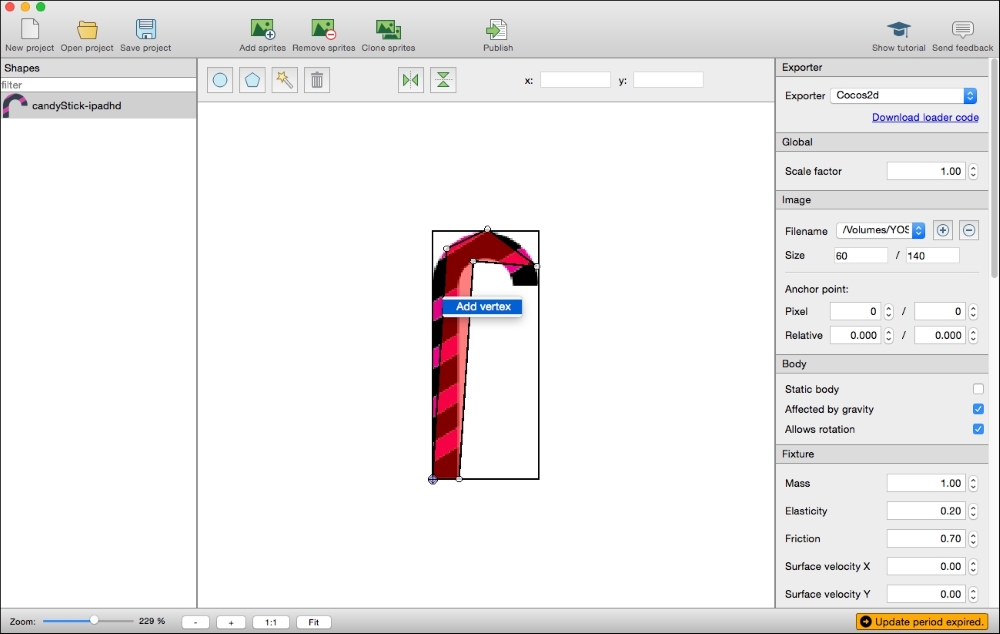
The image shows the location of the image that you added in the Shapes panel.
In the editor itself, you can select whether the body is dynamic or not.
Next, in the Fixture subheading, you can select the various properties, such as how much the density, friction, and elasticity should be. You can also select whether you want the body to be a sensor or not.
Finally, instead of adding the bitmask in code, you can specify the category and mask here itself.
For the example in this book, I have created the shape of a candy stick.
To create the points, click on the magic wand.
The Tracer window will open. Here, you can adjust the Tolerance level to make the trace as detailed as possible. Alternatively, you can reduce it to keep the points as minimal as possible.
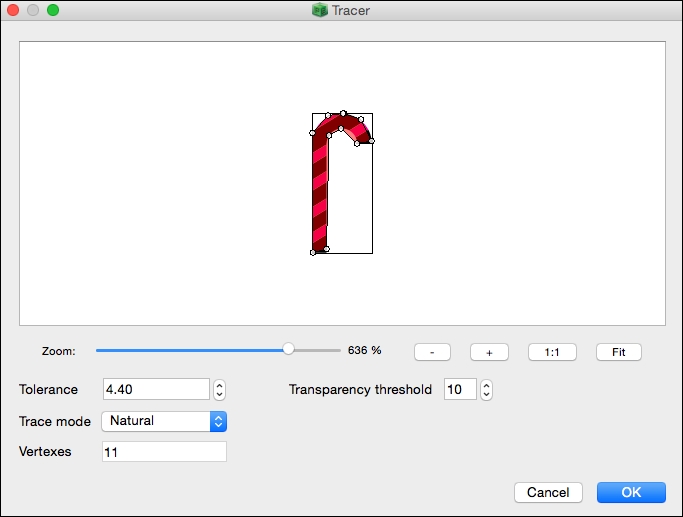
The vertices can also be edited manually for more control.
Once you are happy with the trace, click on Publish and specify the location of the file.
For convenience's sake, I named the image and data file "candy".
First, we will add the candy.plist and candy.png files into the project.
Next, we need some files that have to be included to make the code work.
Download the loader from https://github.com/CodeAndWeb/PhysicsEditor-Loaders.
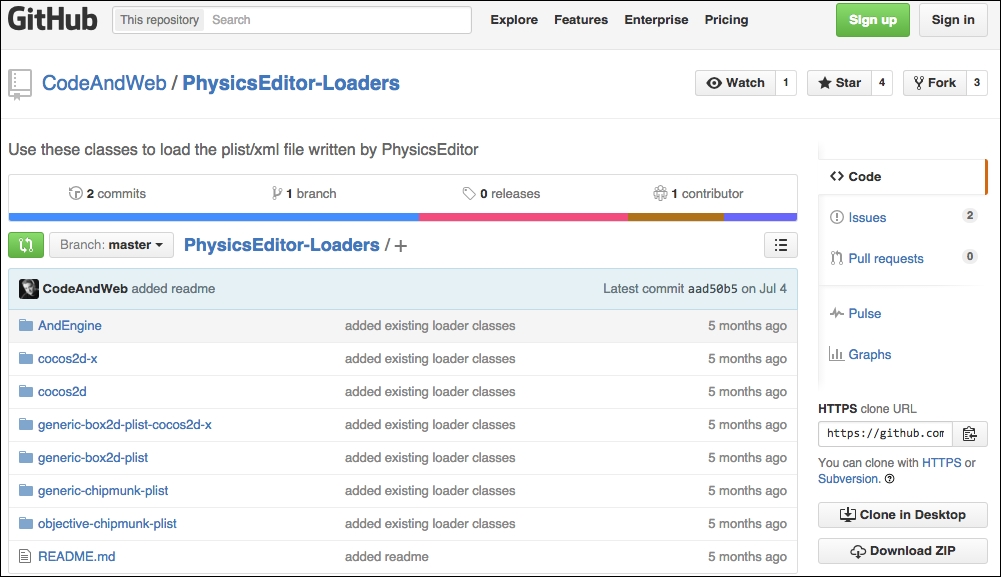
Click on the Download ZIP button and extract the contents.
Navigate to the cocos2d folder and drag and drop the PhysicsShapeCache.h and PhysicsShapeCache.m files in your project.
Next, in the MainScene.m file, we will add the PhysicsShapeCache.h header file at the top of the file.
We need to create a physics world for the simulation to work properly. So, we will add the following line to the upper-right after the implementation of MainScene:
CCPhysicsNode *_physicsWorld;
Now, the topmost part of the MainScene.m file should be similar to the following:
#import "MainScene.h"
#import "PhysicsShapeCache.h"


@implementation MainScene

CCPhysicsNode *_physicsWorld;

+(CCScene*)scene{

  return[[self alloc]init];

}
Next, in the init function of MainScene, we will add the following:
  _physicsWorld = [CCPhysicsNode node];
  _physicsWorld.gravity = ccp(0,-9);
  _physicsWorld.debugDraw = YES;
  [selfaddChild:_physicsWorld];

  [[PhysicsShapeCachesharedShapeCache] addShapesWithFile:@"candy.plist"];

  CCSprite *physicsSprite = [CCSpritespriteWithImageNamed:@"candy.png"];
  physicsSprite.position = CGPointMake(winSize.width * 0.5, winSize.height * 0.5);

  // attach the physics body to the sprite
  [[PhysicsShapeCachesharedShapeCache] setBodyWithName:@"candy" onNode:physicsSprite];


  // add the new physics object to our world
  [_physicsWorldaddChild:physicsSprite];

  physicsSprite.scale = 0.5;
Here, as always, we will initialize the physics world node and provide the gravity. We will then pass in the plist file to the cache. We will create the candy sprite and position it. We will then add the body to the sprite and then, finally, add it to the scene.