Let's finally consider how to use SpriteBuilder. SpriteBuilder is a GUI-based game development environment that can be used to make basic games with very minimal coding.
Just create a SpriteBuilder project the usual way and change the language to the newly learned Swift coding language as the default. However, instead of opening the xcodeproj file, double-click on the ccbproj file instead.
First, we need to add the assets to the projects. We can create a new folder by right-clicking on the left-hand side panel to create a folder. We will call the Assets folder and drag and drop all the assets that are in included into it.
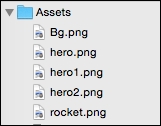
These assets are in the resolution for ipadhd. The good news is that SpriteBuilder automatically creates a downsized image for ipad2, so no additional work is required here.
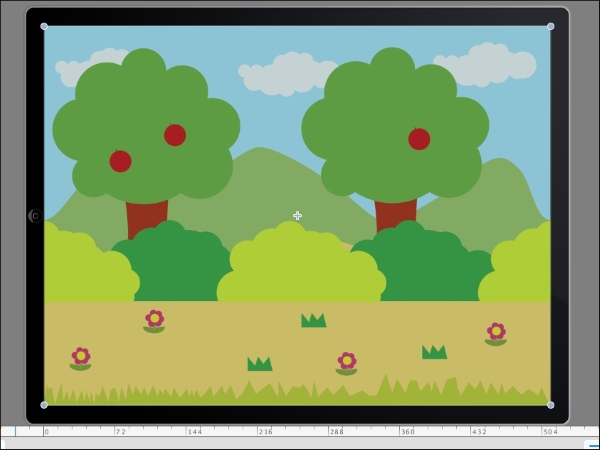
We will delete the SpriteBuilder text and blue background image by selecting them in the preview panel at the center and pressing the delete key. This will remove them from the scene.
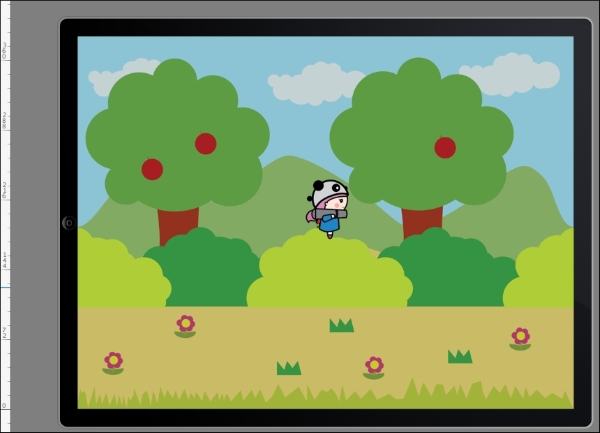
Next, to add our background image to the scene, we will simply drag and drop the bg to the preview pane. We need to make sure the image is centered properly.
Now, we will go to File
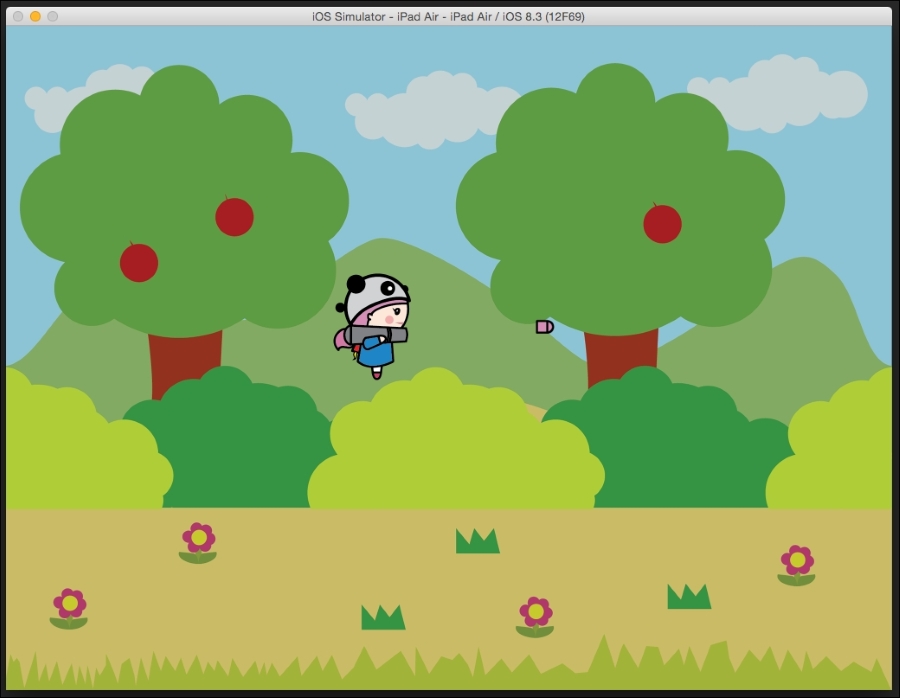
| Publish to publish the project. Next, we will go to File and then Open Project in Xcode. This will open the project in Xcode, and when we will build and run the project, we will see the simulator with the bg image at the center. You don't have to make any additional changes to the Xcode project at all.
Let's take a look at how to add an animated image in the scene.
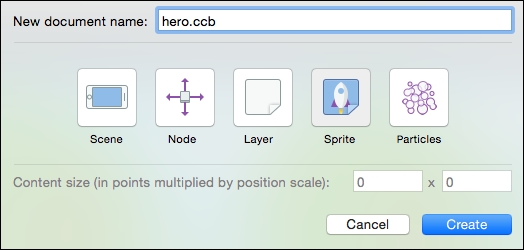
We will navigate to File | New | File and select Sprite as the base.
We can also create scene, node, layer, or particle in the same way.
We will name the hero as we will animate the hero.
Next, we will double-click on the hero.ccb file to open it.
Now, we will click on the hero images together and right-click and select Create Keyframes from Selection.
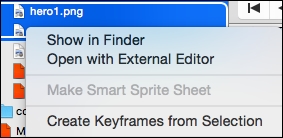
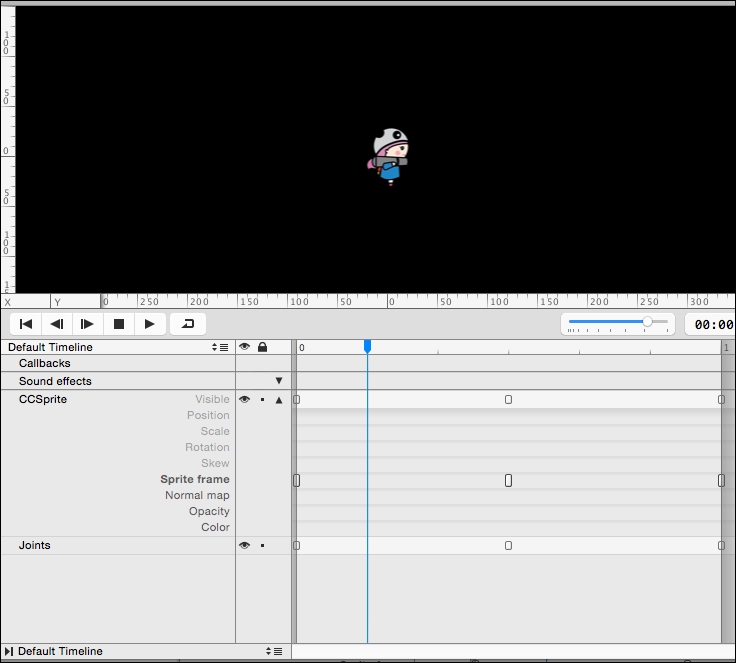
The images will then be added as keyframes to the timeline.
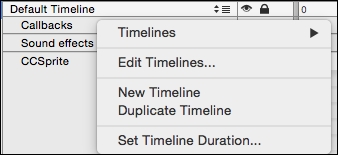
Now, we need to change the duration of the animation to 1 second. For this, we will click on the right-hand side of Default Timeline and select Set Timeline Duration…. A new box will open up; we will set the time to 1 second in it.
Next, we will move keyframes in the following sprite frame in such a way that the first one is at the start and the second one is at the center of the timeline.
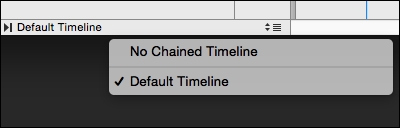
Finally, to loop the animation, we need to do to one more thing. At the bottom of Default Timeline, we will click on the up and down arrows and select Default Timeline instead of No Chained Timeline.
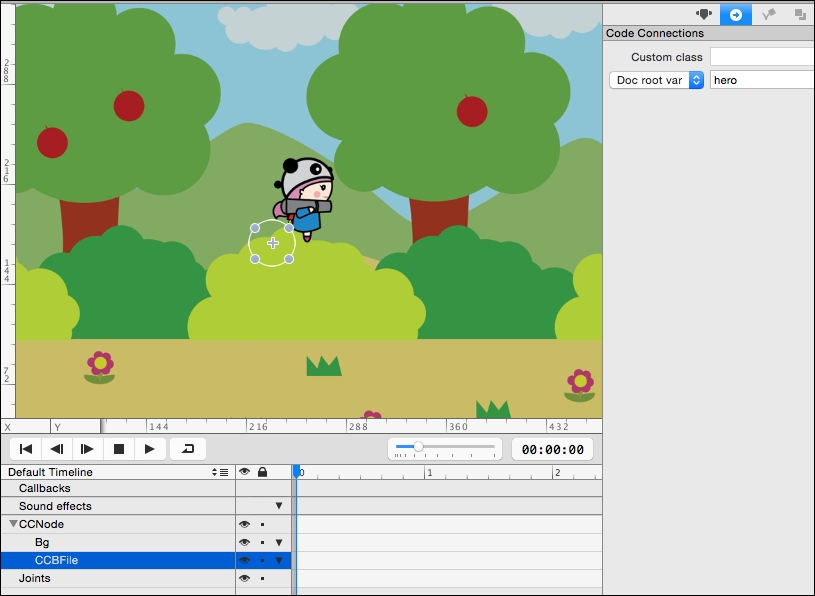
To add the hero to the scene, we will go to mainScene.ccb and drag and drop the hero.ccb file into the scene.
If the hero doesn't show up on the scene, we will publish the scene so that it appears.
Now, let's take a look at how we can move the hero character using code.
While in the MainScene.ccb file, we will select CCBFile in the timeline, and in the right-hand side panel, we will select the item code connections pane under the doc root var add hero so that we can access hero.ccb in the code with the hero variable.
We will publish once again and open the project in Xcode.
First, we will open the MainScene.swift file and change the code to the following:
import Foundation

class MainScene: CCNode {

  weak var hero:CCSprite!
  let viewSize: CGSize = CCDirector.sharedDirector().viewSize()

  func didLoadFromCCB() {

    hero.position = CGPoint(x: viewSize.width * 0.2, y: viewSize.height/2);
    userInteractionEnabled = true

  }

  override func touchBegan(touch: CCTouch!, withEvent event: CCTouchEvent!) {

    var touchLocation: CGPoint = touch.locationInNode(self)

    hero.position = touchLocation;

  }

}
Just as Cocos2d-ObjC, we will get the viewSize value and create a class variable called hero of the CCSprite type.
The didLoadFromCCB function is similar to the init function and is called when the scene gets loaded. In this, we will position the sprite and enable touches.
Next, we will create the touchbegan function, get the current touch location, and set the position of the hero to the touch location.
That is all! When we click on the screen, the hero sprite will be moved to this position.
This is how you can link a variable in SpriteBuilder to a variable in the code.
Let's discuss how to instantiate a SpriteBuilder object through code next.
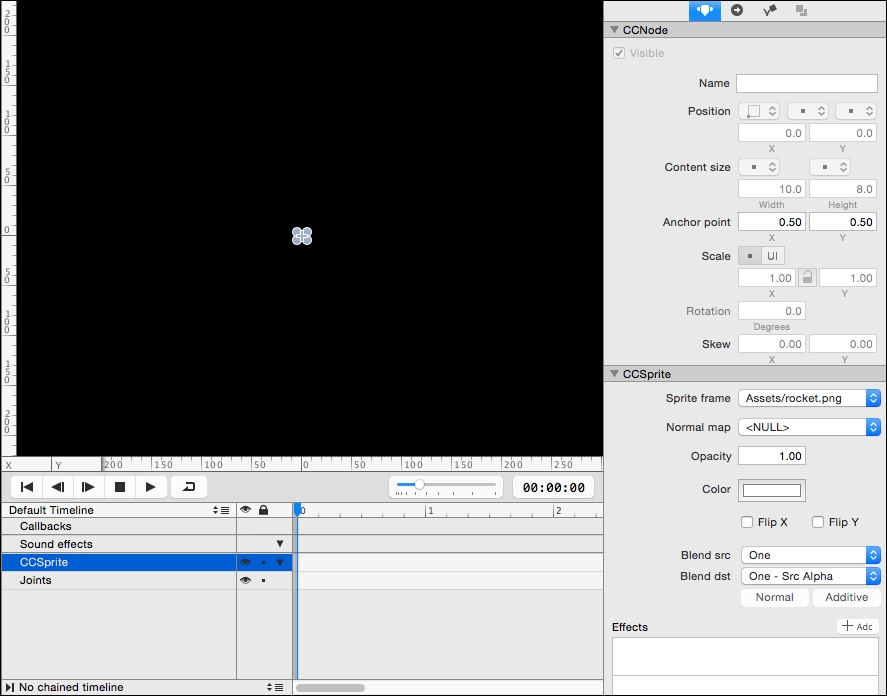
We will create a new file in SpriteBuilder called Rocket of the Sprite type. We will double-click on Rocket.ccb. Once open, we will select CCSprite in the timeline, and in the right-hand side panel in the Item Properties pane, we will select the rocket.png image for Sprite frame, as shown in the following image:
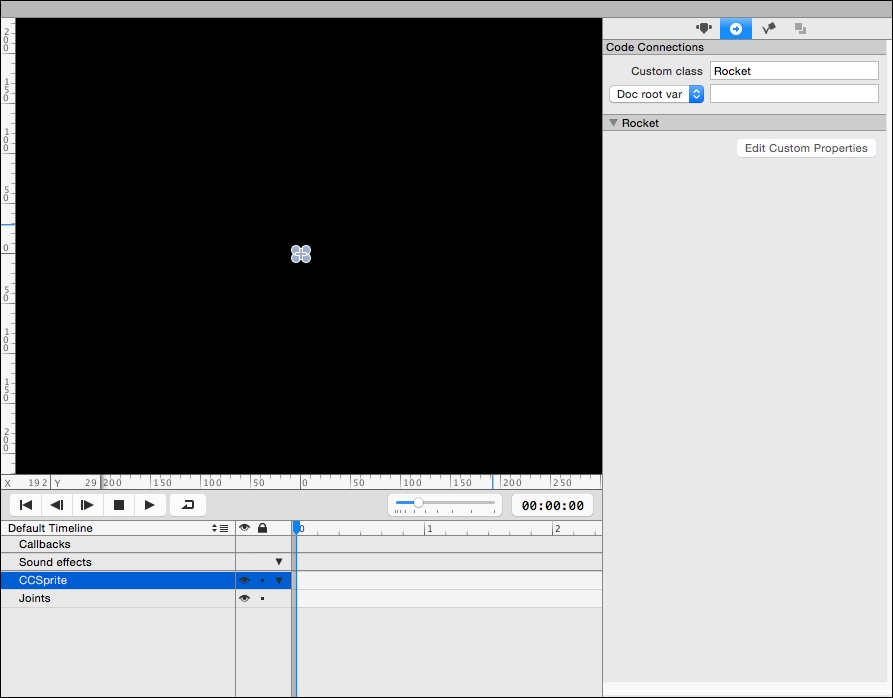
Next, as we will create a class in Xcode to manage the behavior of Rocket.ccb, this will be done by the Rocket.swift class. To link SpriteBuilder to the class, we will add the class name in the item Codes Connection pane for Rocket.cbb, as follows:
Publish the project once again and open the project in Xcode.
In the Xcode project, we will create a new class by navigating to File | New | File | Swift File called Rocket.swift and add the following to the file:
import Foundation

class Rocket: CCSprite {

  let viewSize: CGSize = CCDirector.sharedDirector().viewSize()

  func didLoadFromCCB() {

  }

  override func update(delta: CCTime) {


    if(self.position.x > viewSize.width){

      self.removeFromParent()

      println("removed rocket");

    }else{

      self.position.x += 10;
    }

  }


}
Here, we will get the viewSize value first and add an update function. In the function, we will check whether the current position is greater than the screen width. If it is, then we will remove the object from the parent. Otherwise, we will move the object to the right by 10 every frame.
Now, all we have to do is spawn the rocket each time we touch the screen.
In the Mainscene.swift file, we will change the touchBegan function to the following:
    override func touchBegan(touch: CCTouch!, withEvent event: CCTouchEvent!) {

      var touchLocation: CGPoint = touch.locationInNode(self)

      hero.position = touchLocation;

      var rocket  = CCBReader.load("Assets/Rocket") as! Rocket

      addChild(rocket);

      rocket.position = hero.position

    }
So, here, as the rocket.ccb file is in the Assets folder, we will navigate to the folder and load the ccb file using the CCBReader.load function and load it. We also need to typecast it to Rocket.
We will then add the rocket to the scene and position it at the same location as the hero.