Backgrounds and tilesets are the two most important asset types in Stencyl when it comes to constructing the ludic (game) and aesthetic aspects of the spaces in our levels. Backgrounds can be used to great effect in providing a fictional context and can assist in creating a sense of depth through the use of effects, such as parallax scrolling, and so on. Tilesets can be used to create a vivid and varied, yet memory-efficient, ludic space within our game levels. In this chapter, we will learn how to:
- Correctly import these two important resource types
- Implement them within our games
While the asset type is referred to as a Background in Stencyl, they can be used as either backgrounds or foregrounds within our game levels, which means that we can place them either behind or in front of the active play area of our game. In particular, in the case of platform games, the use of both foregrounds and backgrounds with staggered parallax scrolling speeds can create a real sense of richness and depth in our game worlds.
If the empty game project, we created at the end of Chapter 2, Starting the Game Project, is not open on your computer, please reopen it now. On the Dashboard, on the left-hand pane with the list of available asset types, click on Backgrounds. You should see the following screenshot:
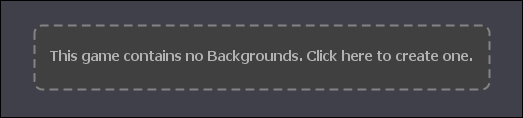
Click on it, and you will be presented with the following window:
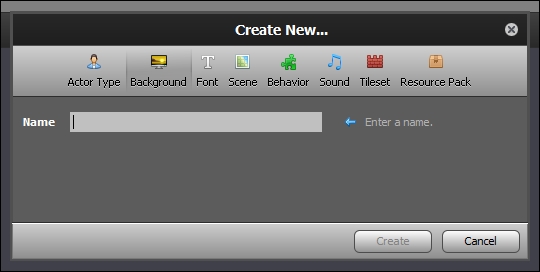
Provide a Name for your new background. As a general principle, it is best to be as descriptive as possible at this point so that it is easier to distinguish between our various background assets later on, when we have imported several assets. Perform the following steps:
- The first background that we are going to import is a grass background, so we'll name this one
Grass Background. - Once you've provided a name, the grayed-out Create button shown in the preceding screenshot will become active.
- Click on it to go to the next screen. After a moment, you should see the following screen open up:
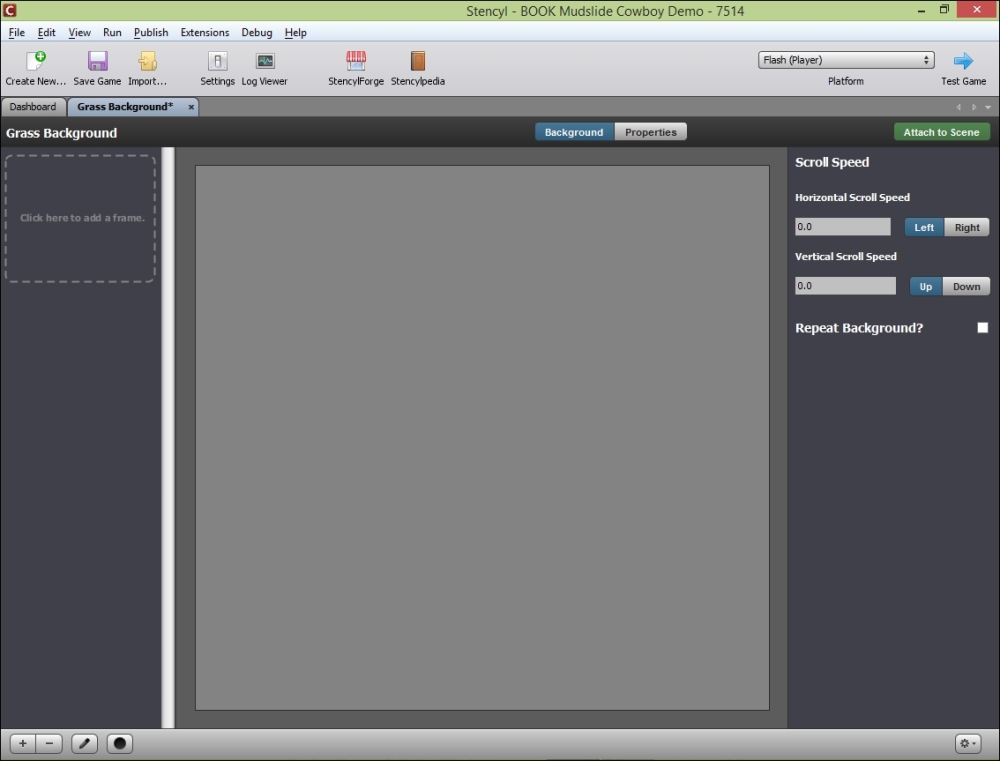
This is the Background Editor. To the right, you will see a pane with various parameters that can be used to create parallax scrolling effects. To the left, we have a button that can be used to add new frames to our background. We can add more than one frame if we wish to animate the background, though excessive use of this feature is likely to adversely impact memory and performance, especially on mobile targets. Click on the Add Frame button, and you will be presented with the following window:
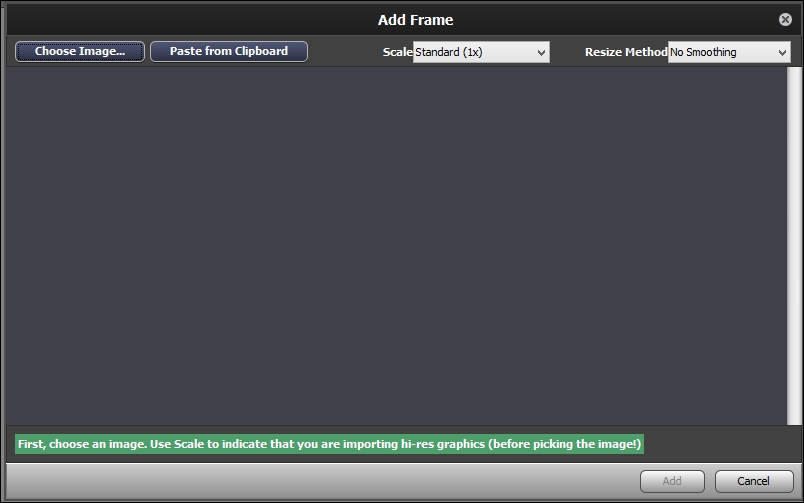
From left to right, at the top of the window, the options we are presented with are as follows:
- Choose Image: This option is used to select an image with a file browser
- Paste from Clipboard: This option is used to paste bitmap data from the clipboard into the frame
- Scale: This option is used to choose the scale at which to import the image
- Resize Method: This option is used to choose your preferred resizing algorithm
Before clicking on the Choose Image button, we must first ensure that we have selected the correct Scale and Resize Method (or algorithm), and configure a few other settings. Follow these steps:
- First, set the Resize Method to Bicubic if this is not already the setting. Our game graphics have all been created at 4X scale, the highest resolution available. This caters for all targets, irrespective of screen dimensions or resolution. Stencyl will generate the lower resolution versions of the images (1X, 2X) automatically from the 4X version we provide.
- Select 4X from the drop-down menu, then click on the Choose Image button. This will open a file explorer.
- Simply navigate to the directory where you extracted the contents of the game assets ZIP file we downloaded in the previous chapter. Navigate to
Game Assets|Graphics|Backgroundsand importGrass Background.png, as shown in the following screenshot: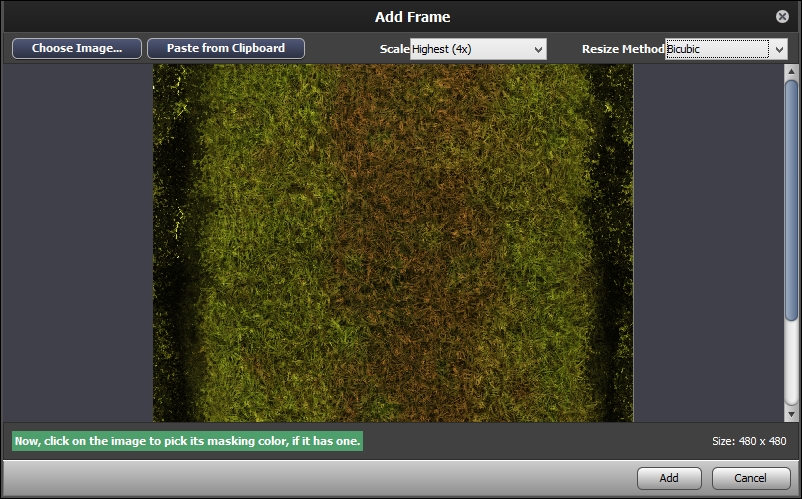
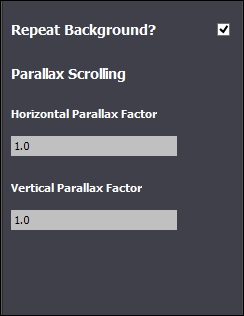
Click on the Add button at the bottom-right corner of the window, and you will have imported your first static background into Stencyl. Congratulations! Next, we want to configure our parallax scrolling settings for the background:
Now, let's test what we learned so far. Let's repeat the steps we just followed to import the following three background images found in the same Backgrounds directory as the first image we imported:
Well done! We have successfully imported and configured all of the background images needed to build our prototype game. Now we just need to import our first tileset, and we can start building our own 2D game worlds!