Now that we have created the shell of our Main Menu scene, it's time to start working on all those import buttons! Follow these steps:
- Go to the Dashboard tab, select Actor Types, and click on Create New.
- In the window that ensues, set Name to
Play Game Button, and click on Create. - Click on This Actor Type contains no animations. Click here to add an animation button, and your first blank animation will appear for the button, called Animation 0.
- Change the Name for this animation to
Default. - Select Click here to add a frame, then navigate to and select
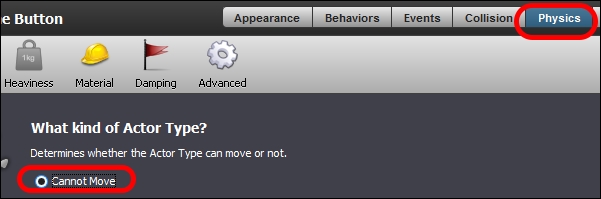
Game AssetsGraphicsGUI Elements play button.png. - Once you have imported this default animation, switch to the Physics context, and change the Actor Type to Cannot Move, as shown in the following screenshot:
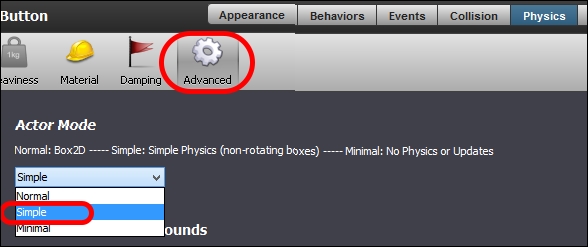
- Now go to the Advanced settings, and change the Actor Mode to Simple, as shown in the following screenshot:
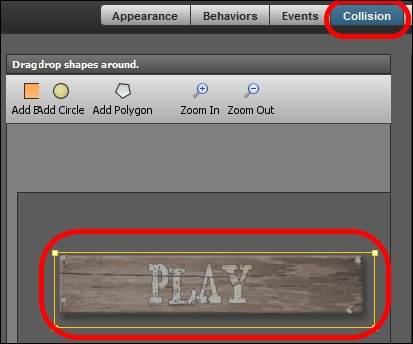
- Finally, go to Collision, select the default collision box, and press Delete on your keyboard to remove it. This actor type will have no physical interactions of any kind, and hence does not require a collision box, as shown in the following screenshot:
..................Content has been hidden....................
You can't read the all page of ebook, please click here login for view all page.