Great! Now that we have created and configured the Play Game Button, we must write an Actor Behavior that will cause it to behave like a button by reacting to the mouse's events. To do so, perform the following steps:
- Go to the Dashboard tab, select Actor Behaviors, and click on Create New.
- In the ensuing window, set Name to
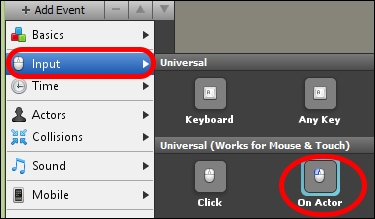
Play Button Handler, and click on Create. - Navigate to Add Event | Input | On Actor, as shown in the following screenshot:
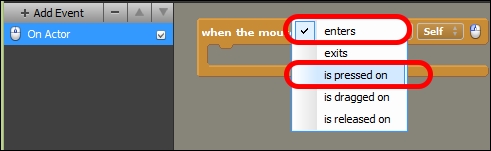
- Switch the condition from enters to is pressed on, as shown in the following screenshot:
- In the blocks palette, navigate to Scene | Game Flow | Transitions, drag out and add a switch to Scene and Crossfade block, as shown in the following screenshot:

- Click on the Scene field, and select Choose Scene, as shown in the following screenshot:

- A window will appear, displaying all of the available scenes. Select Level 1, and click on OK.
- Set for secs to
1, as shown in the following screenshot: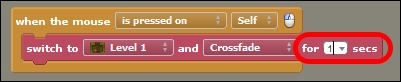
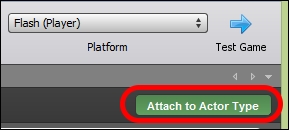
- Click on Attach to Actor Type, and select Play Game Button, as shown in the following screenshot:
Great job! Now, we simply need to add the button to the scene, and test the game. To do so, perform the following steps:
- Open up the Main Menu scene again.
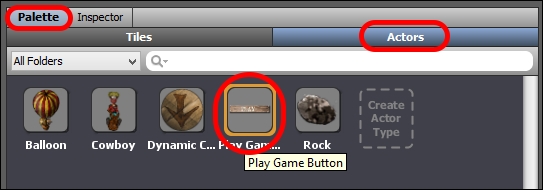
- In the Palette tab, under Actors, select the Play Game Button, as shown in the following screenshot:
- Under Layers, select Layer 0, which is a tile and an actor layer, and then click on the Bring Layer Forward button, as shown in the following screenshot:
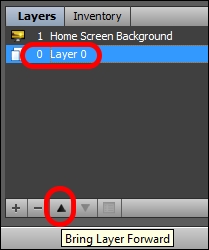
- Make sure Layer 0 is still selected, as actors can only be added to the tile layers, not the background layers.
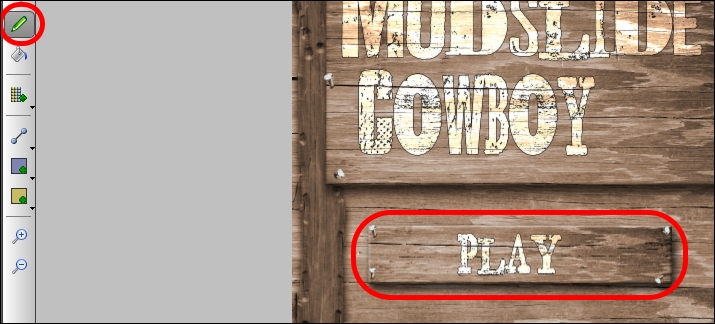
- Select the Pencil tool, and then click once to add the Play Game Button to the part of the scene, as shown in the following screenshot:
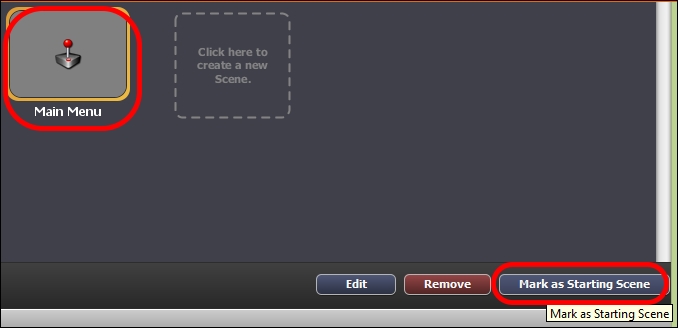
- Now go back to the Dashboard | RESOURCES | Scenes, and select Main Menu.
- With the Main Menu option selected, click on Mark as Starting Scene, as shown in the following screenshot:
Now, when we click on Test Game, the Main Menu will be the first scene to appear. Go ahead, test the game, and try your very first button!
..................Content has been hidden....................
You can't read the all page of ebook, please click here login for view all page.