In the previous chapter, you learned how to set up the necessary environment configurations and how to build your first vanilla system, targeting the emulator. In this chapter, we will have a quick overview of the fundamental tools of every expert Android user and we will complete our first system for a real device—configure, build, flash, and test.
Debugging tools are some of the tools that no developer can live without. With embedded systems such as Android systems they are even more important. Android provides lots of debugging tools to facilitate complex or boring tasks. The two most important tools are definitely adb and fastboot.
ADB stands for Android Debug Bridge and it's a toolkit made of two crucial parts:
- Adb server running on the device
- Adb client running on the PC
Usually, adb is considered a command-line tool, but you can find a few graphical frontends online if you prefer to use it in a more graphical way. Android Studio, the official IDE by Google for Android development, uses adb to communicate with every device and provide cool tools such as Android Device Monitor. Using the graphical interface, we can analyze logs coming from the device or even take a screenshot for debugging purposes.
The following screenshot shows how the Android Device Monitor can be used to retrieve huge amounts of information from devices and apps running on the devices:

During our journey, we will use adb mostly on the command line, due to the embedded nature of our work. As we know, the emulator behaves like a hardware device, so we can easily use adb to communicate with it. Let's see a couple of useful commands to interact with our running emulator.
First of all, we need a handy list of all the available commands. That's easily achievable with the following command:
$ adb --help
Now, we need to detect the connected devices. On our trusty Terminal, run the following command:
$ adb devices
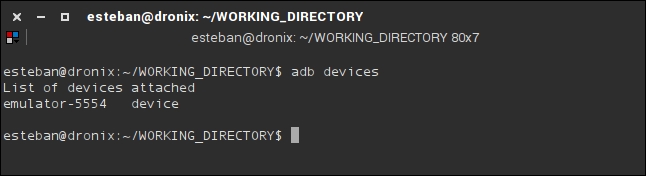
The previous command will scan for every attached device and will list them. The previous screenshot shows that our emulator is attached and ready to communicate. In a multidevice scenario, we could have some issue when properly detecting our devices. Adb gives us a further option, -l:

Using the –l option, adb will show more details about the devices, and this will help us to identify them properly, as shown in the previous screenshot.
Once we have detected the device, we can communicate with it in a few ways. One of the most common way is connecting it to the device's internal shell. Every Android device comes with a system shell: it's a common tool for embedded or remote systems. To connect the the internal shell, we simply need to run the following command:
$ adb shell
If we have more then one device, we will need to specify which device we want to connect to, like this:
$ adb -s ZX1B226467 shell
Once we are connected to the internal shell, we can treat the system like a common *nix system. We can run an ls command:
$ ls –l
As shown in the next screenshot, we obtain the directory listing:
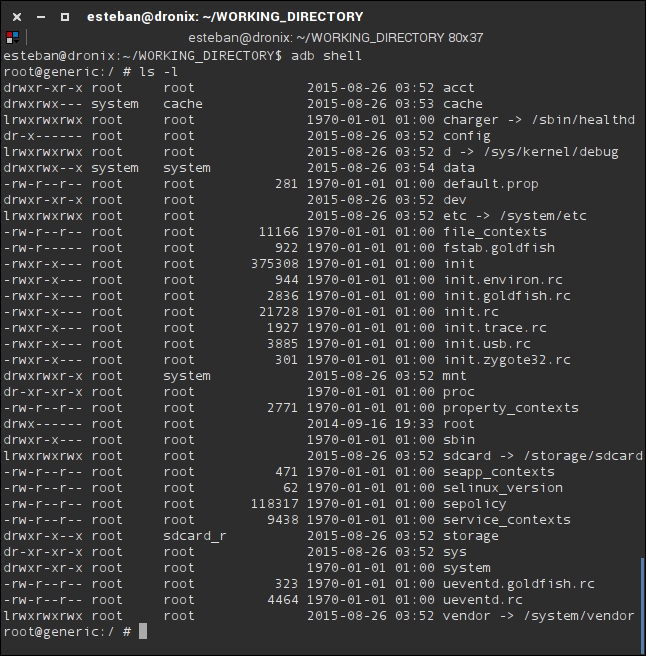
We suggest you explore the filesystem and play around. You will find that you can do almost whatever you want, from manipulating files to manipulating applications.
Adb gives us dozens of useful commands to manage our devices:
$ adb push
The adb push command is certainly one of the most useful. It allows us to copy files from our computer to our Android device. The next screenshot shows how to upload a single file to our device:
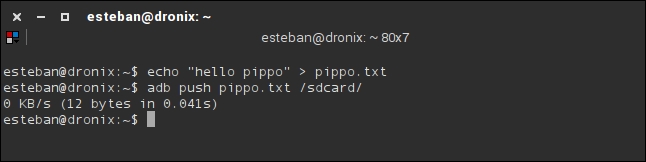
We have created a new file, pippo.txt, containing a single line, hello pippo, then we uploaded this file to our connected device, into the /sdcard/ folder. As you can see, the first argument is the filename and the second one is the destination we want to copy the file to.
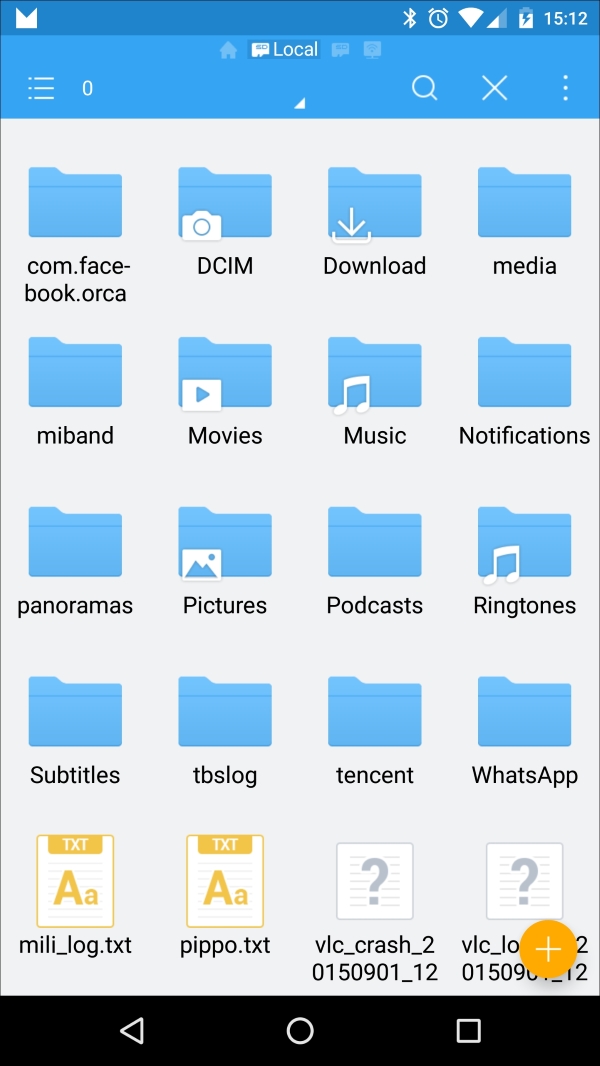
The next screenshot shows pippo.txt successfully uploaded to the device's /sdcard/ folder:
During development, we could need to retrieve a file from the device. To achieve this, adb gives us the opposite of push, which is pull:
$ adb pull
The preceding command is able to retrieve a file from a connected device and copy it to our computer. The syntax is fairly similar to push, simply with an inverse outcome. The next screenshot shows how to pull our pippo.txt from the device and copy it to the current directory:
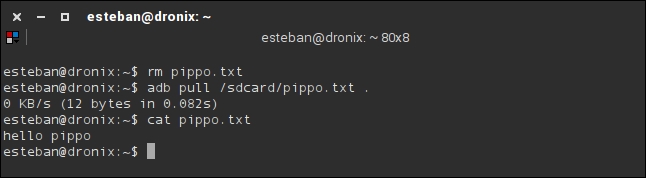
We have deleted our original file from the current folder, pulled the one on the device to the current folder, using . as the destination, and checked that the copied pippo.txt file contains the expected line, hello pippo.
As we know, any Android application is contained in an APK file. Usually, users don't see this file, because they install all their apps using the Google Play Store. As advanced users, we often deal with unreleased applications, for debugging and testing. These apps aren't available on Google Play Store yet, so adb gives us the opportunity to manually install them with the following command:
~$ adb install <path to .apk file>
The next screenshot shows how the APK file has been successfully installed on our device number ZX1B226467:

Every complex system such as Android needs a logging system. Android provides logging capabilities via logcat to help users with development and monitoring. Using the following command:
~$ adb logcat
We can instruct adb to connect to the Android logging system, select the default buffer, and start printing every single system logging message, in real-time, to our terminal. Android provides other two logging buffers for advanced use:
We can select a buffer different from the default using the –b option. For instance, if we want all the logs related to events, we can use the following command:
:~$ adb logcat –b events
Adb logcat comes with a few interesting output modes. We can select them using the –v option and the mode name:
- brief
- color
- long
- printable
- process
- raw
- tag
- thread
- threadtime
- time
- usec
The next screenshot shows logcat output when we choose the color mode:
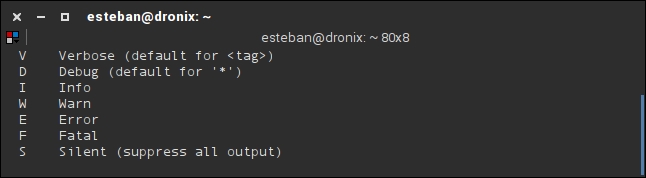
As you can see, logcat will use a different color for every different logging level. We can even filter according to the logging level itself, using the following command:
~$ adb logcat *:E
In this case, we are only displaying error messages. The next screenshot shows every available filtering argument we can use:
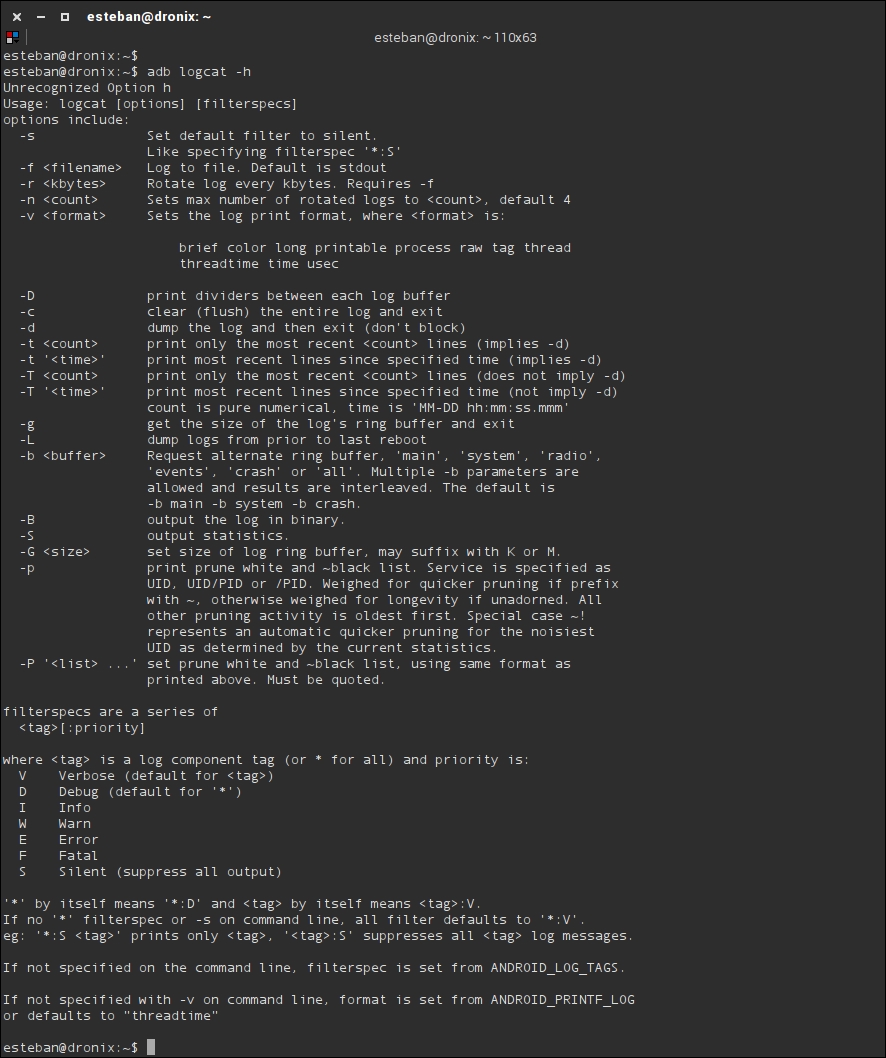
For a complete list of all the possible options available with logcat, you can access the logcat command help using the following command:
~$ adb logcat –h
The following screenshot shows the full list of all the available options with their description:
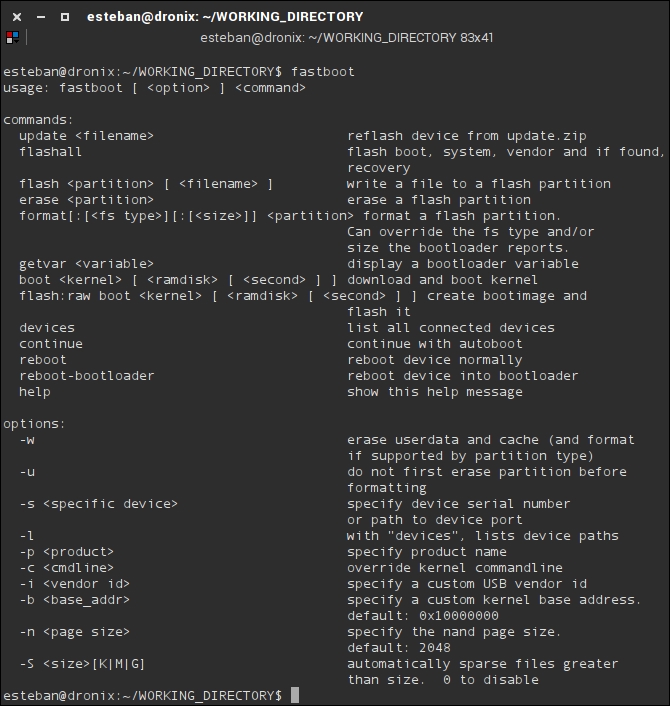
Fastboot is the tool that Android gives us to manipulate the device Flash Memory and its partitions, using a computer and an USB connection. Fastboot does not communicate with the Android system. It communicates with a specific firmware able to interact in a minimal system environment: bootloader mode.
In the bootloader mode, the system initializes only the minimal amount of hardware and software to accomplish the most critical operations of all:
flash: This option is used to deploy a new binary system image from the host computer to the device partitionserase: This option is used to delete a specific partitionreboot: This option is used to reboot the device in one of the available booting modes: recovery, bootloader, or standardformat: This option is used to format a specific partition
The next screenshot shows the output of the following command, the full list of all the available options of fastboot:
~$ fastboot –-help
As you can easily imagine, fastboot will be a big player in the future, when we will start building and testing our custom Android system: