
Moving from beta testing to releasing your app, does not require much effort. You use the exact same version of your app as you've already exported and tested with your users. In order to be able to submit your app for review by Apple, you simply have to add more information about your app and you should set up your app store presence. The first thing you should do is create a couple of screenshots of your app. You add these screenshots to your App Store page and they should look as good as possible because potential users will use screenshots to determine whether they want to buy or download your app or not.
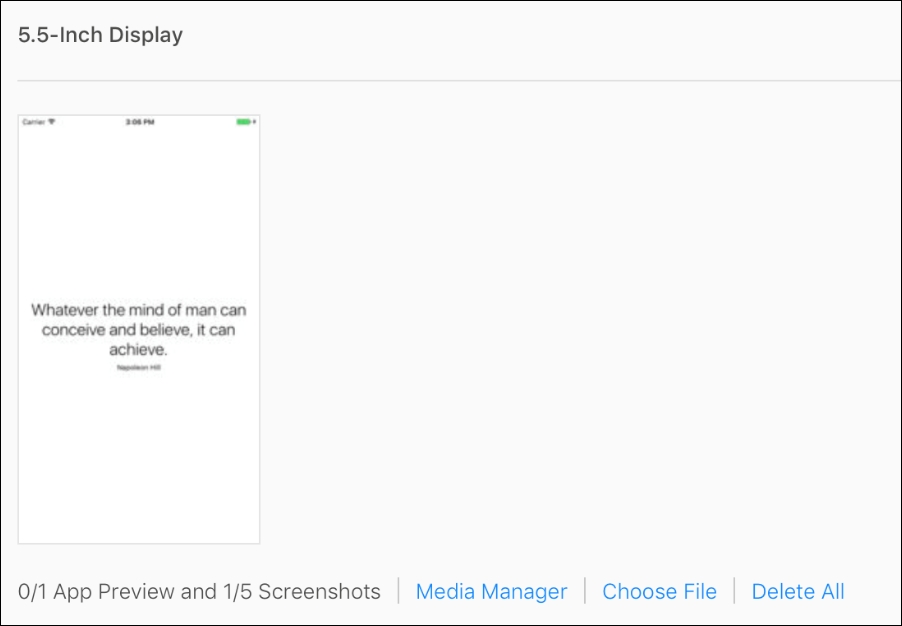
The simplest way to create screenshots is to take them on a 5.5 inch iPhone and a 12.9 inch iPad. Doing this will allow you to use the Media Manager feature in iTunes Connect, right below the screenshot area, to upload the large size media and have it scale down for smaller devices:
After submitting screenshots, you should also fill out a description and keywords for your application. Make sure that your description is clear, concise, and convincing. Your keywords should be used as much as you can; it's what Apple uses to match people's search queries with. Try to come up with synonyms or words you would look for when you'd searched for an app that does what your app does.
If your app features an iMessage or Watch app, you should also upload screenshots for these apps as well. You can't provide separate keywords or descriptions for these extensions, but they will have their own image galleries in the App Store.
The next step in the submission form is to select your app binary and provide some general information about the app and the person responsible for publishing the app. Often, you'll want to select the version of the app you've been beta testing up to the point of release.
Lastly, you must provide some information to Apple about how your app should be reviewed. If your app required a demo account, provide credentials to the reviewer. If your app has been rejected before due to something being unclear, it's usually a good idea to clarify the past misunderstanding in the notes section. This has proven to help for some apps, resulting in accepted reviews at the first try rather than being rejected and providing explanations afterwards.
When everything is filled out, hit the Save button to store all the information you just entered. Then, if you're satisfied with everything and ready to take the final leap towards releasing your app, press Submit for Review to initiate the review process.
Getting your app reviewed by Apple can take from a couple of days to a week or longer, so at this point it's important that you simply patiently wait until you hear from Apple. Sending them inquiries about reviewing your app faster, or asking them about the current status often yields no results so you shouldn't do that.
If you do need to get your app reviewed and released really fast and you have a legitimate reason, you can always apply for expedited review. If Apple agrees that a faster review will benefit not just you, but also your users, your app could be reviewed in a matter of hours.
Well, time to get some cocoa, coffee, tea, or whatever you prefer to drink. It's time to sit back for a while and wait while Apple reviews your app so you can release it to the App Store.