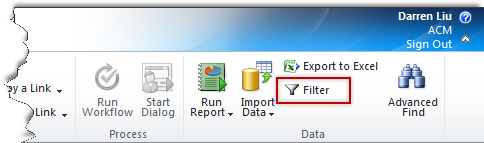
In the previous version of Microsoft Dynamics CRM, we had to export the data to Excel in order to perform filtering on the data. However, Microsoft Dynamics CRM 2011 gives end users the ability to filter on the list of data within the application. In this way, the users can obtain their important data in just a few clicks. To apply a filter to a list, simply click on the Filter button in the Data group on the ribbon:
You can also click the Filter button under the View tab on the ribbon. Here, we are going to apply a filter to the list and create our own custom filter.

Once we click on the filter button in the Data group on the ribbon, the filter arrows appear in the grid column headers as shown in the following screenshot:

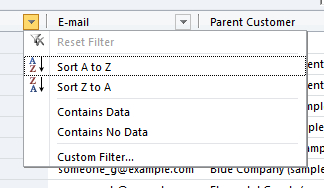
Click on the arrow to the right of a column header to bring up the filter menu for that column, as shown in the next screenshot. The menu options change based on the attribute type. All attributes provide the capability to sort the data and also to check whether the attribute contains data:
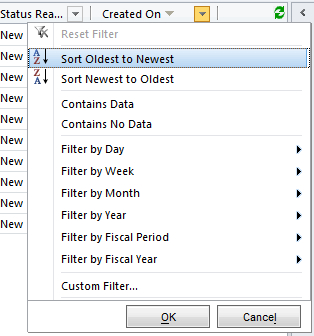
DateTime attributes contain extra filters to filter by day, week, month, year, fiscal period, and fiscal year, as shown in the following screenshot:
OptionSet attributes contain filters to filter by the list of values, as shown in the following screenshot:
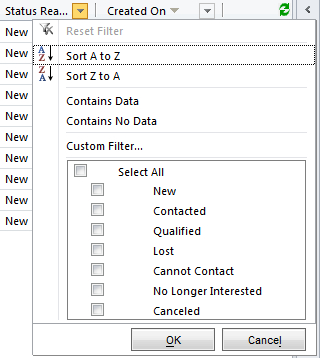
To apply a filter, simply select one of the options from the filter menu and then click OK. The filtered data will then be displayed on the grid.
Creating a custom filter is very straight-forward in Microsoft Dynamics CRM 2011. To demonstrate the use of the custom filter, we are going to create a custom filter to display all contacts whose full name starts with the letter G.
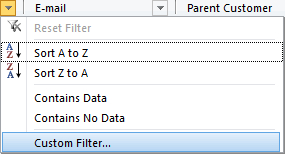
To do this, bring up the filter menu, and then select the Customer Filter… option, as shown in the following screenshot:
The custom filters dialog box is displayed as shown in the following screenshot. We can specify the conditions for the specific attribute that we want to filter on:
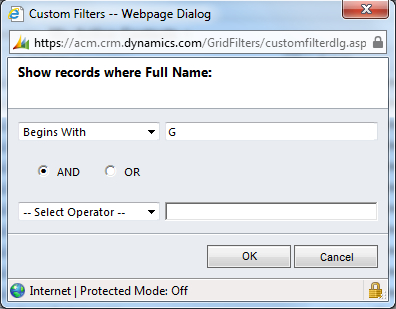
Select Begin With from the drop-down list and enter the letter G in the textbox to the right. Lastly, click OK to close the dialog box. The filtered data is now displayed on the grid as shown in the following screenshot:

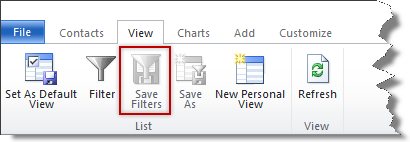
To save a filter, click on the View tab on the CRM Ribbon and then click on the Save Filters button, as indicated in the following screenshot: