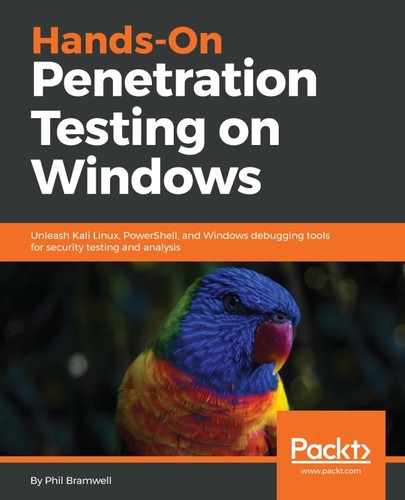
Armitage is included with Kali as of 2018.1, and you'll find its icon right under the Metasploit shield in the shortcuts bar on the left-hand side of the desktop. The first thing that happens is a prompt to log on to an Armitage team server. The defaults are all you need for running locally, but this is where you'd punch in the details for a team server as part of a red team. Thankfully for us noobs, Armitage is pretty friendly and offers to start up the Metasploit RPC server for us if we haven't already, as shown in the following screenshot:

Metasploit's prompt might feel a little patronizing, but hey, we can't take these things personally.
There are three main windows you'll work in such as modules, targets, and tabs. As you will see, there's a full module tree in a friendly drop-down folder format, complete with a search bar at the bottom. The targets window is on the top-right, and you'll see it populate with targets as you get to work. At the bottom is tabs, where everything you'd normally see at the msf prompt takes place within tabs corresponding to individual jobs; you'll also see information about things such as services enumerated on a target.
Remember, Armitage is nothing more than a frontend for Metasploit—everything it can do, Metasploit can too. What Armitage does is essentially all of the typing, while providing you with professional-grade attack organization. Of course, you can always type down in the console window and do whatever you like, just as you would in Metasploit.
The drop-down menu bar at the top has a lot of power, including your starting point for enumerating targets, so let's take a look.