

Chapter 2. Installing and configuring EWLM 27
Figure 2-6 IBM Virtualization Engine installation assistant
When you click Next, you are presented with a series of informational screens and then you
are prompted to select which Virtualization Engine services are to be installed. This is shown
in Figure 2-7. The Installation Assistant might look a little different depending on the operating
system of your domain manager and contains only the systems services which you can install
on each platform.
28 IBM Enterprise Workload Manager
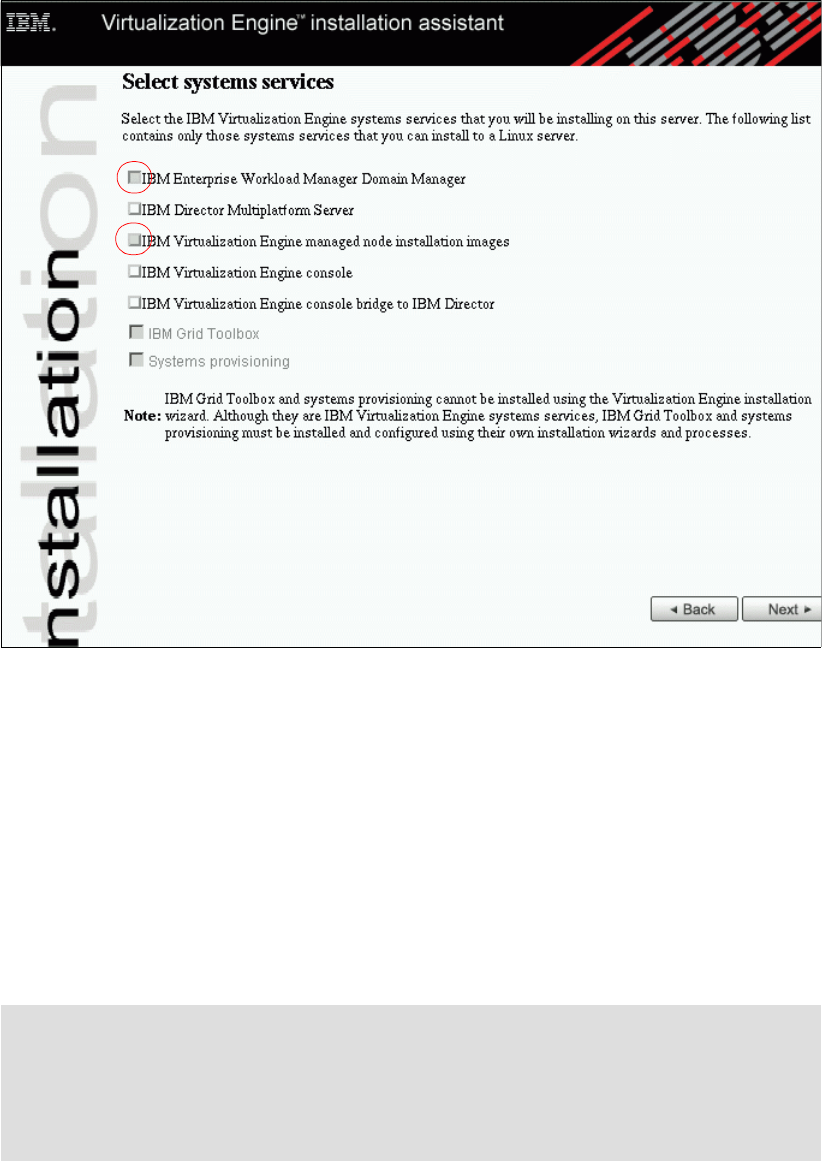
Figure 2-7 Selection of IBM Virtualization Engine systems services
We are interested in installing IBM Enterprise Workload Manager and chose to install the
following components from the list:
? IBM Enterprise Workload Manager domain manager
? IBM Virtualization Engine managed node installation images
For information on other services on the list, refer to the IBM eServer information center at the
following URL:
http://publib.boulder.ibm.com/eserver/
The installation assistant uses your input to calculate the required space and provides a list of
CDs which you need to copy.
If you need further information on the Virtualization Engine and its components, the
installation assistant can provide it. This is a good source when you are unsure what services
or components to select.
Note: Remember to print the list of CDs which you need to copy for the installation as
provided by the installation assistant.
The wizard will copy the CDs you insert, even if they do not match the list provided by the
installation assistant. However, if you have not inserted the required CDs the actual
installation process will fail.
Chapter 2. Installing and configuring EWLM 29
When you have completed the installation assistant, return to the Virtualization Engine
installation wizard and begin to copy the CD images. After each CD is copied, you are asked
if you want to copy another CD. When you have finished copying the required CD images to
your domain manager you can start the installation process.
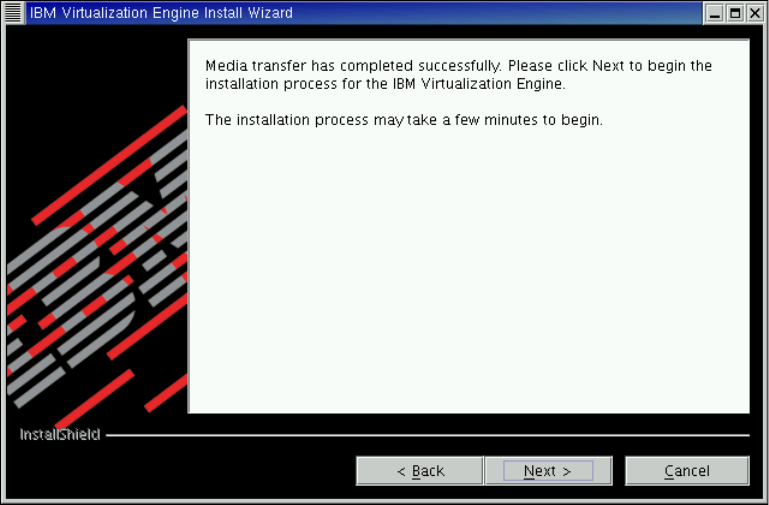
The wizard displays a message saying it assumes that you have already copied the media
and the installation process begins (Figure 2-8).
Figure 2-8 Installation part of Virtualization Engine installation wizard
This ends the first phase of the installation process. Next, the wizard will guide you through
the installation of the VE services (beginning with the panel shown in Figure 2-9). If you need
to restart the Virtualization Engine Install Wizard for any reason (for example, if you hit the
“Cancel” function or if the Wizard has a problem), you can restart the from this point—without
repeating the CD copying phase—by executing ./installVELinux.bin in /opt/IBM/VE/Install.
30 IBM Enterprise Workload Manager
Figure 2-9 Installation of the VE services
After accepting the license agreement, which can be viewed in several different languages,
the first task is to specify a source location for installing the EWLM code. For our domain
manager running on Linux we use the default directory /opt/IBM/VE.
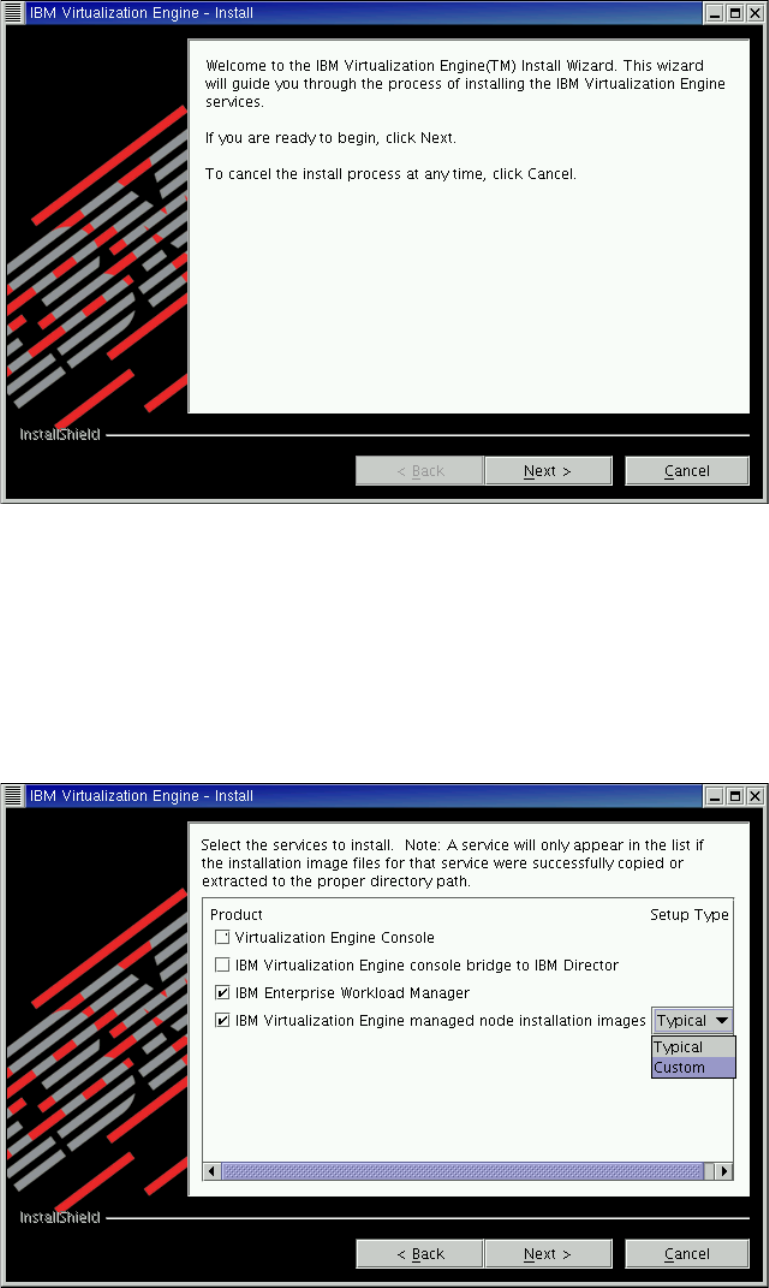
The next installation wizard menu is shown in Figure 2-10. It lists the available components of
the Virtualization Engine. For the installation of EWLM we are interested in the last two
checked boxes only (IBM Enterprise Workload Manager and IBM Virtualization Engine
managed node installation images). If you have purchased other components of the VE
package you can select to install these products as well.
Figure 2-10 Selection of services to install

Chapter 2. Installing and configuring EWLM 31
At this point you need to decide whether you want a typical or a custom installation. If you
select the “IBM Enterprise Workload Manager” option only, the wizard installs the domain
manager only. If you select “IBM Enterprise Workload Manager” and “IBM Virtualization
Engine managed node installation images,” the wizard installs both the domain manager and
managed node. If you select “Typical” in the pull-down menu, the install copies all of the
managed server images which you have purchased; if you select “Custom,” the install allows
you to deselect specific managed server images. If this is the first time you are installing
EWLM, we advise you to follow the typical installation, as we did for our ITSO environment.
After accepting another license agreement for each of the selected services, we are
presented with an installation summary. This provides information on the installation directory
and lists the features which will be installed. For our domain manager we have the minimum
required package for EWLM, which includes the IBM Virtualization Engine base support, IBM
WebSphere Application Server and IBM Enterprise Workload Manager. Make sure you have
enough space in your installation directory, otherwise you will have to restart the wizard after
increasing the directory size. A small amount of space is also required in /tmp.
When you install Virtualization Engine systems services, like EWLM, that require WebSphere
Application Server (WAS), be aware that the VE installation wizard will install WebSphere
Application Server 5.1 in the VE installation root directory. The default location on Linux is
/opt/IBM/VE. If you already have installed WebSphere Application Server 5.0 or 5.1 you need
to understand coexistence considerations. For information on these issues, refer to the IBM
information center at:
https://publib.boulder.ibm.com/eserver/cur/v1r2m0f/en_US/index.htm?info/veicinfo/eicarkicko
ff.htm
Next, we need to specify a node name and an IP address or host name. The wizard detects
those names automatically but allows you to change them. The node name for our domain
manager is specified as ewlmdm1 with hostname ewlmdm1.itso.ibm.com. The installation
process begins and takes only a couple of minutes on our domain manager running on Linux.
After a successful installation of EWLM, the last screen you see is shown in Figure 2-11 on
page 31. It includes a summary of the installed features.
Figure 2-11 Successful installation summary
..................Content has been hidden....................
You can't read the all page of ebook, please click here login for view all page.