
Chapter 15. Document Information Panel Content Type
The Document Information Panel (DIP) is a form that appears within a Microsoft Office application (Excel, PowerPoint, or Word) when you are creating a new document for a SharePoint document library that contains custom columns. The DIP allows you to enter additional information about the document and have those values stored in the SharePoint document library.
The DIP is actually part of the document content type used within the document library. Adding columns to your document library updates the DIP portion of the content type. Essentially, the DIP is an extension of the Excel, PowerPoint, or Word document itself.
InfoPath Designer has a Document Information Panel template available for when designing a new form. Although this might make you think you can create a new DIP, the option is actually there to modify an existing DIP. Because the DIP is part of the content type, it needs to be system generated within the document library first before any modifications can be made.
Create the Document Library
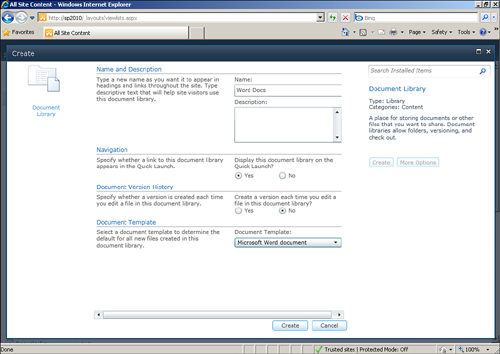
Before you modify a DIP for your documents, you need a document library that stores the documents. The document template for the library needs to be one of the Microsoft Office document templates (Excel, PowerPoint, or Word), as shown in Figure 15.1.
Figure 15.1. Selecting a Microsoft Office template allows a DIP to be applied.
Add Columns to Your DIP
Because the DIP is used to display/enter the additional data you want to capture with the documents, you need to have columns in your library to store those values.
To add these columns to your library, follow these steps:
- Navigate to your document library in SharePoint.
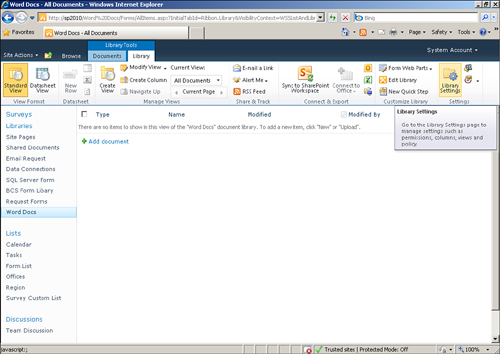
- Click Library Settings on the Library ribbon bar, as shown in Figure 15.2, to manage the library’s settings.
Figure 15.2. Clicking Library Settings allows you to manage the library’s settings.
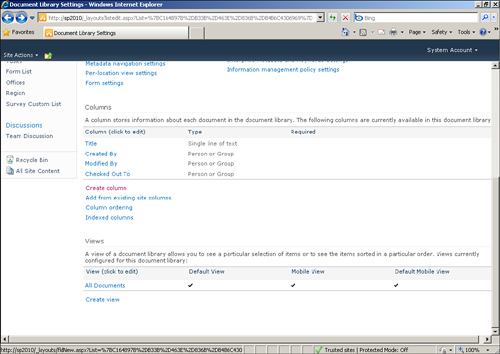
- On the List Information page, scroll down and click Create Column, as shown in Figure 15.3, to add a new column to the library.
Figure 15.3. Clicking Create Column allows you to add new columns to your document library.
- Enter a name for the column and select the type of information. Click OK.
- Repeat steps 1 and 2 for additional columns.
- Navigate back to the document library.
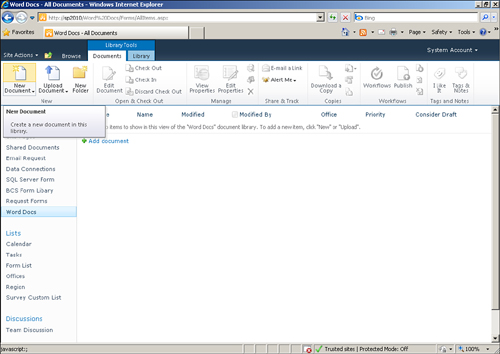
- From the Documents ribbon bar, select New Document, as shown in Figure 15.4, to launch the Microsoft Office application associated to the document library document type.
Figure 15.4. Clicking New Document launches the Office application associated to the document library
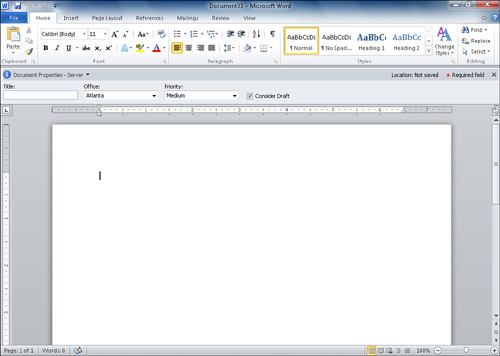
The Office application launches and displays a blank new document. The system-generated DIP appears at the top of the document, as shown in Figure 15.5. Verify that the DIP contains the additional columns you added to the library.
Figure 15.5. Creating a new document verifies that the added columns appear in the DIP.
Tip
If your DIP does not show by default, go to File | Info and click the Form Template Properties button on the far right. In the properties dialog click Show Document Panel.
Note
Any multiple-choice columns are displayed as drop-downs regardless of the selection in SharePoint, but you may modify the control inside the DIP to use different interfaces.
Modify the DIP
The first step in modifying a DIP is using the form template to create a new form to modify the DIP. To modify the DIP of a document library, follow these steps:
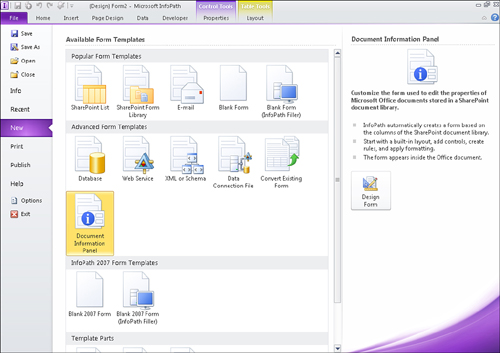
- From the File, New page, select the Document Information Panel template, as shown in Figure 15.6, to import an existing DIP for modification.
Figure 15.6. Selecting the Document Information Panel template allows you to import an existing DIP for modification.
- Click the Design Form button. The Data Source Wizard appears.
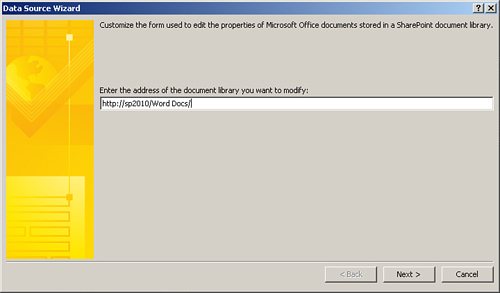
- Enter the address of the document library for which you want to modify the DIP, as shown in Figure 15.7. Click Next.
Figure 15.7. Entering the document library address determines which DIP to modify.
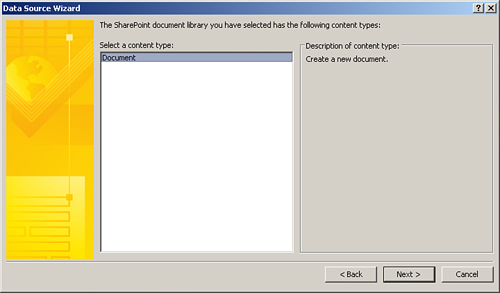
- Select the content type in the library, as shown in Figure 15.8, to modify the DIP of that document type. Click Next.
Figure 15.8. Selecting the content type modifies the DIP of that document type.
- Click Finish. The system-generated DIP for the document library content type you selected is loaded into the designer, as shown in Figure 15.9.
Figure 15.9. Clicking Finish loads the DIP into the designer.
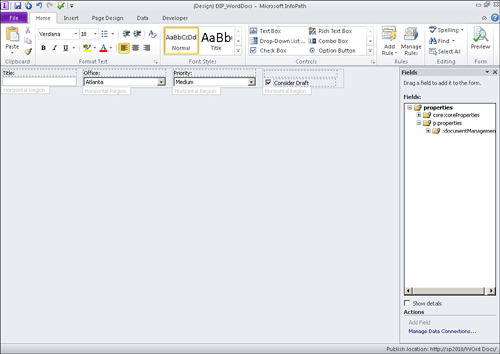
- Modify the DIP inside the designer as needed.
- Click File, Info, and then click the Quick Publish button to publish your changes to the document library. You need to save a local copy of the form before InfoPath allows you to publish the form.
Publishing the new template updates the document content type in the document library.
Adding a new document through the associated Office application renders your updated template as the document information panel.