
In this chapter, we will explore how to use messaging via Bluetooth to enable communication between robots. We will:
- Enable Bluetooth communication between robots
- Use one robot to control another
- Program two robots to communicate to maintain a safe driving distance
- Use two robots to collaborate to find a hidden target
The official EV3 tutorials walk you through setting up Bluetooth communication and setting up connections on the brick. The tutorials then move on to how to send a message from one robot to another. One master EV3 robot can control up to seven slave EV3 robots. Master-Slave robotic control is a common term in engineering. In this arrangement, the master can communicate back and forth with all of the slave robots. However, the slave robots cannot communicate with each other. There are many examples on the Web using one EV3 as a remote control for a full robot. In this chapter, I will focus on two full robots communicating with each other.
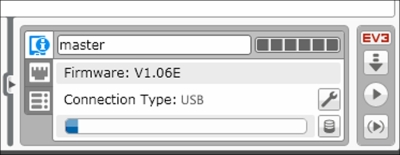
To start, we must name the robots. You can do that by connecting your EV3 brick to your computer with the USB cable. In the Brick Information panel, you can change the name of your EV3 brick by typing a new name in the Brick name box as shown in the following screenshot. Following the industry standards, I have called the primary brick master. You can name the brick whatever you like as long as each brick you are using has a different name. I am calling the secondary robot slave1.
Next we will work directly with the bricks to enable communication between the robots. The EV3 tutorials have you enable full communication each time you run a program using the brick buttons. In truth, you only need to allow the robots to discover each other once using the brick buttons. In subsequent programming, you can make the connection using the software.
From the settings menu on your EV3 brick, select Bluetooth, as seen in the following image. Do this on both of your bricks, the master and the slave.

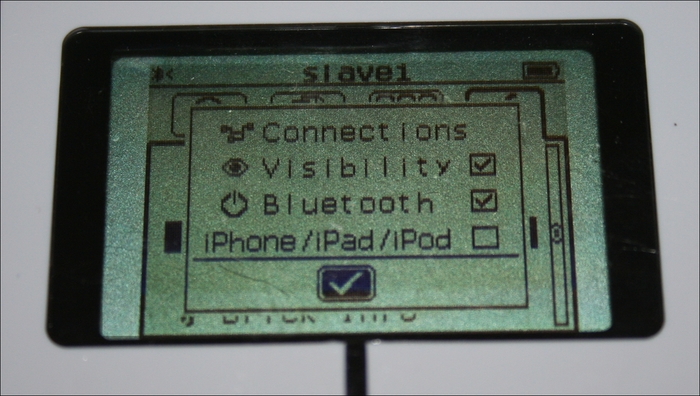
When you select Bluetooth by pressing the center button, you will see the Bluetooth menu as shown in the following image. You should deselect the iPhone/iPad/iPod option. You want to have both the Bluetooth and Visibility options selected. Do this on both bricks. Once this is done, select Connections on both bricks just to make sure that they can see each other.
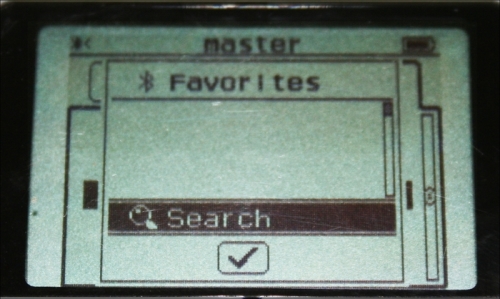
Now select Search as shown in the following image. This will allow the pairing between the EV3 bricks to begin.
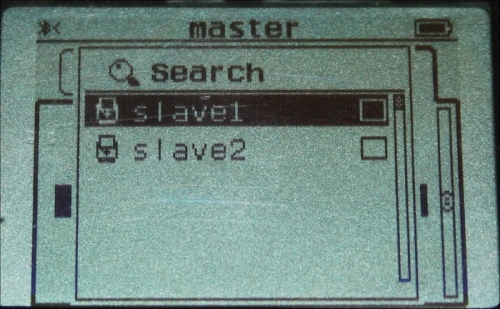
From the master brick, you want to select the robot to which you want to pair as shown in the following image. You only need to do this on the master brick, not both the bricks.
When you select the robot to pair with, it will ask you if you want to connect. Click on Connect to begin the pairing as shown in the following image:

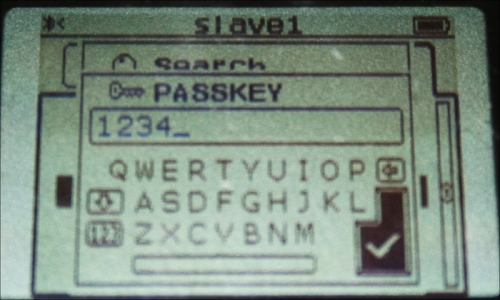
At this point, a prompt to accept the pairing will appear on the slave robot. Accept the pairing. Once accepted, it will ask you for a PASSKEY as shown in the following image. Make sure you enter the same passkey on both robots.
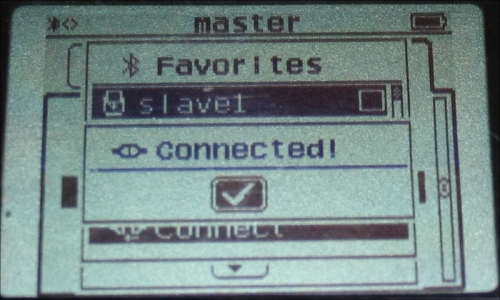
After you have entered the passkey, the robots should complete the connection. You will see the display as shown in the following image:
This process for connecting the robots by using the brick buttons only needs to be done once. However, if you do not do this initial pairing, when you try to execute the programs, you will receive an error.